When I first told my friends I wanted to try making a sourdough starter, I was asked what I would name it.
Yes, it’s a thing. People will make sourdough starters and actually name them. I mean, it’s kind of like having a pet, a plant, or my favorite comparison, a tamagotchi. You have to take care of it and feed it. And if people are naming their plants, well, I guess they can name their sourdough starters, too.
So this is the story of how June came into this world. Only want the recipe? Scroll down for an easy tutorial!
Why make a sourdough starter?
To be honest with all of you, I just wanted a fun project to keep me preoccupied this winter. I spend a lot of time simplifying recipes for myself and my followers, but I felt like trying something that seemingly felt complicated.
As I was reading up about sourdough starters, I found that making sourdough bread from a wild yeast actually has an incredibly amount of health benefits.
Why make one? It will help you poop.
No, seriously, hear me out. The wild yeast that is created from a sourdough starter will help break down the tough proteins and carbohydrates that we find in normal bread today. When typical baker’s yeast (like dry active yeast) is used in recipes, the bacteria from the yeast doesn’t have enough time to digest anything. A wild yeast, which is created from a sourdough starter, gives the bread time to ferment and break down a tough carbohydrate called fructan.
Have you heard of gluten sensitivities? I mean, who hasn’t these days. Numerous people talk about having non-celiac gluten sensitivities, so they never to being “gluten-free.” Yet one study shows that gluten actually isn’t the problem—it’s a sensitivity to fructan. Foods with gluten often contain fructan, which has proven to induce those symptoms. By limiting gluten, you limit fructan, which is why people with “gluten sensitivity” find success with gluten-free products.
Why does all of this matter? Because the bacteria in wild yeast will actually digest the fructan thanks to that slow fermenting process! This means the bread is easier to digest—and according to one article published by Healthyish (a spin-off of Bon Appetit) even gluten-sensitive eaters have found success with it.
The enzymes will also break down phytic acid, which is derived from plant-based foods such as seeds, grains, and legumes. According to Healthline, Phytic acid impairs the absorption of key minerals in your diet like iron, zinc, and calcium. Typical eating a meal without high phytic acid after will level things out, but if you’re eating phytic acid foods often, you will create a mineral deficiency, which causes gas.
Never fear, sourdough bread is here! Your sourdough starter will digest the phytic acid as well, giving your bread a “community” of vitamins and minerals in it, and yes, helping you to go poo.
What recipes can you make with it?
I’ll list more recipes here as time goes on, but for now, here are a few recipes you can make.
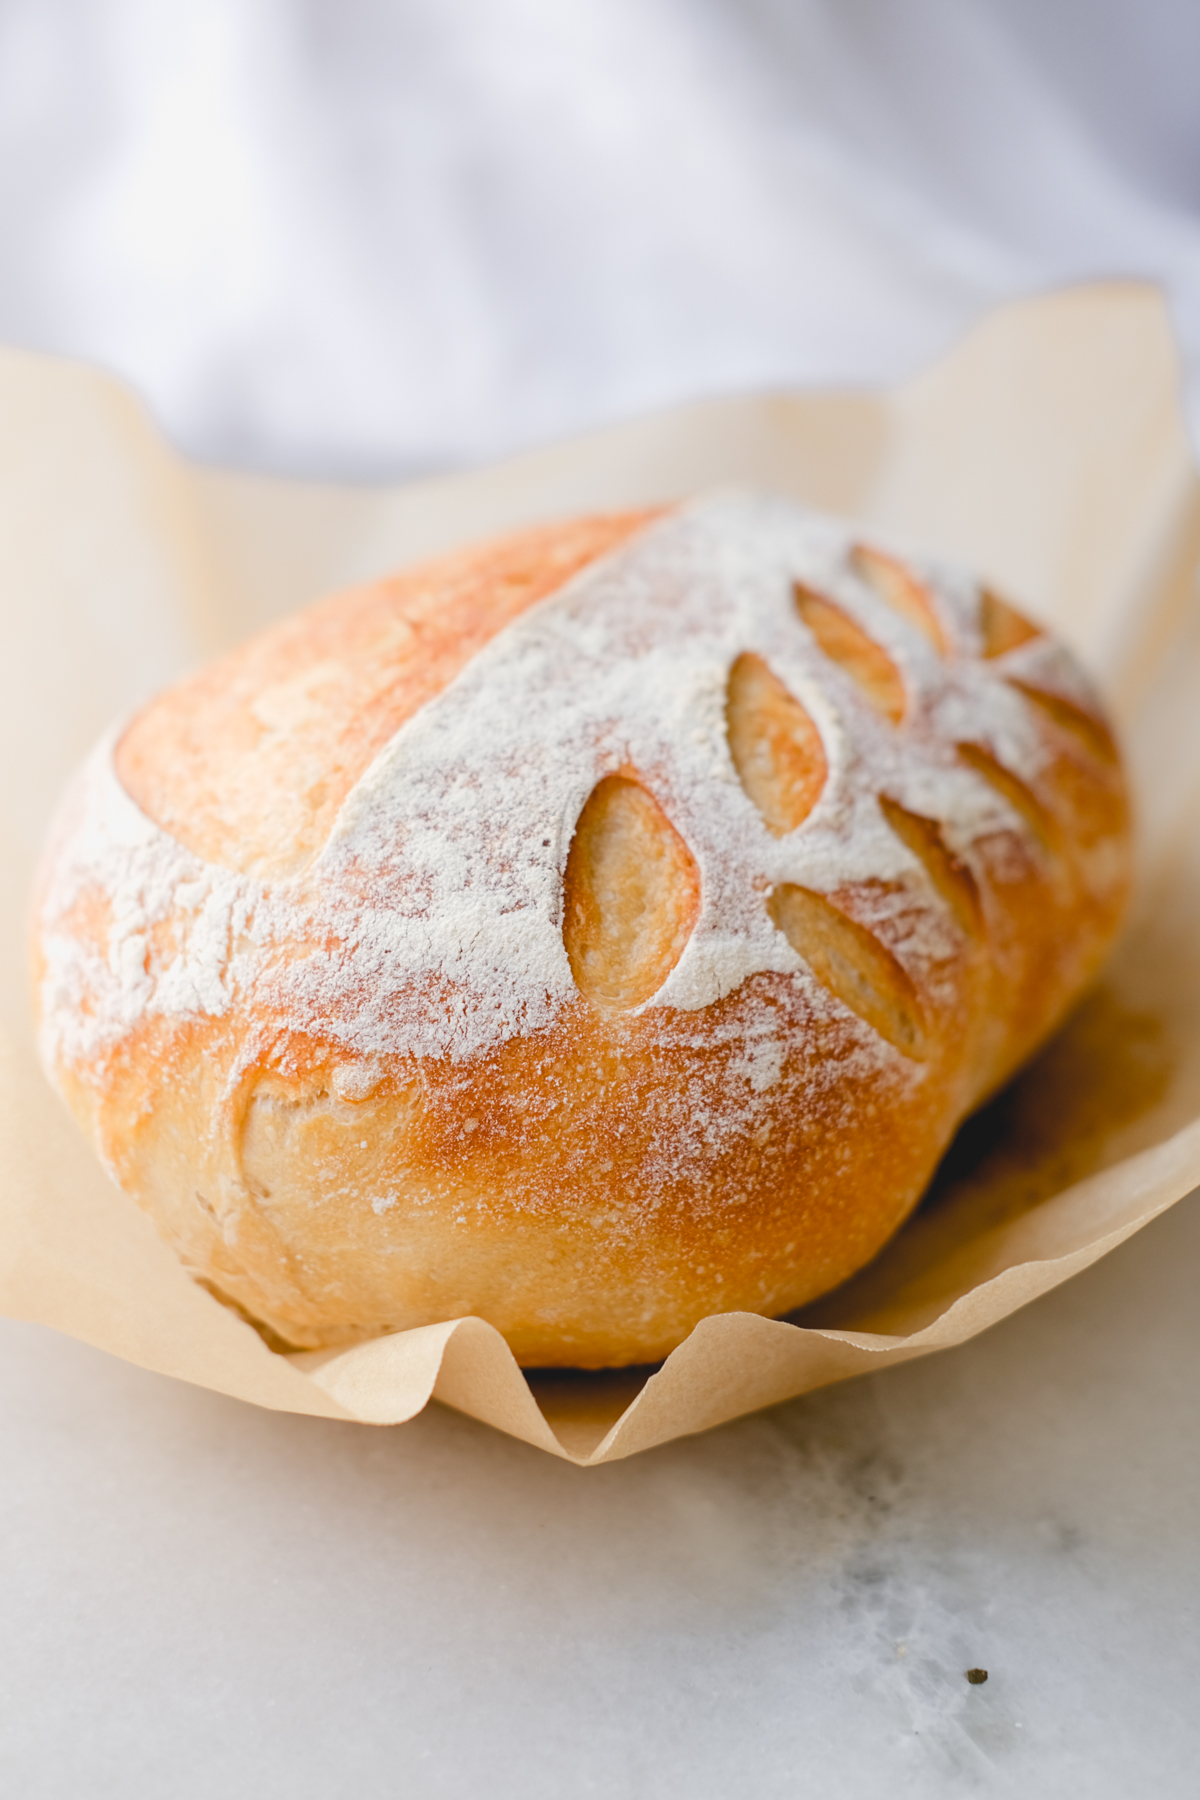
- Sourdough Bread (one-loaf recipe!)
- Sourdough Focaccia
- Sourdough Cinnamon Rolls with Orange Glaze
- Sourdough Discard Crepes
To use up your sourdough bread:
How to make a sourdough starter
Alright, now that we’ve got that out of the way, let’s get down to business. After some extensive research, I have found that starting wild yeast is a 7-day process. While I didn’t take the advice to throw pineapple juice in my starter (courtesy of, you’ll never believe it, NYT Cooking), I did pick and choose a few tidbits from other chef blogs and publications. Here’s how June came to life.
Day one
You’re going to need
- 60 grams unbleached all-purpose flour (1/2 cup)
- 60 grams lukewarm water (1/4 cup)
- Wooden spoon
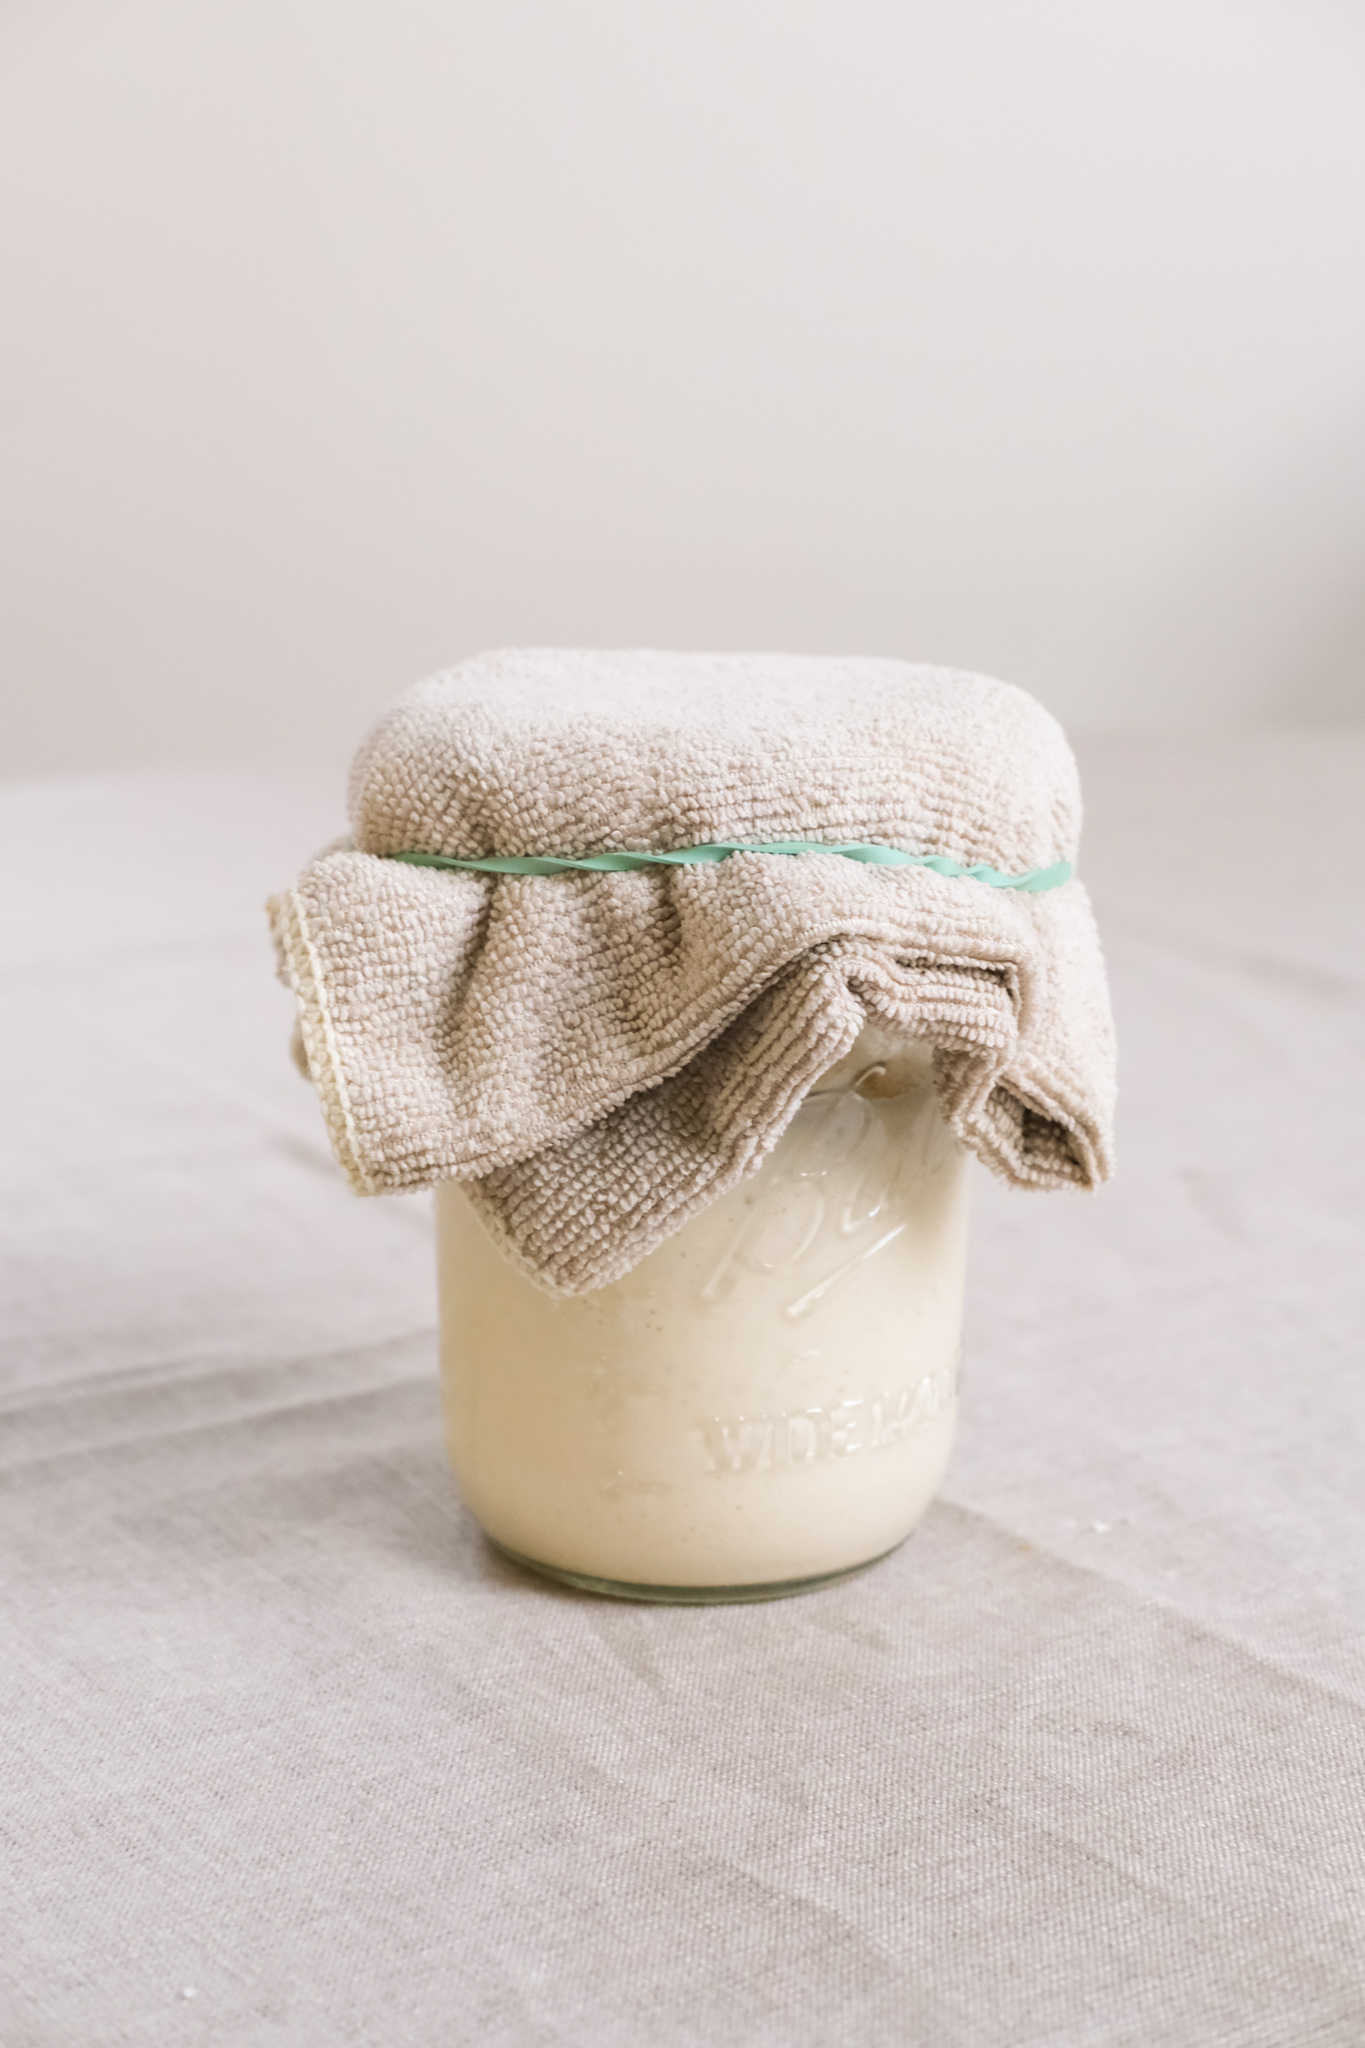
- Glass container with lid
- Scale (optional)
The first day wont’s how any signs of activity, so there’s not much to report. But let me walk you through the process of starting your starter.
Measure out 60 grams of flour (about 1/2 a cup)
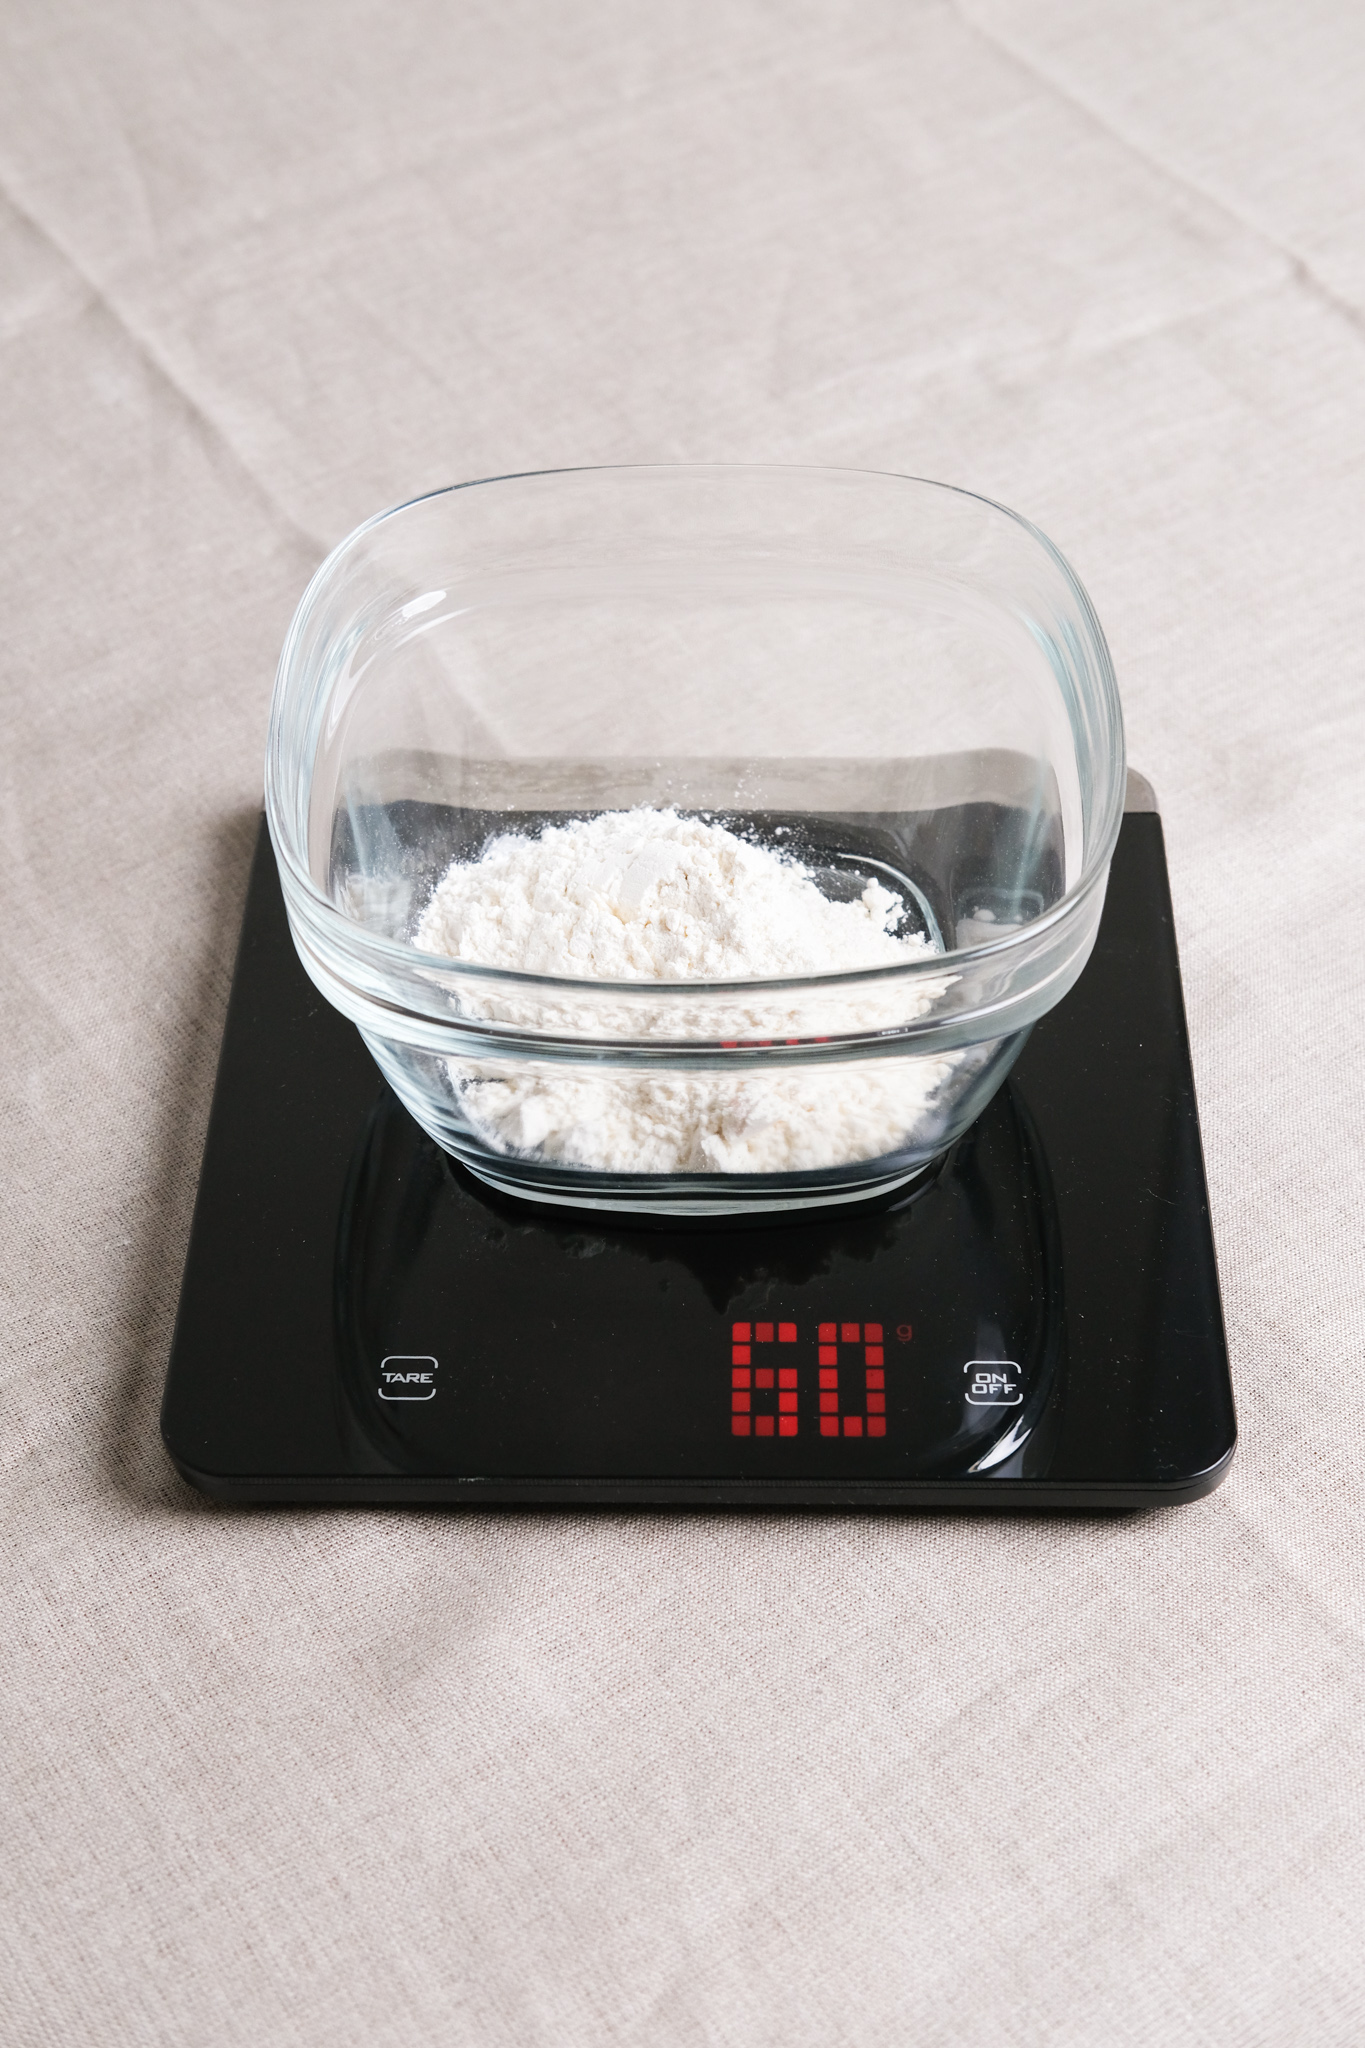
For the starter, I used all unbleached all-purpose flour. But now I do a mix between unbleached all-purpose and whole wheat flour.
Measure out 60 grams of water
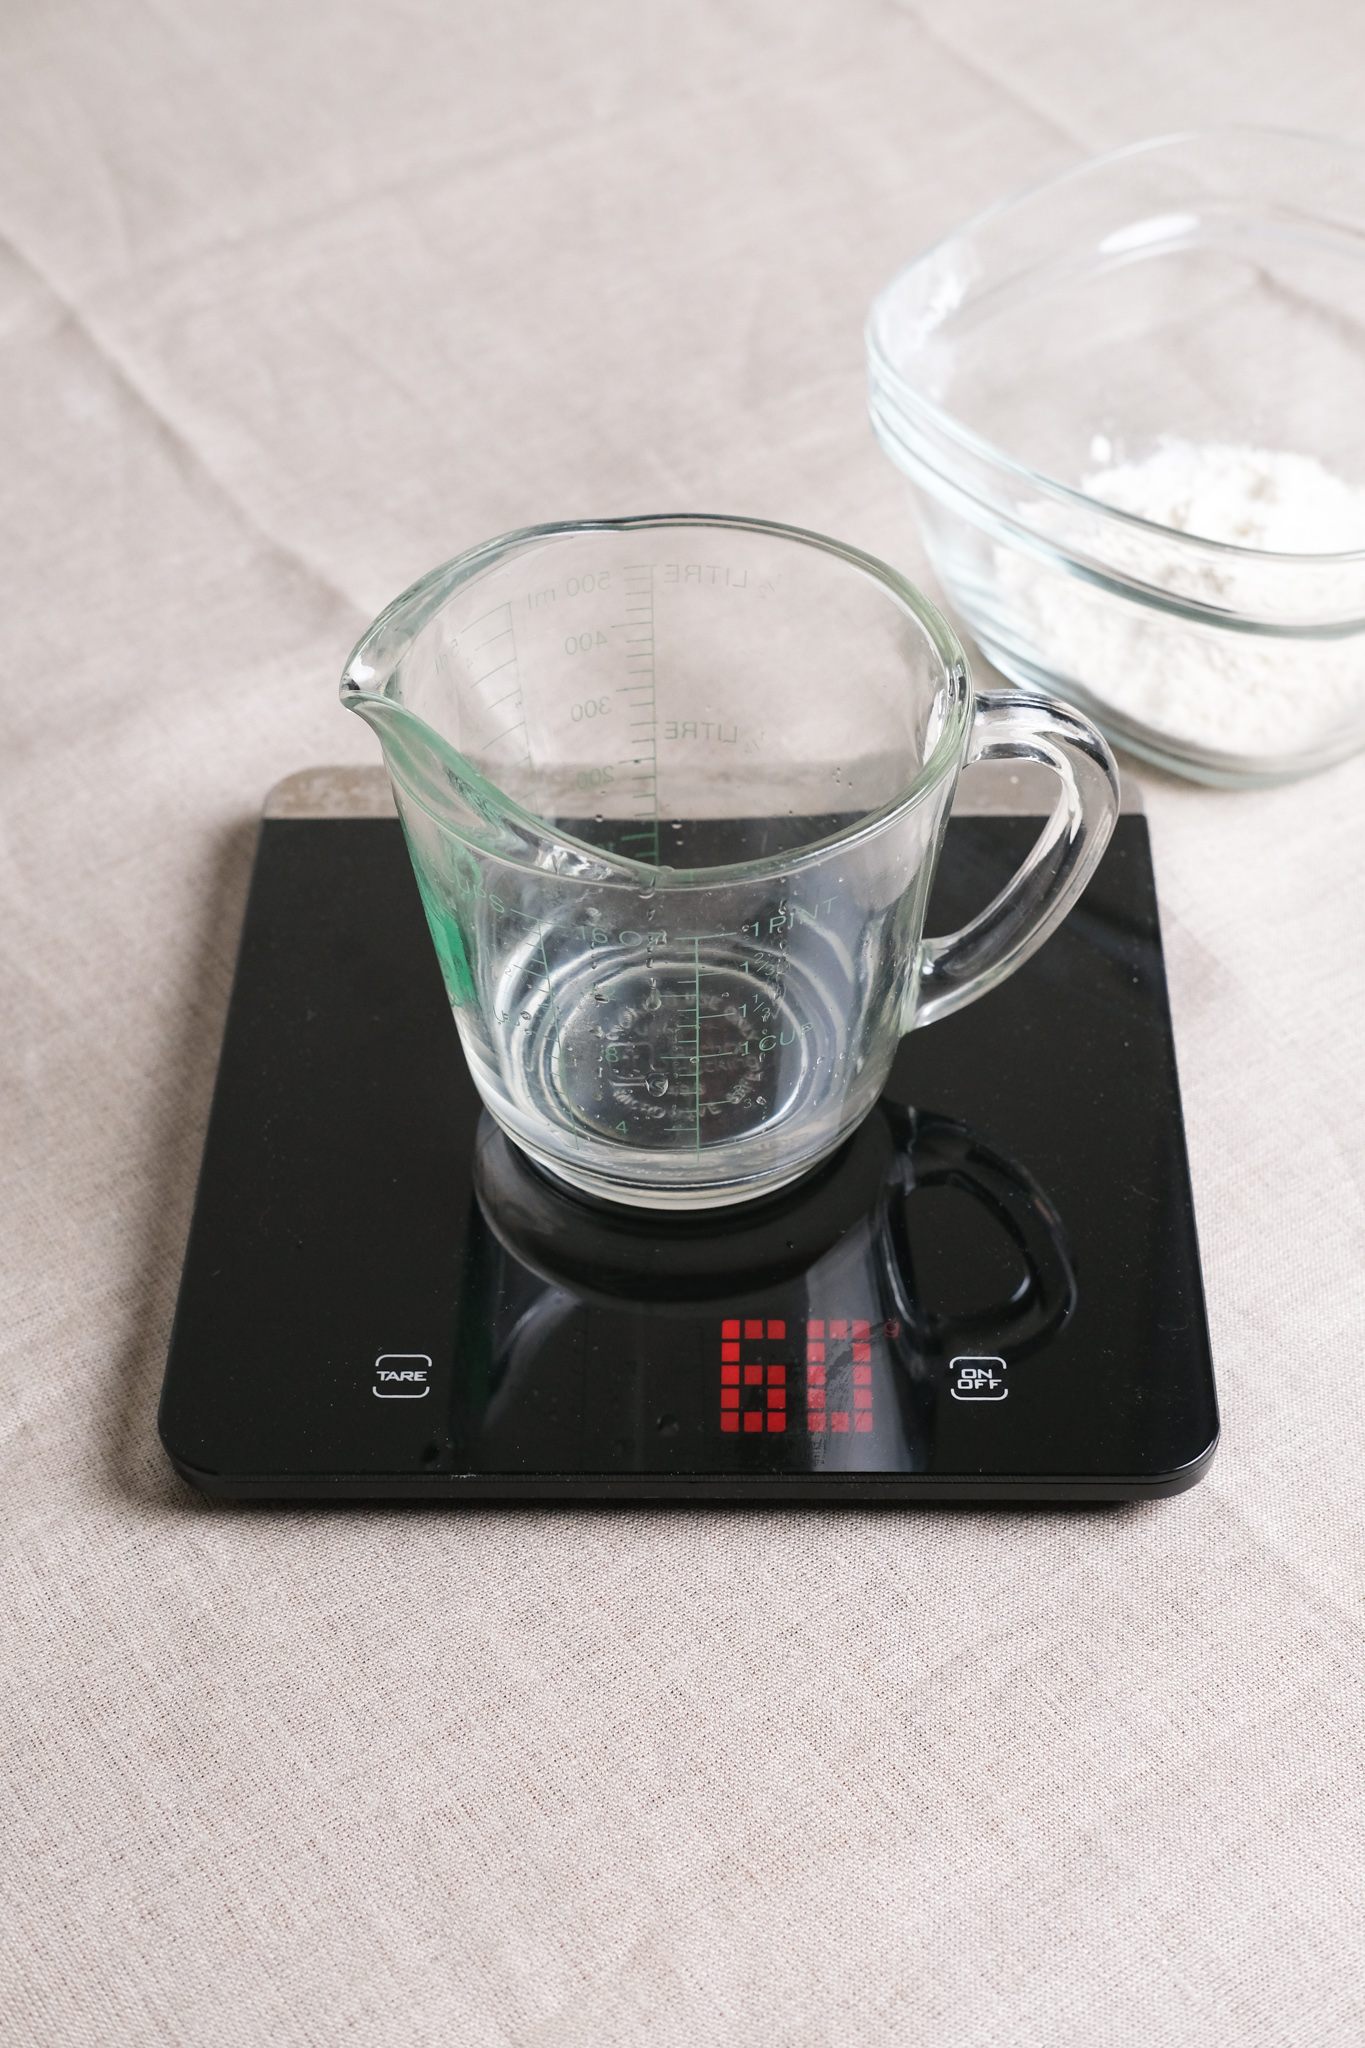
This should add up to about 1/4 cup of lukewarm water.
Mix together with a wooden spoon
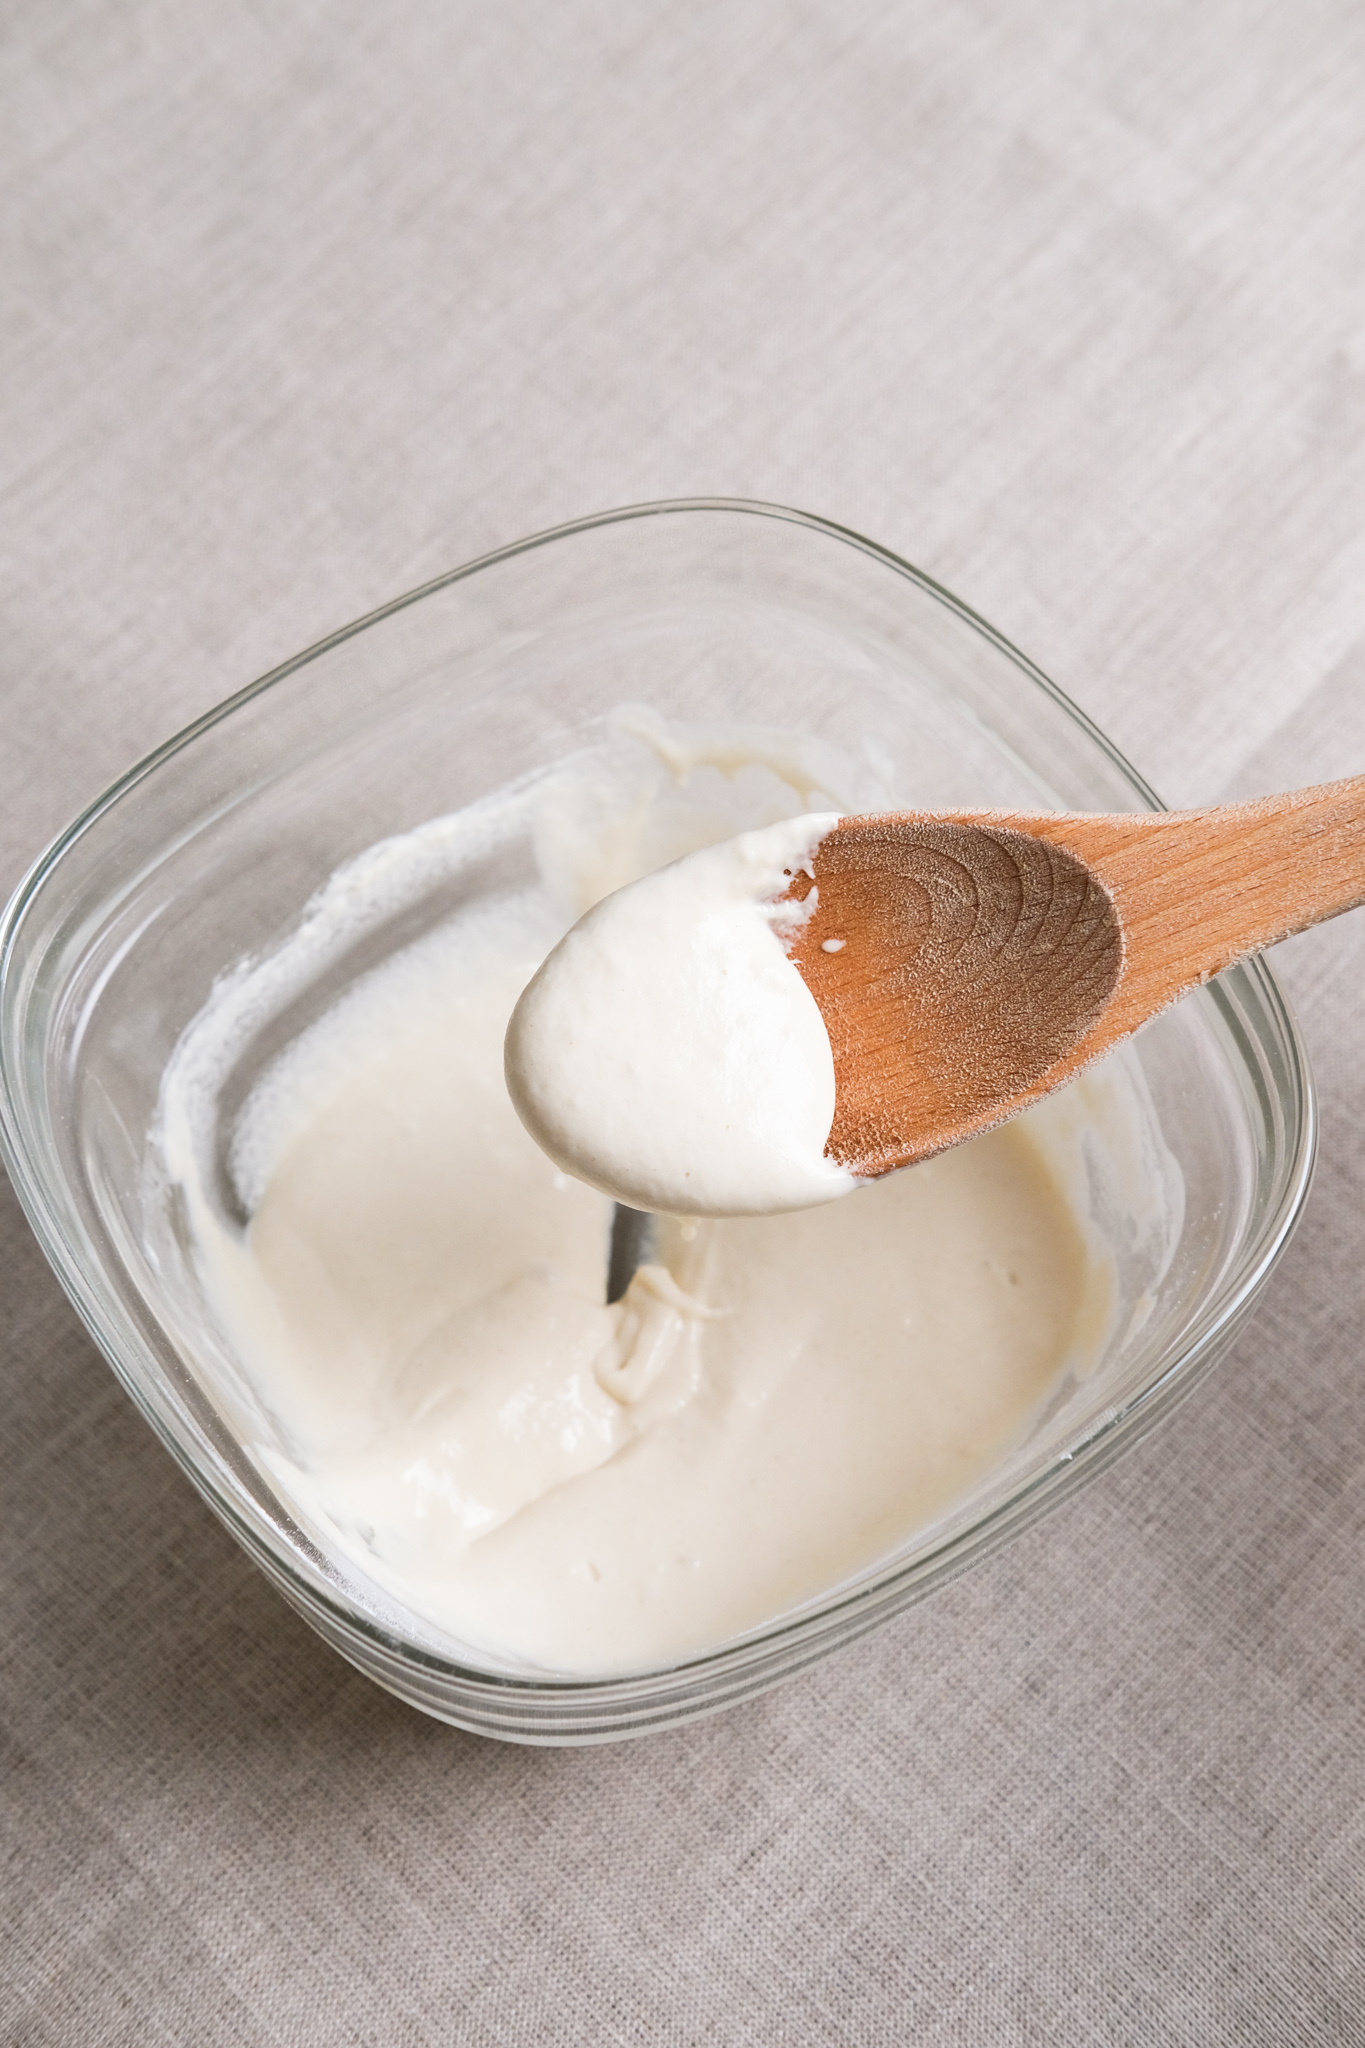
Using a wooden spoon helps with the taste of the sourdough. If you use metal, it may leave some kind of odd after taste—or at least, that’s what sourdough experts are saying.
Let it sit out for 1 hour before sealing with a lid
This will allow for the natural bacteria in the air to join in on the sourdough starter and kick off the process.
Seal and leave it for 24 hours
Put your sourdough baby to bed!
Day two
For the feeding, day two:
- Remove 1/2 of the sourdough starter
- 60 grams unbleached all-purpose flour (1/2 cup)
- 60 grams lukewarm water (1/4 cup)
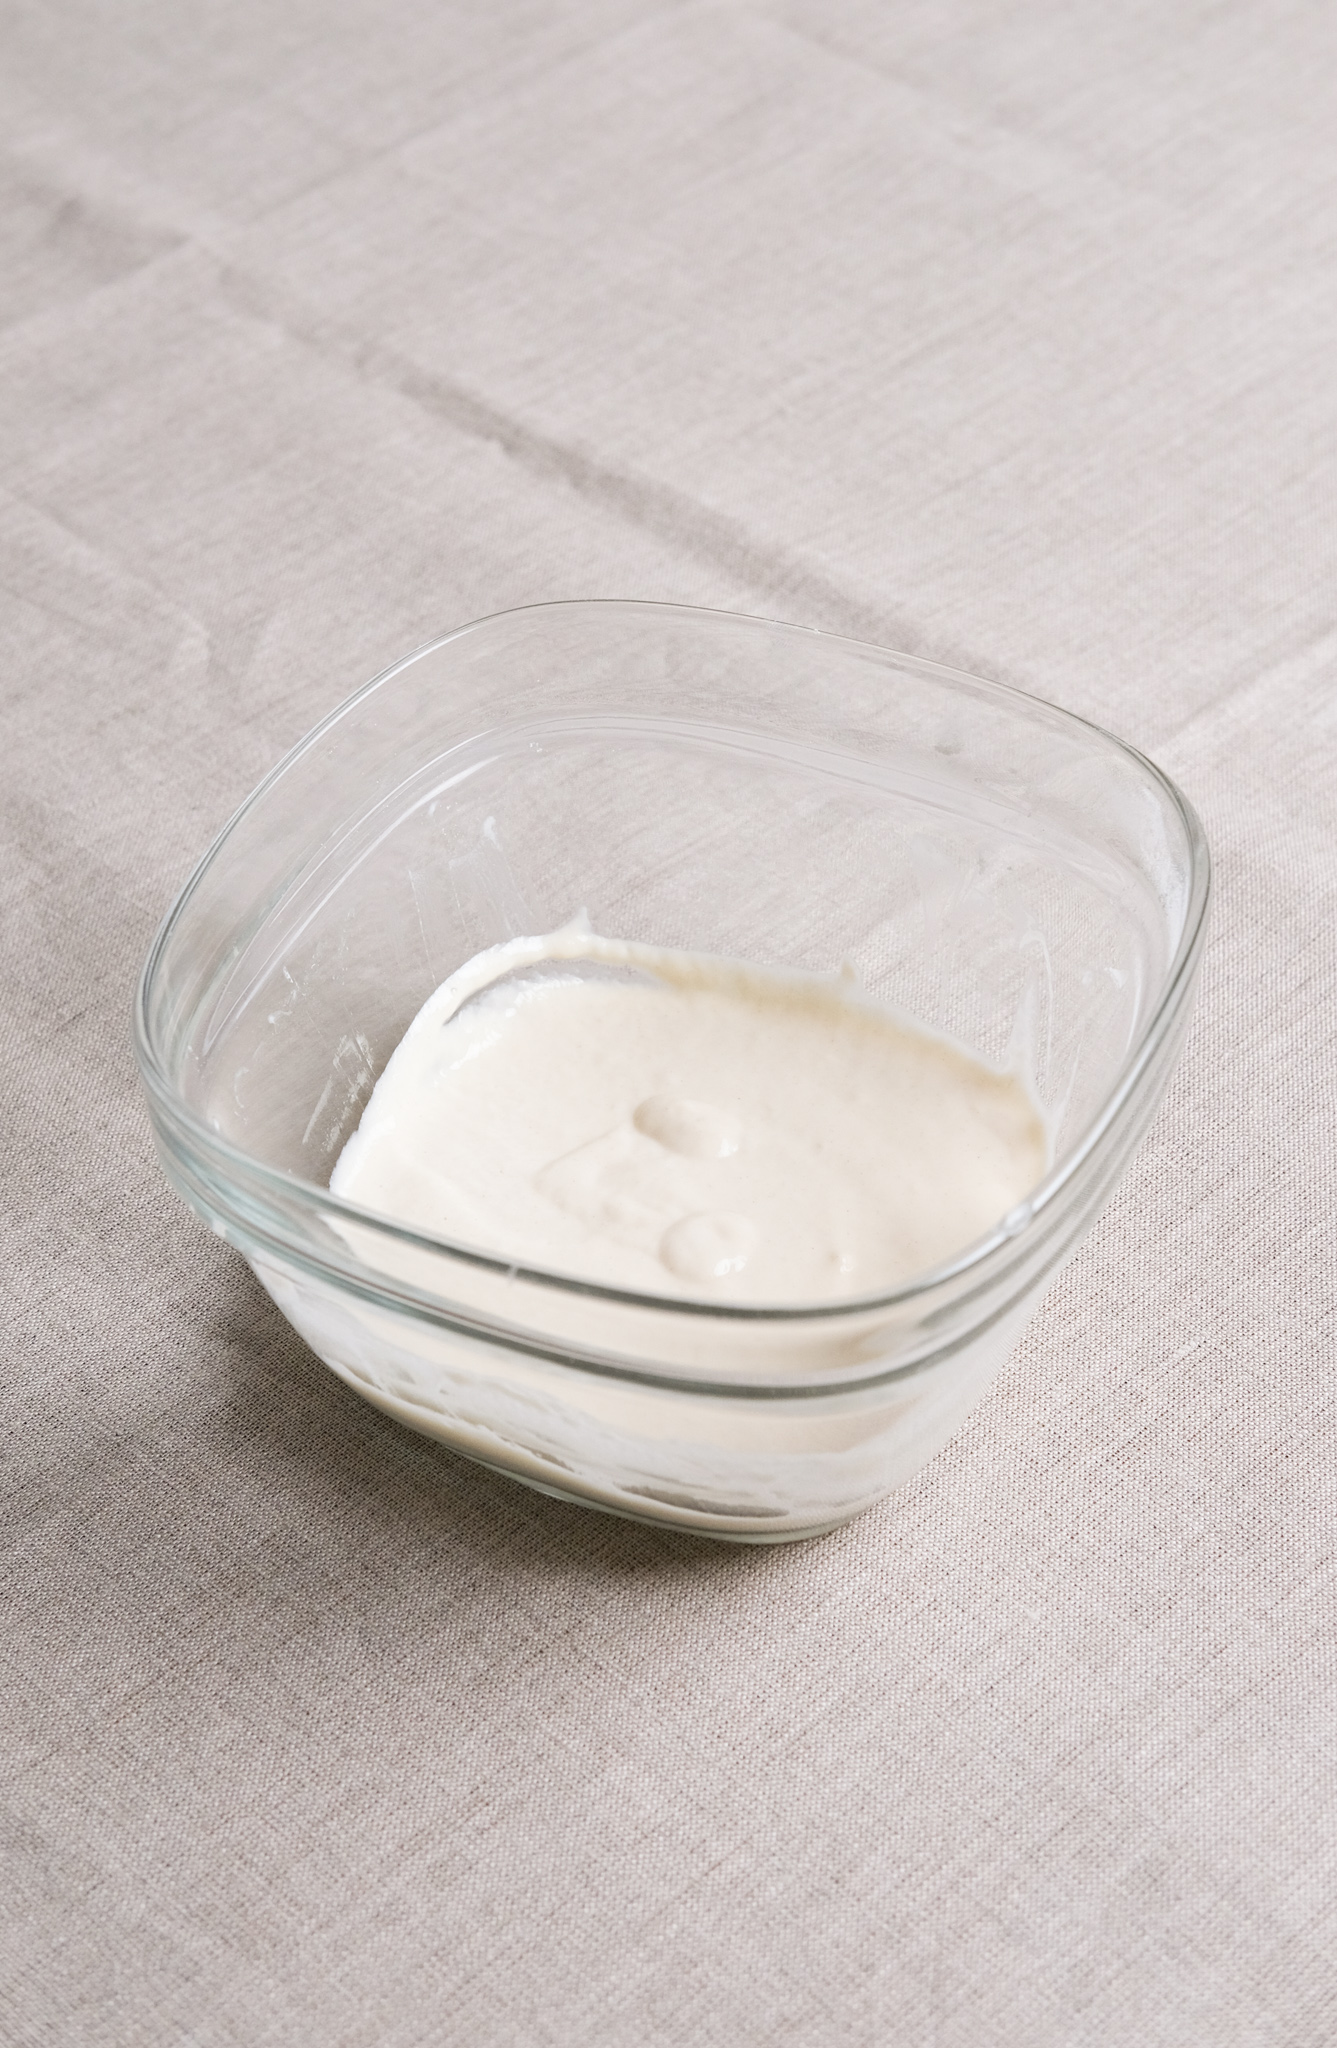
When I opened the container to give June her feeding, the wafting smell of yeast slapped me across the face. Mind you, my face was a bit close to the container—I just wasn’t expecting the starter to have a smell so soon. The sourdough starter had become a slightly darker color and it had little air bubble pockets sprinkled around the top.
I removed half of the starter (about 1/4 cup of it) and composted it, per the instructions I made from my research. When I mixed the next feeding of flour (60 grams) and water (60 grams) together, the mixture looked about the same—just slightly thicker.
As I scraped down the sides and set June out for a two hour rest (pre-lid), bubbles already started to form. This means activity is already happening within this starter, and it was only day two!
Day three
For the feeding, day three:
- Remove 1/2 of the sourdough starter
- 60 grams unbleached all-purpose flour (1/2 cup)
- 60 grams lukewarm water (1/4 cup)
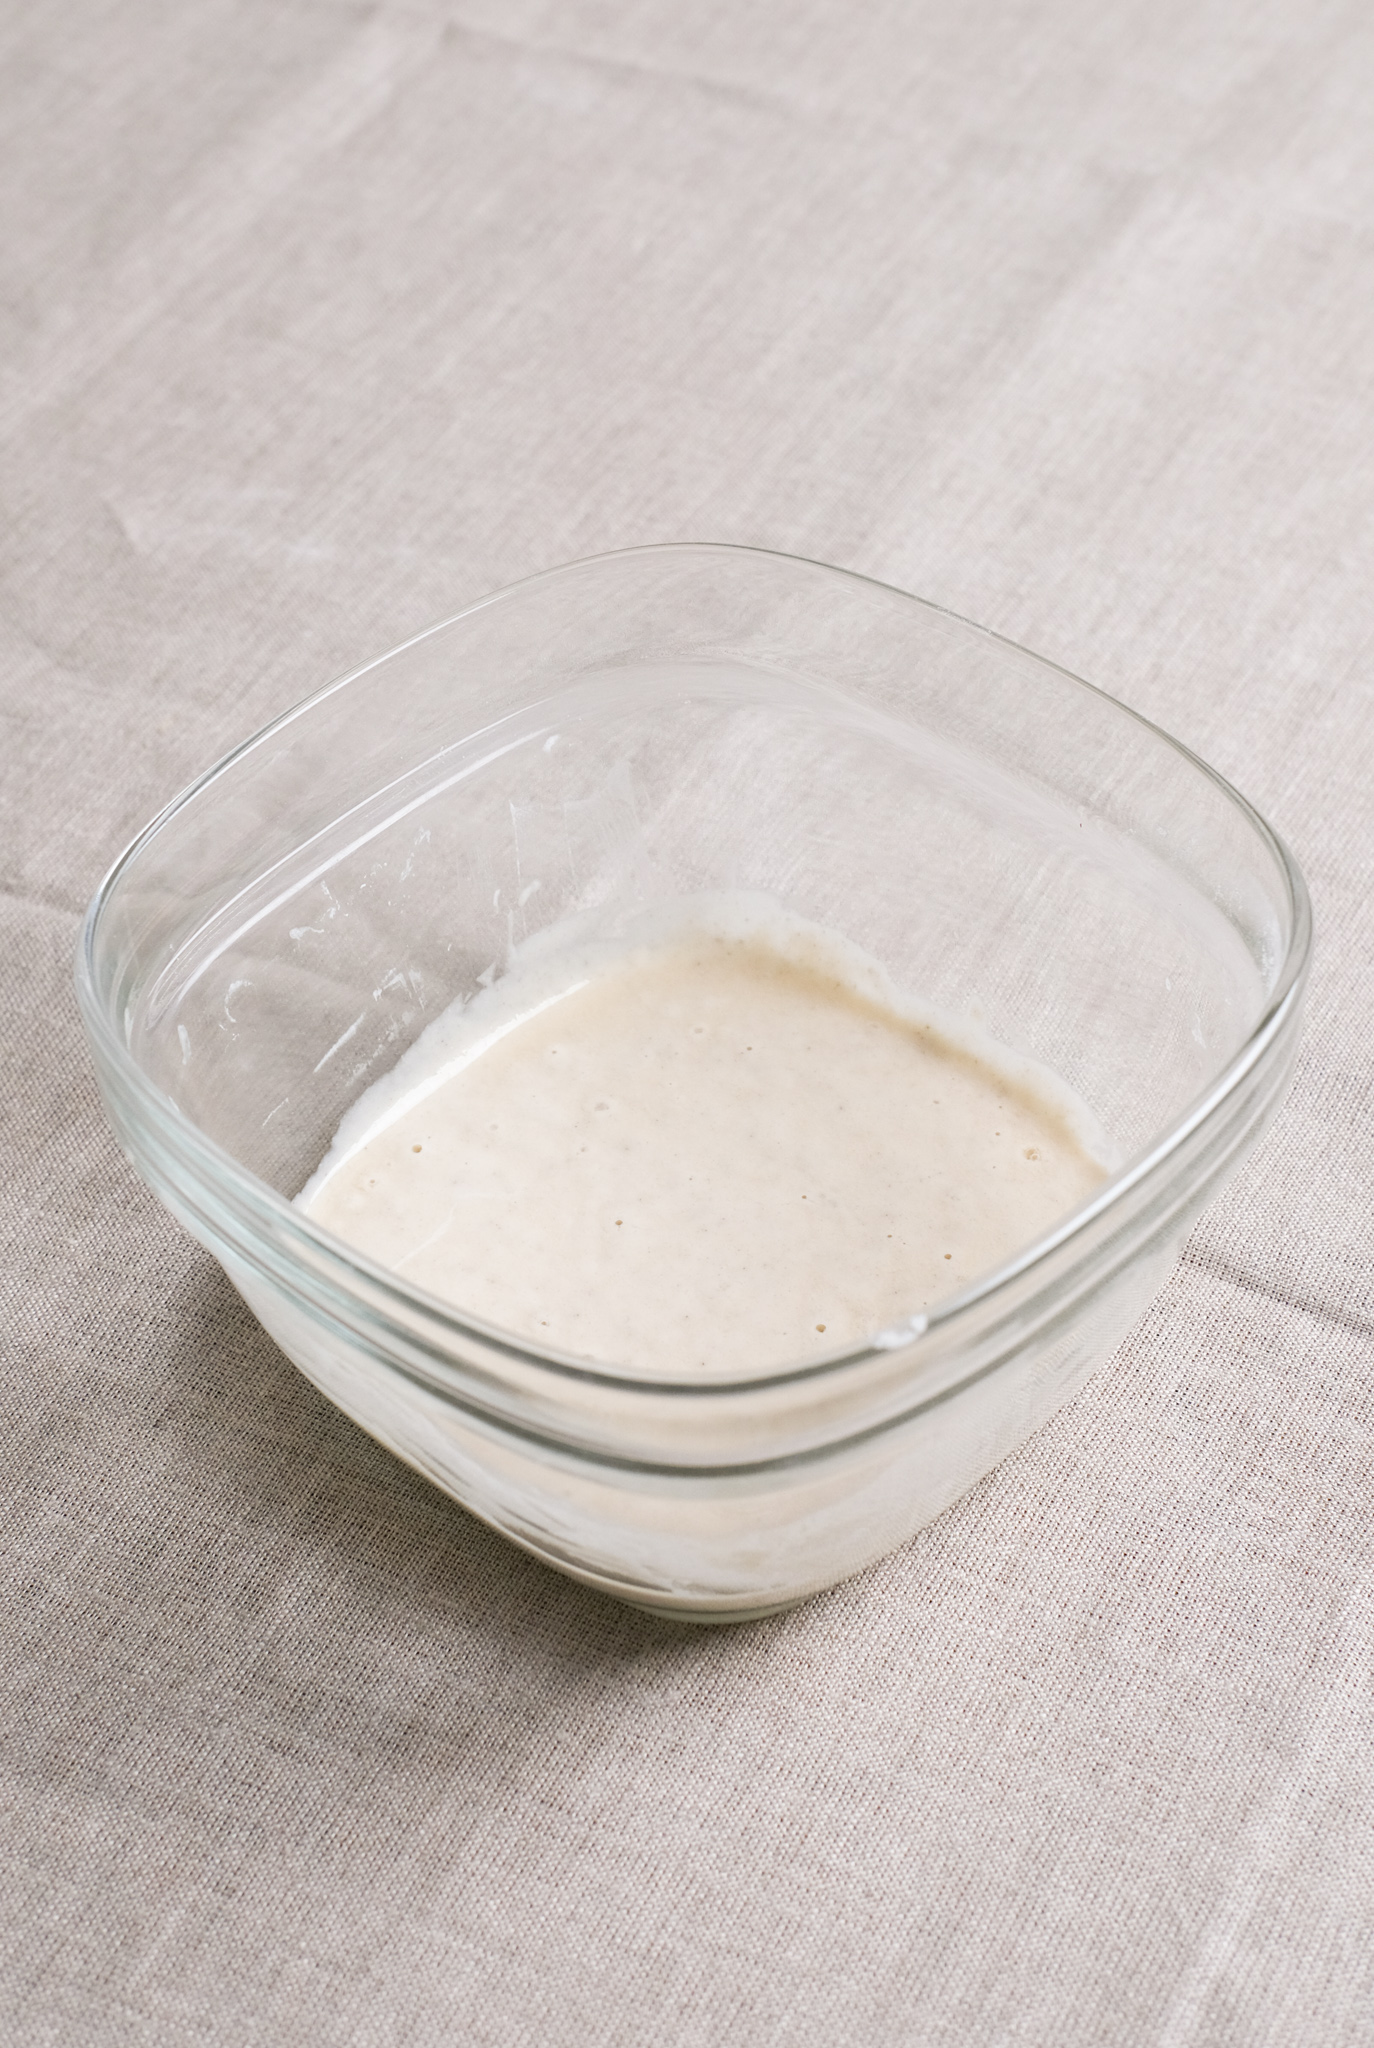
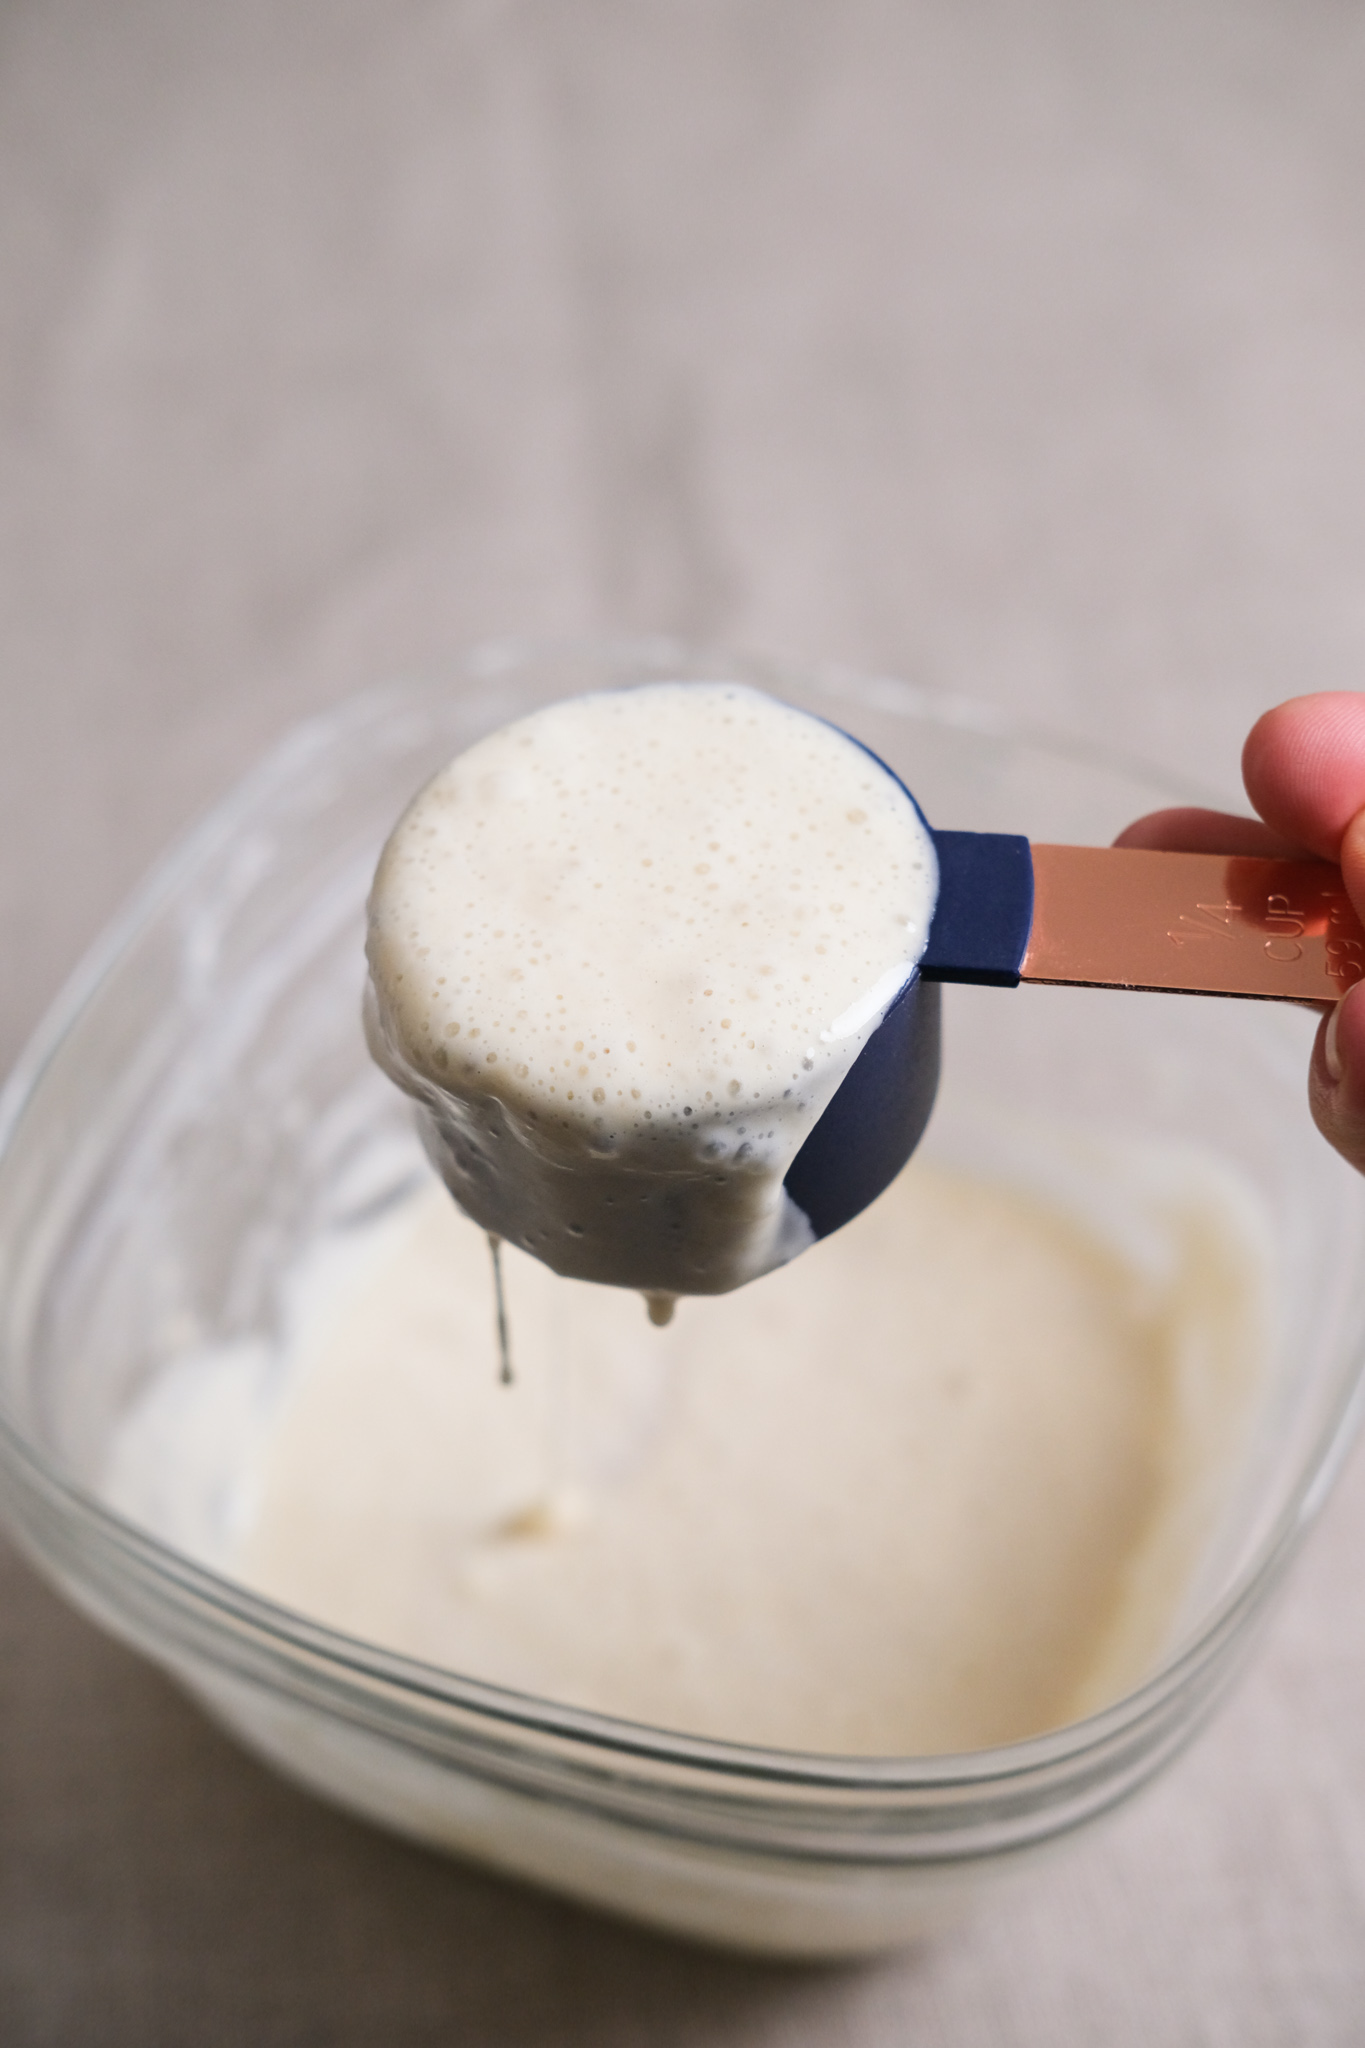
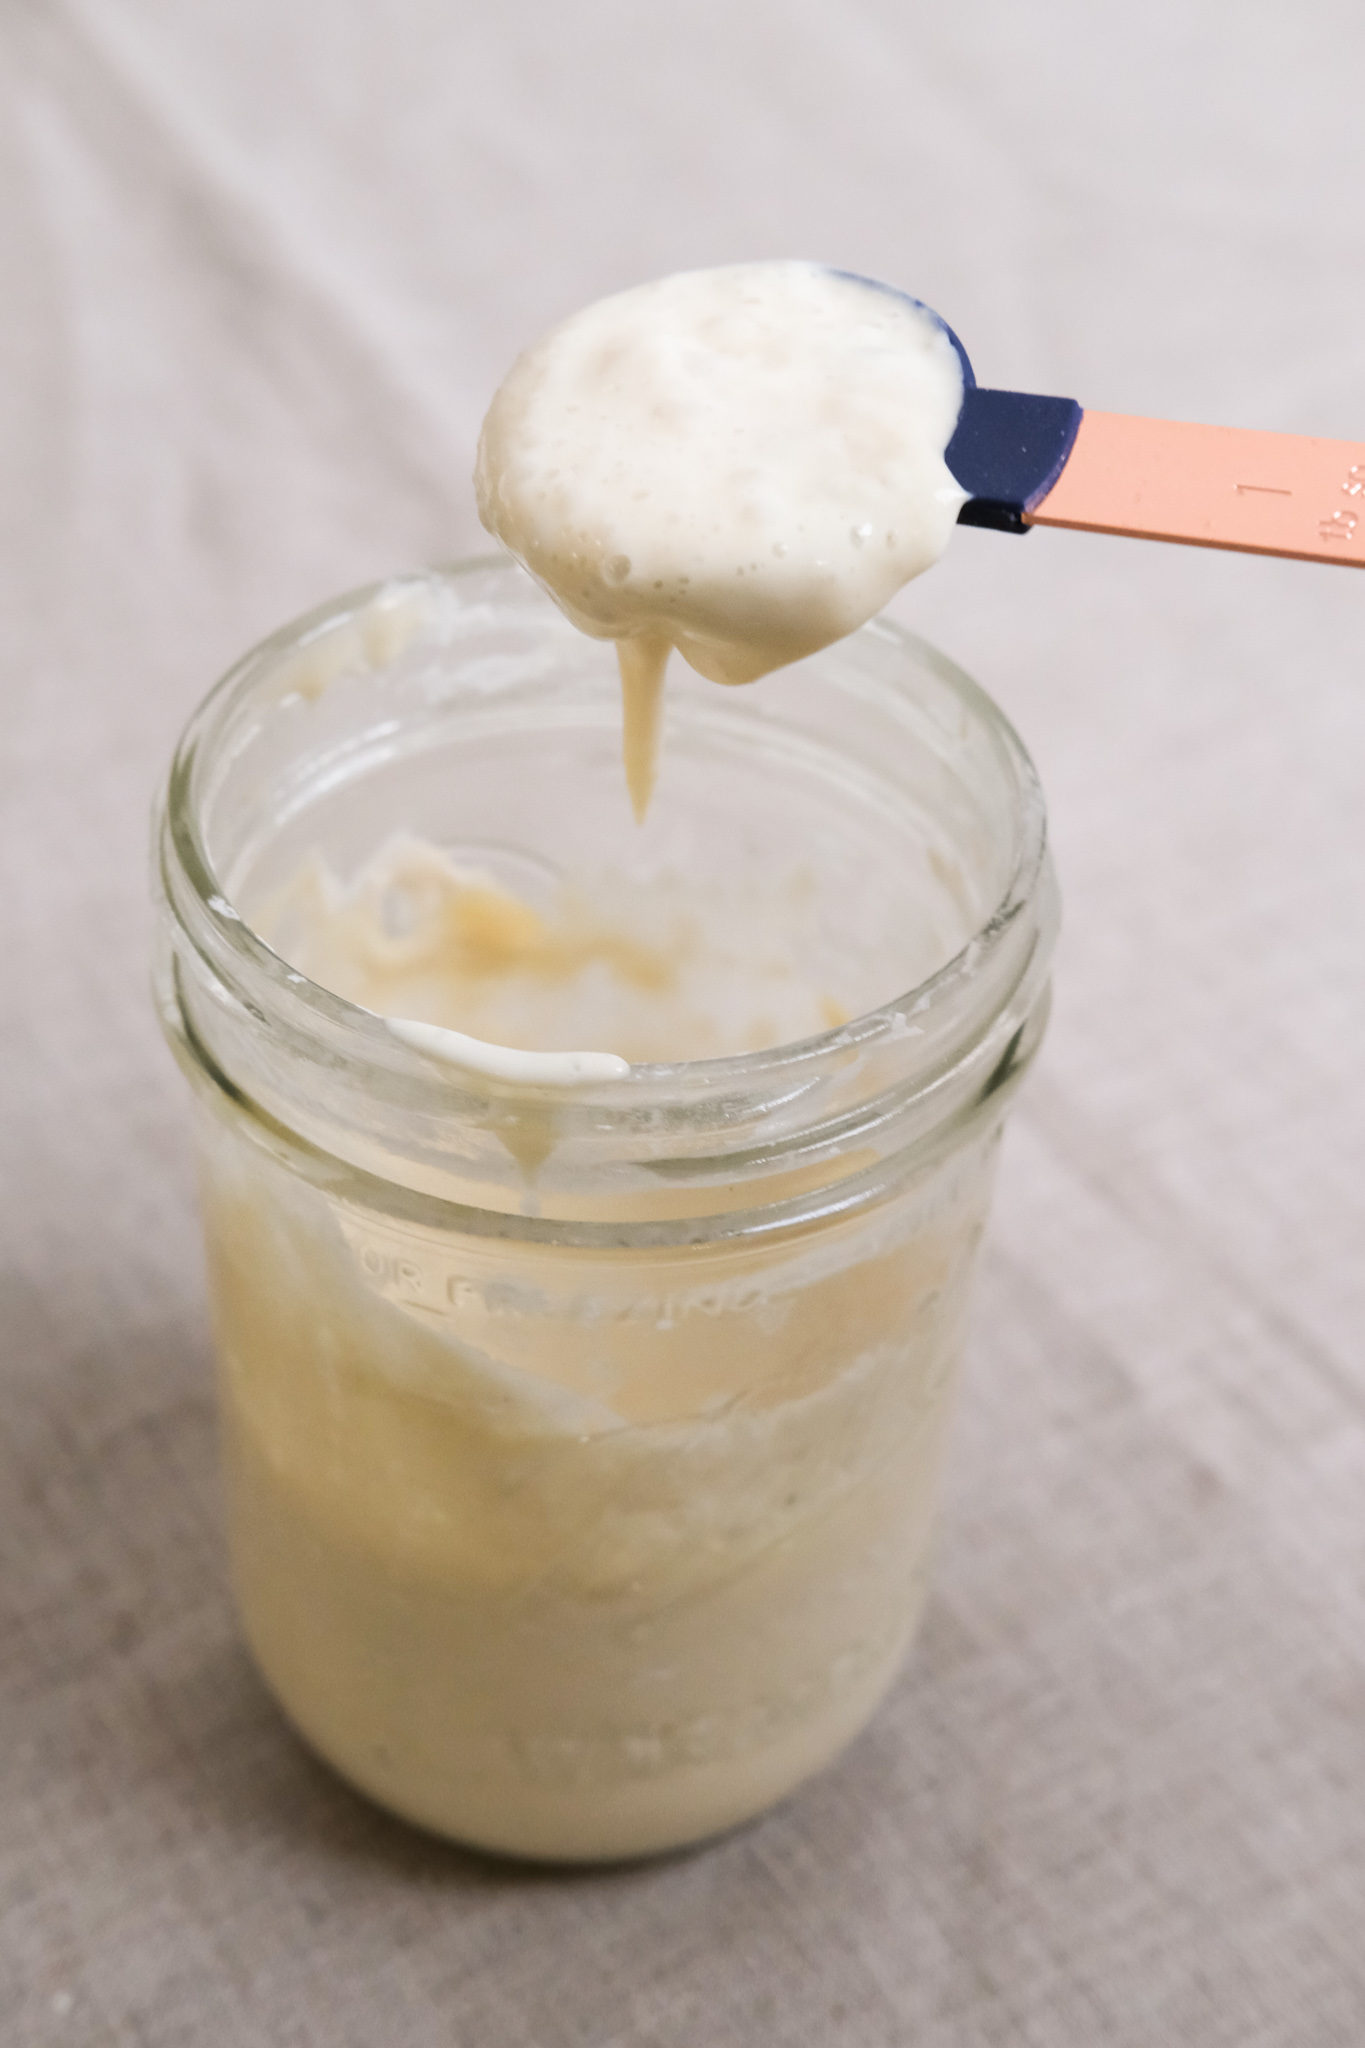
June is no longer sweet—she is definitely sour! The starter finally started to have that sour smell, which I take as a good thing to have come day three of this project. The top of the sourdough starter was very bubbly and puffy, which is a clear sign that there’s bacterial activity going on in there.
When I went to remove half of the starter, I was shocked by how bubbly and foamy the mixture was, so I snapped a picture. You can clearly see the bubbles in it! Crazy what a little flour and water can do. And maybe also a little frightening?
I gave June another feeding, and the starter was certainly thicker this time as I mixed. After two hours, I put the lid on the container and put June to bed.
Day four
For the feeding, day four:
- Remove all but 60 grams of starter
- 60 grams unbleached all-purpose flour (1/2 cup)
- 60 grams lukewarm water (1/4 cup)
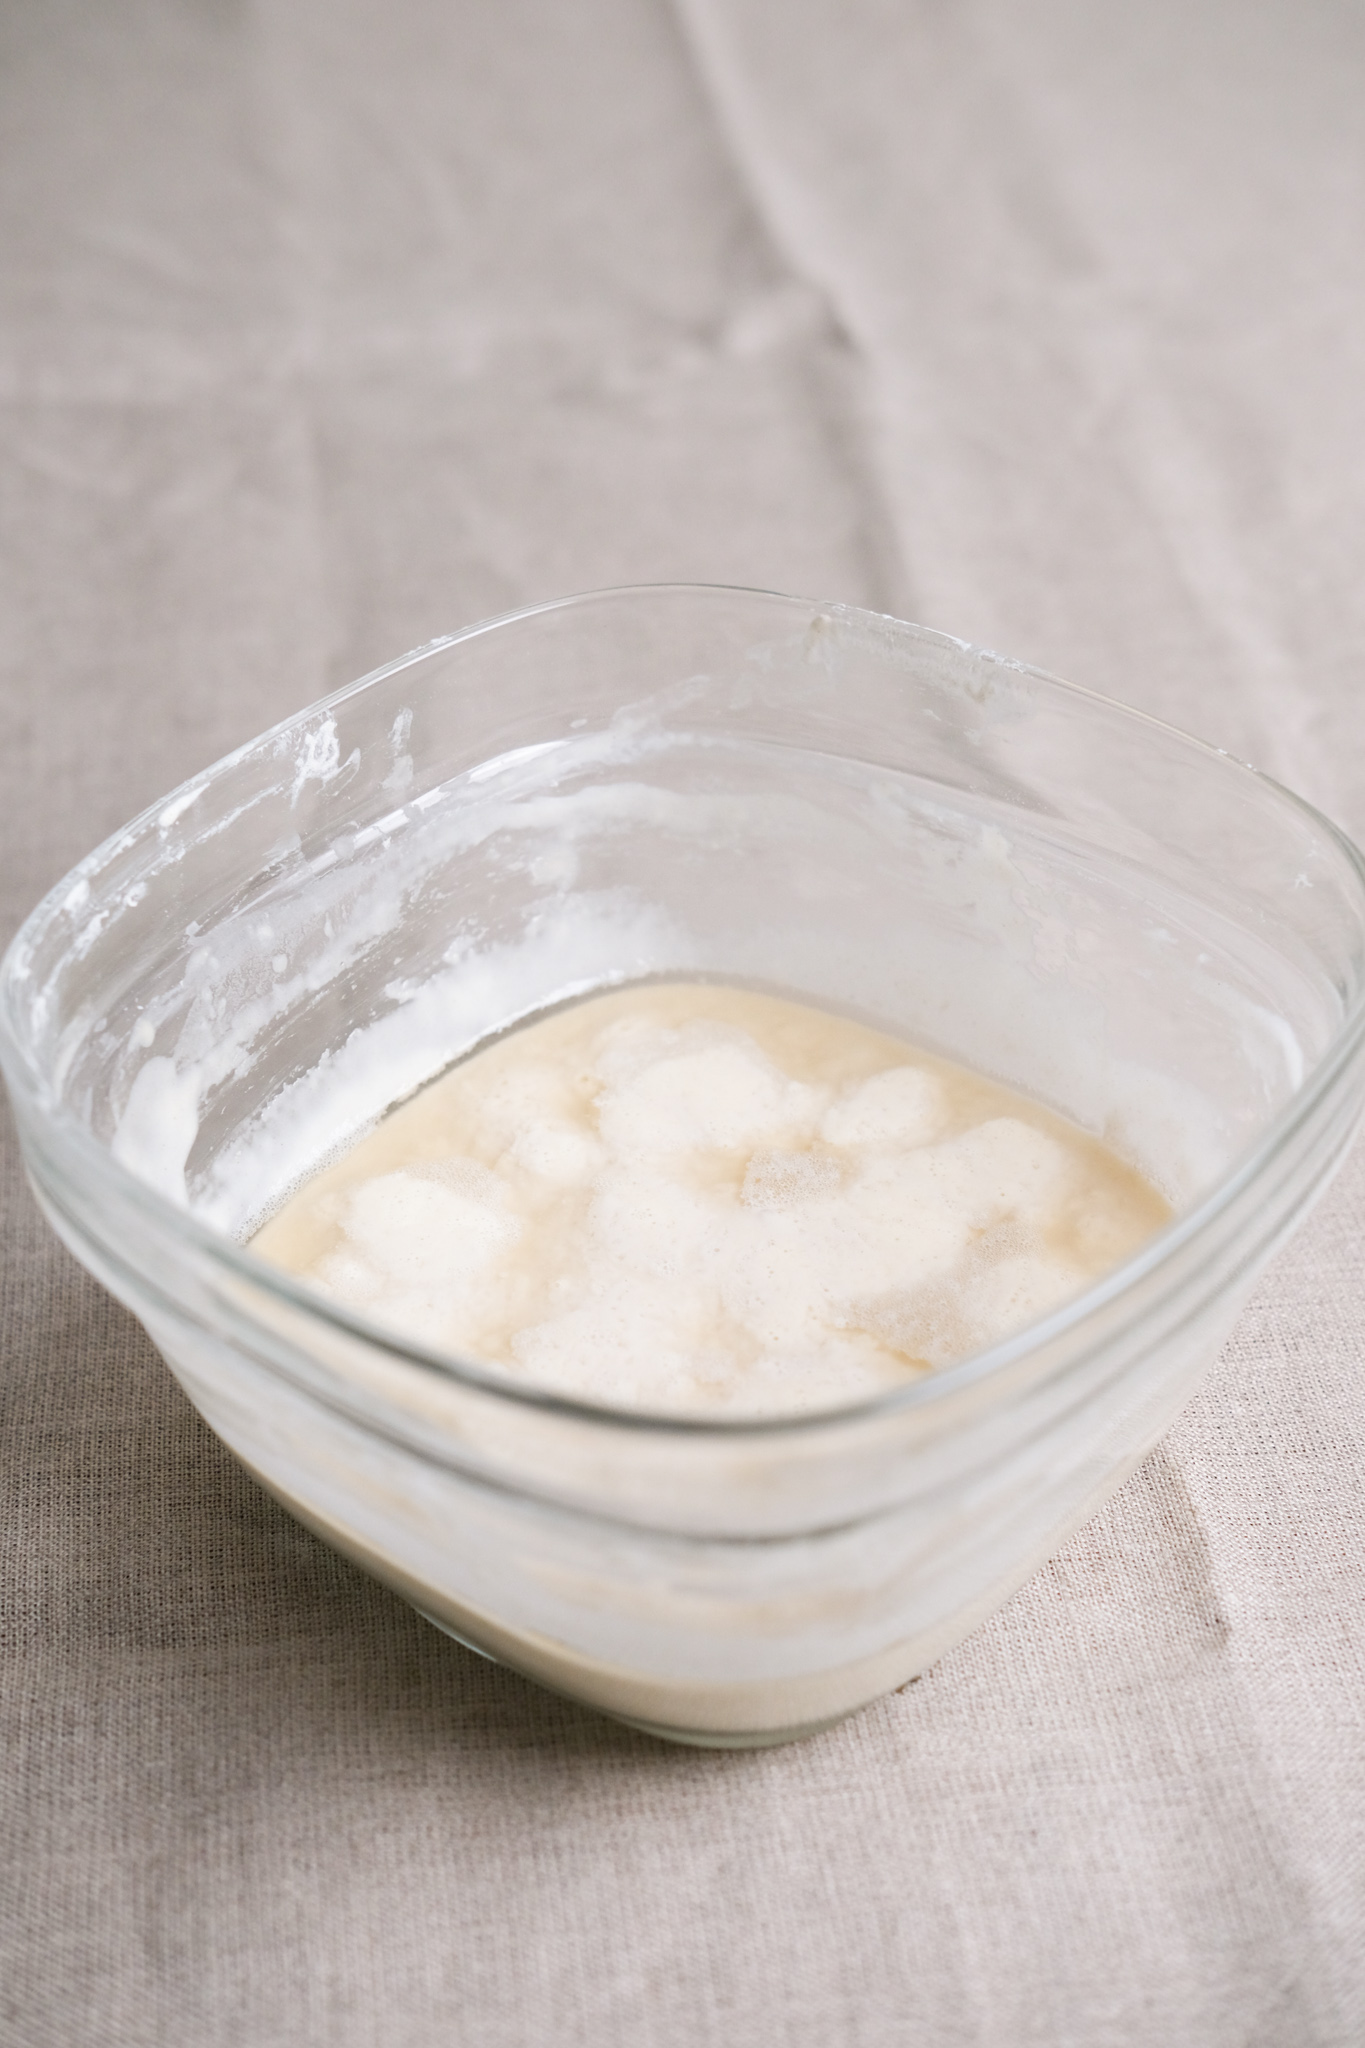
June is smelly, funky looking, and definitely in her pubescent phase. And like any teenager, she’s constantly hungry. See how the sourdough starter separated? Apparently the liquid on top is known as “hooch” and appears when your sourdough starter is desperately in need of a new feeding. This happens when the bacteria have eaten up all of the available food. I fed her right away and, afraid that there were too many bacteria, immediately put the lid back on.
As I continued to read, I realized the problem is the ratios of the starter when I feed it. According to numerous sources, the only amount of starter you should be keeping after each feeding is the same as your feeding. Since my starter was starting to get bigger, this means the ratio to starter and flour/water feeding was off.
While doing some research, it seems discarding the hooch or keeping it in the sourdough starter is a debated topic. After stirring my hooch in and realizing I probably shouldn’t have, I found this one comment on Sourdough.com that made me laugh—and feel better—about stirring.
“I always just stir mine in, never had a problem. I figure if I can have a glass of wine, so can my beasties :)”
Long story short, when I did the feeding this day, I properly measured it and made sure the ratio of the feeding was correct.
Day five
For the feeding, day five:
- Remove all but 60 grams of starter
- 60 grams unbleached all-purpose flour (1/2 cup)
- 60 grams lukewarm water (1/4 cup)
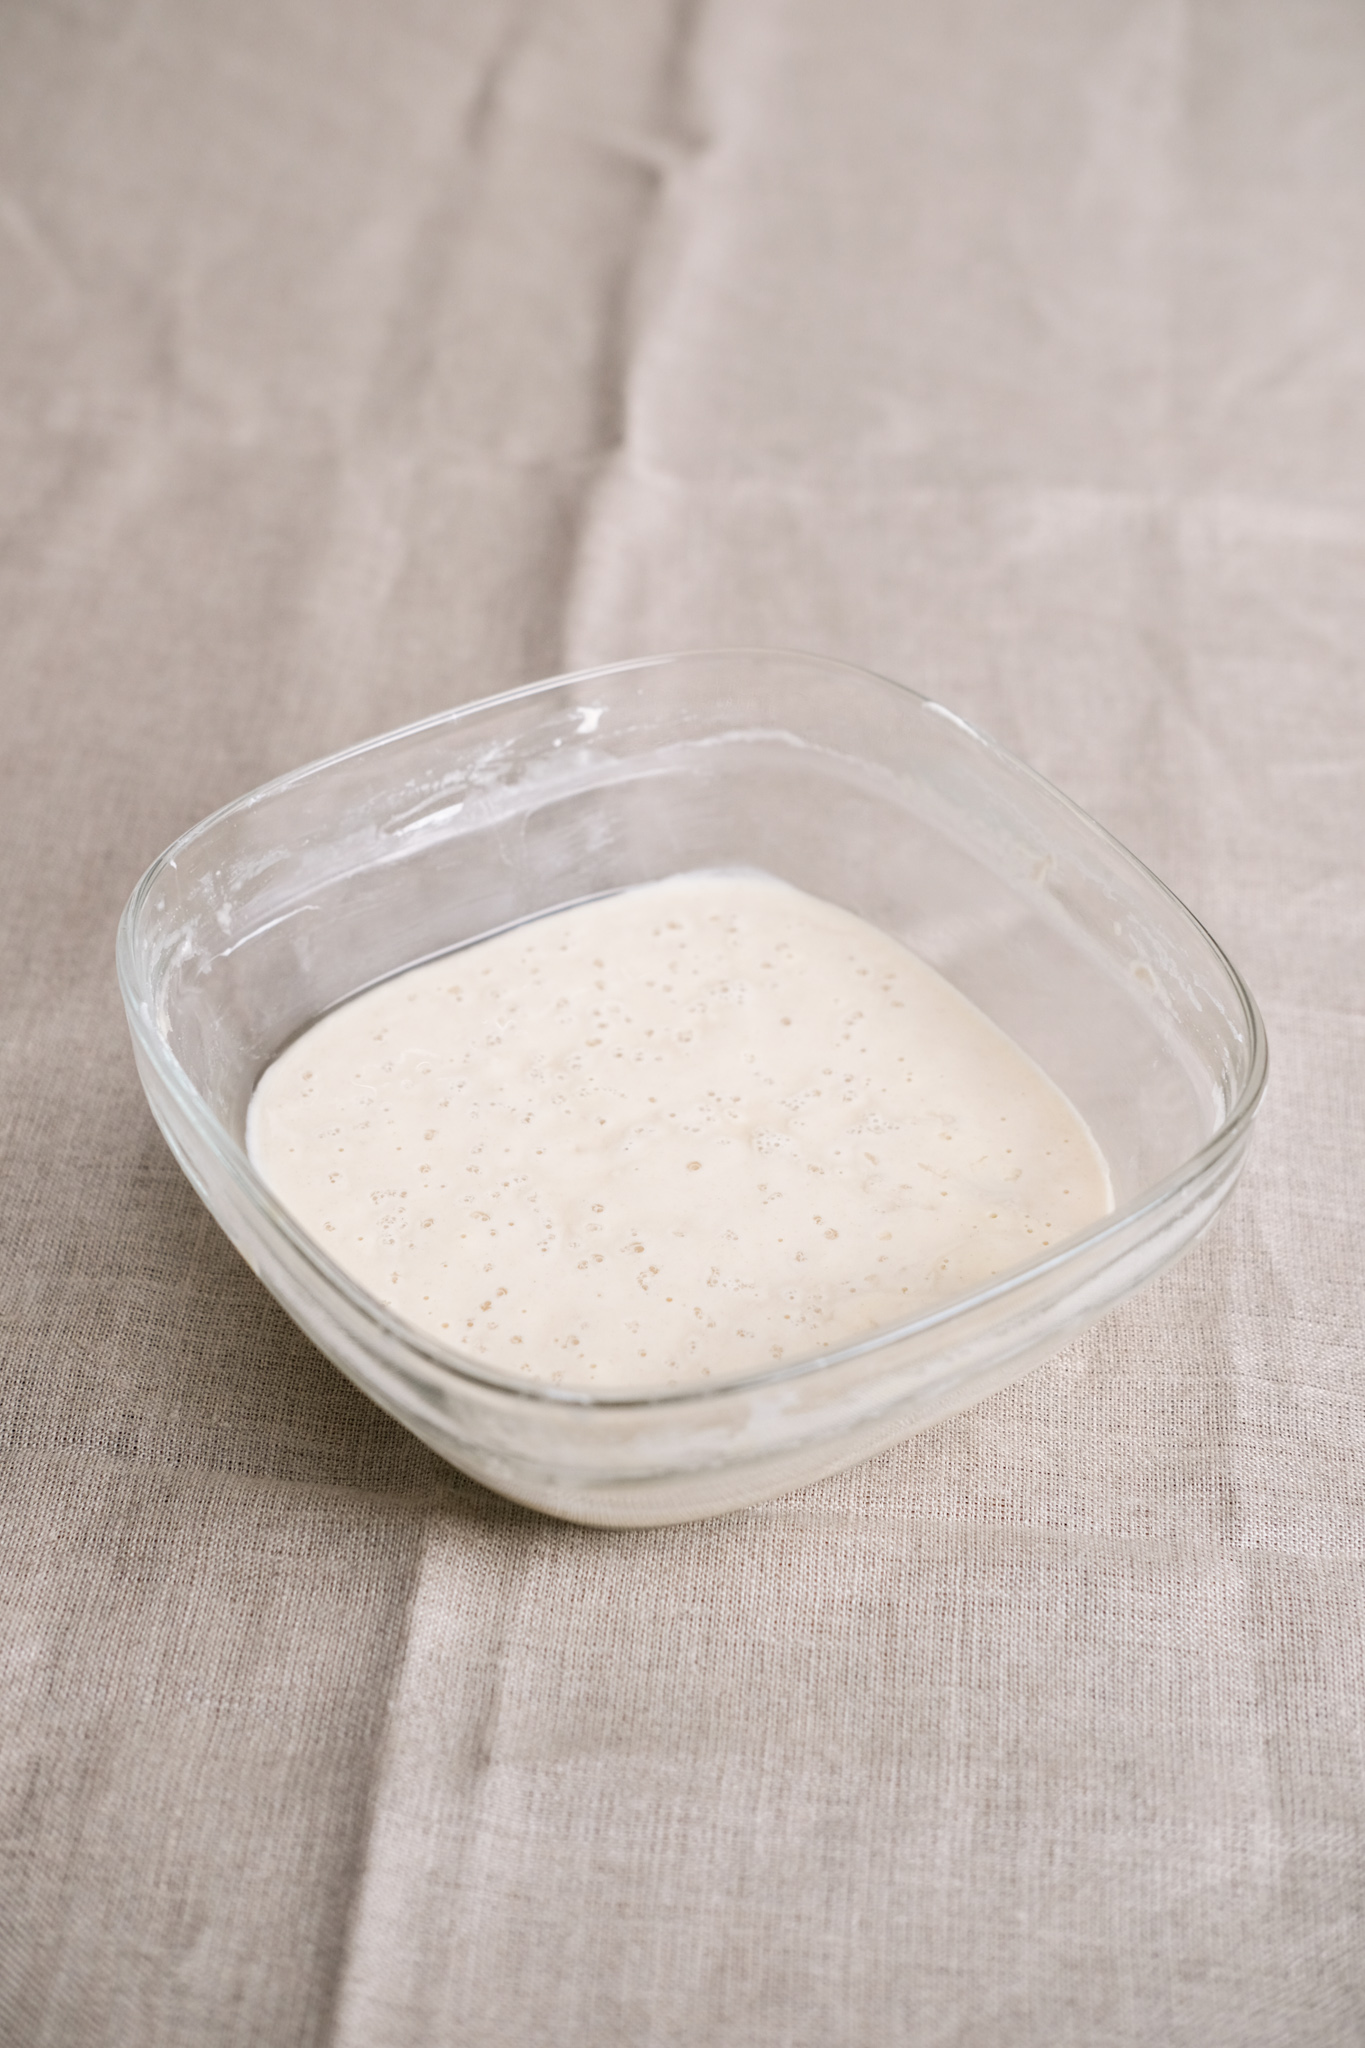
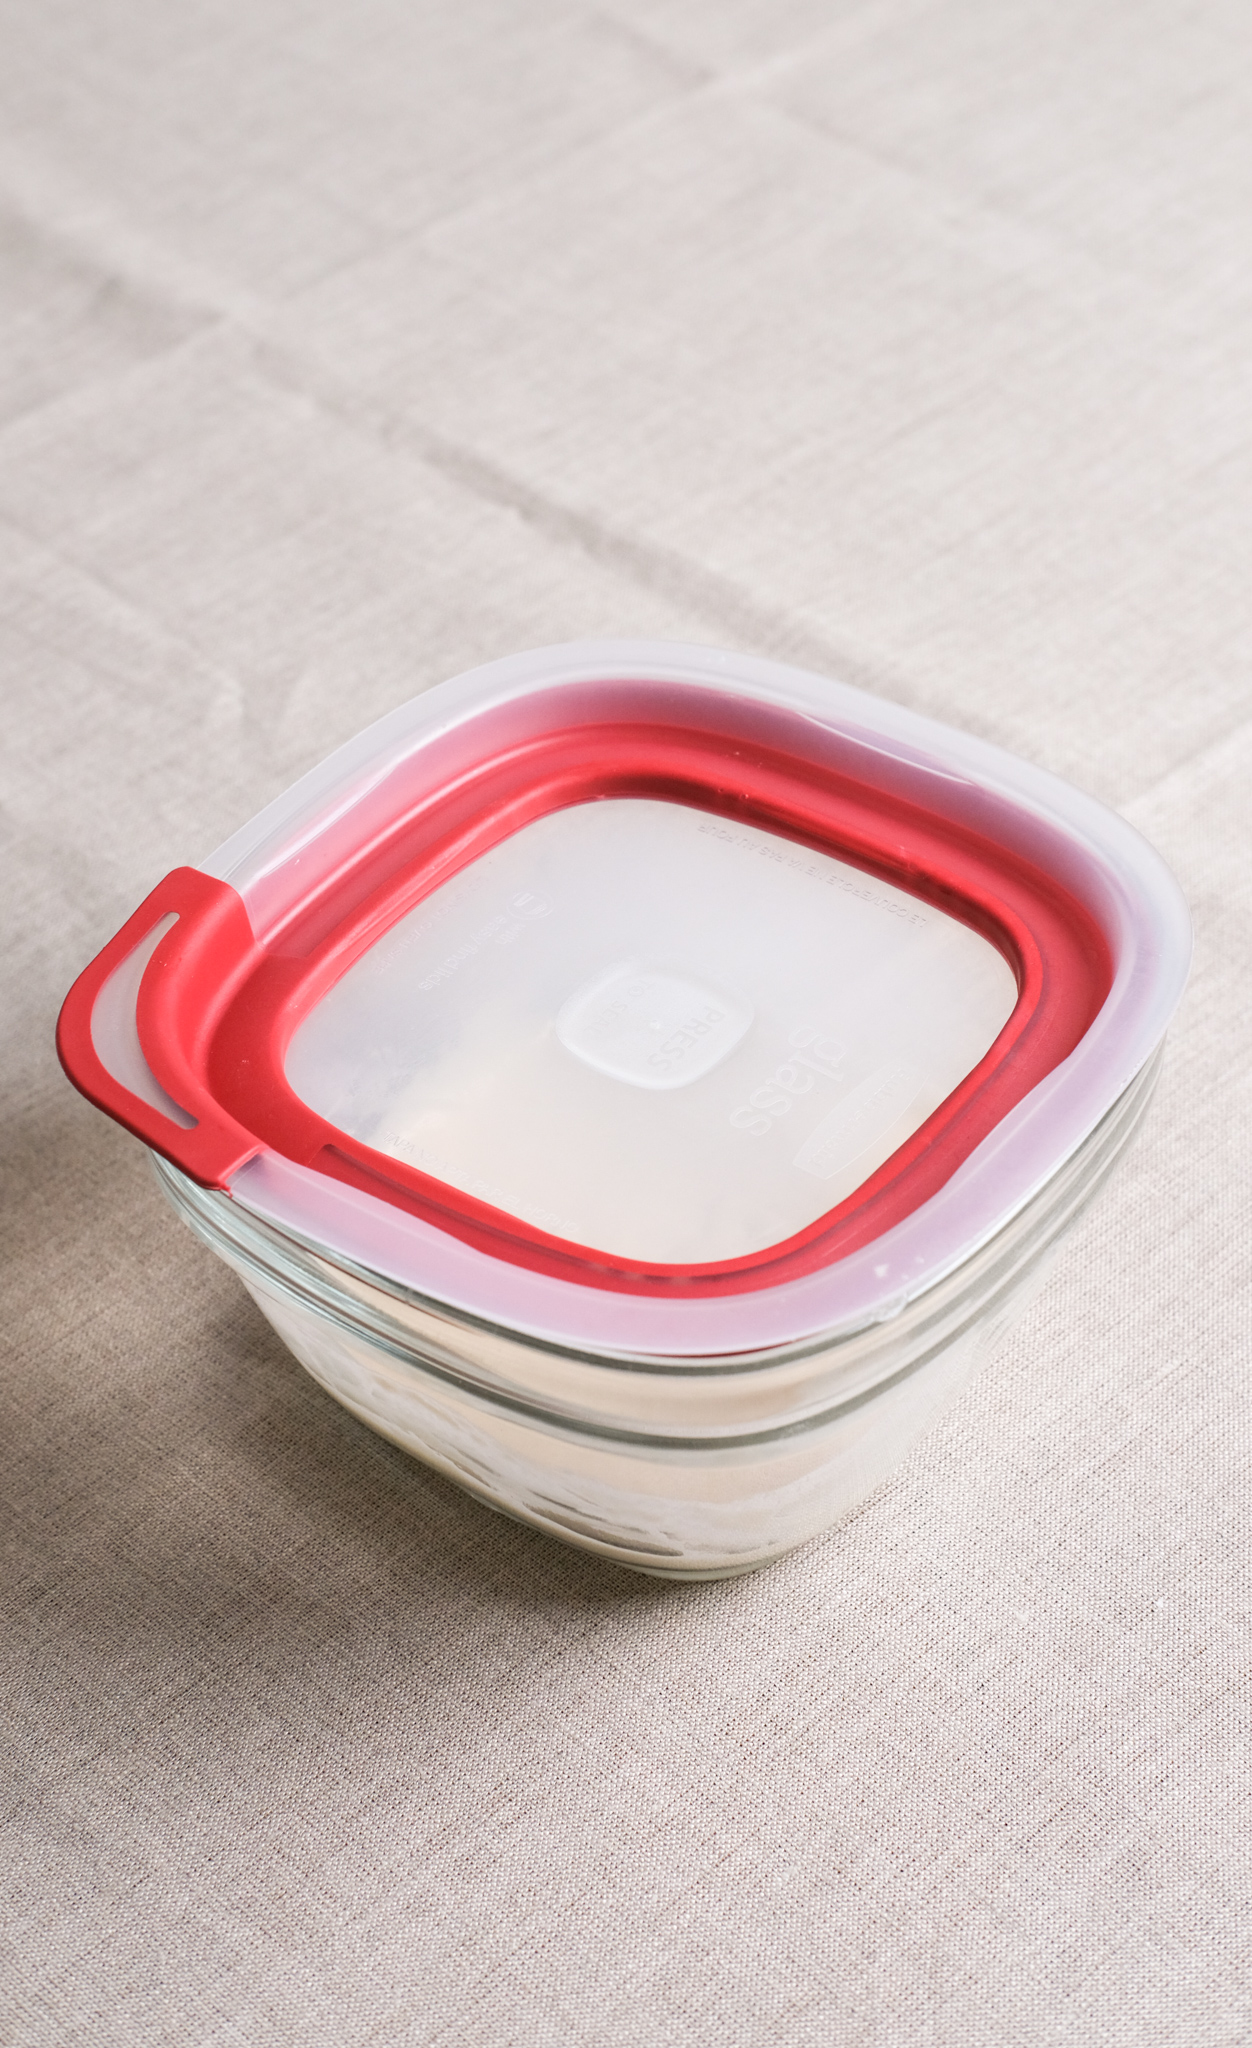
In order to properly measure out the starter ratio, I had transferred the sourdough starter to a different container. There wasn’t any hooch on top of the starter when I approached feeding time, which I took as a win. It was late, so I did the feeding and went to bed.
Day six
For the feeding, day six:
- Remove all but 60 grams of starter
- 60 grams unbleached all-purpose flour (1/2 cup)
- 60 grams lukewarm water (1/4 cup)
I woke up today kind of hoping that I could start on a loaf of sourdough bread. Research shows that it takes five to seven days for a sourdough starter to be ready, so I was hoping that day six may be the day that I could start baking. Sadly, I was mistaken.
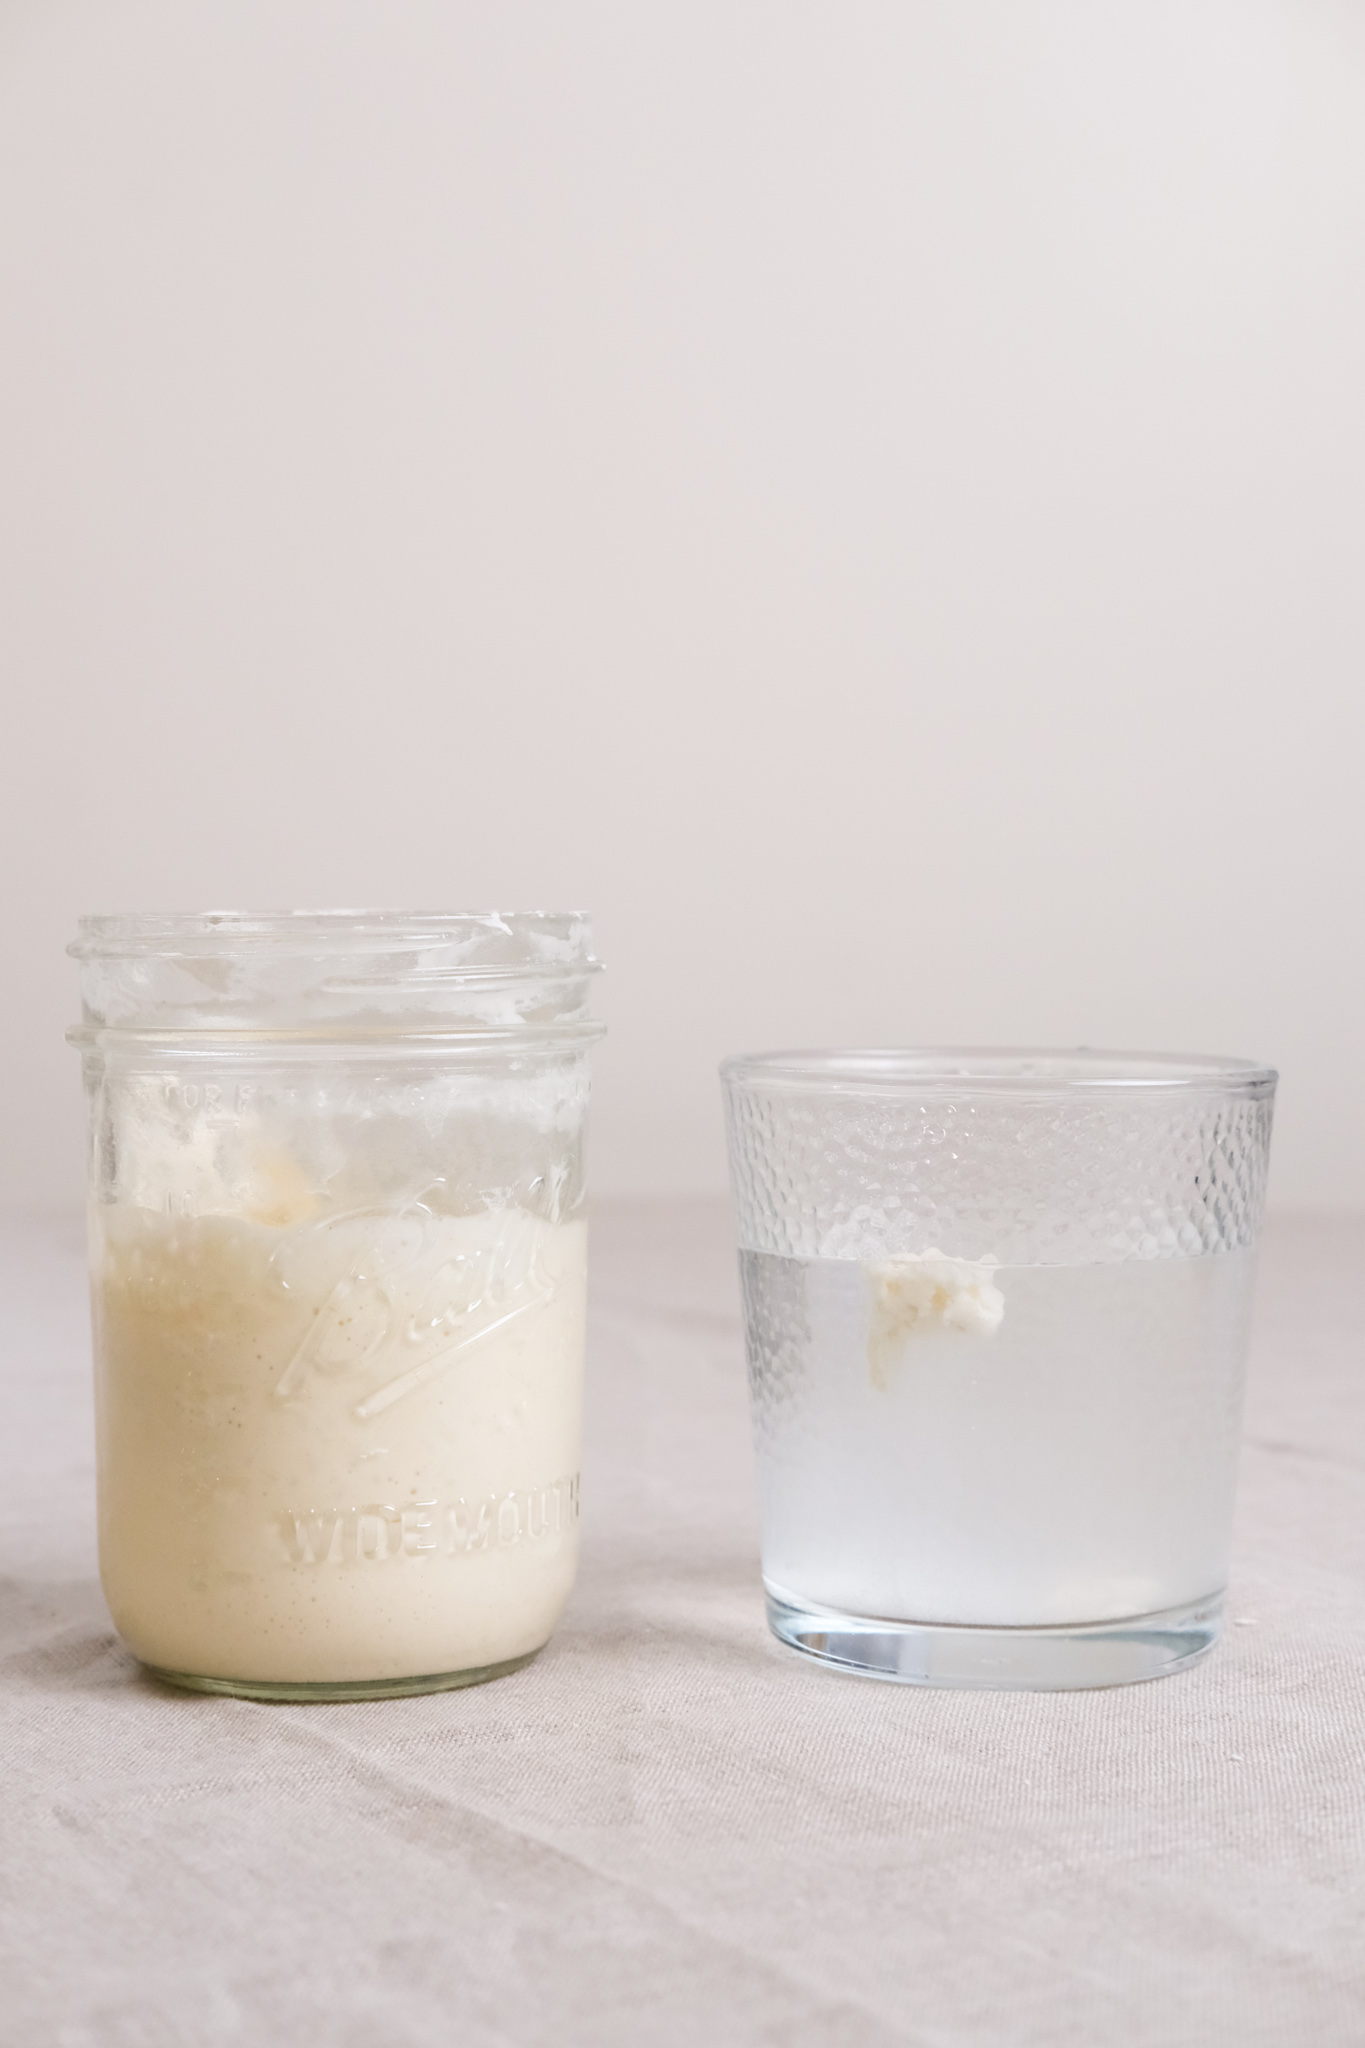
In order to properly test that sourdough is ready, you take a teaspoon of it and plop it in a cup of lukewarm water. If it floats, it’s ready.
Mine didn’t float.
On an emotional level, I related to that non-floated piece of starter. Deflated. It clearly wasn’t time to bake bread.
I needed to wait for signs of a mature starter, which should:
- Visibly double in size
- Have bubbles (almost froth) on the top and the sides
- Can float in water
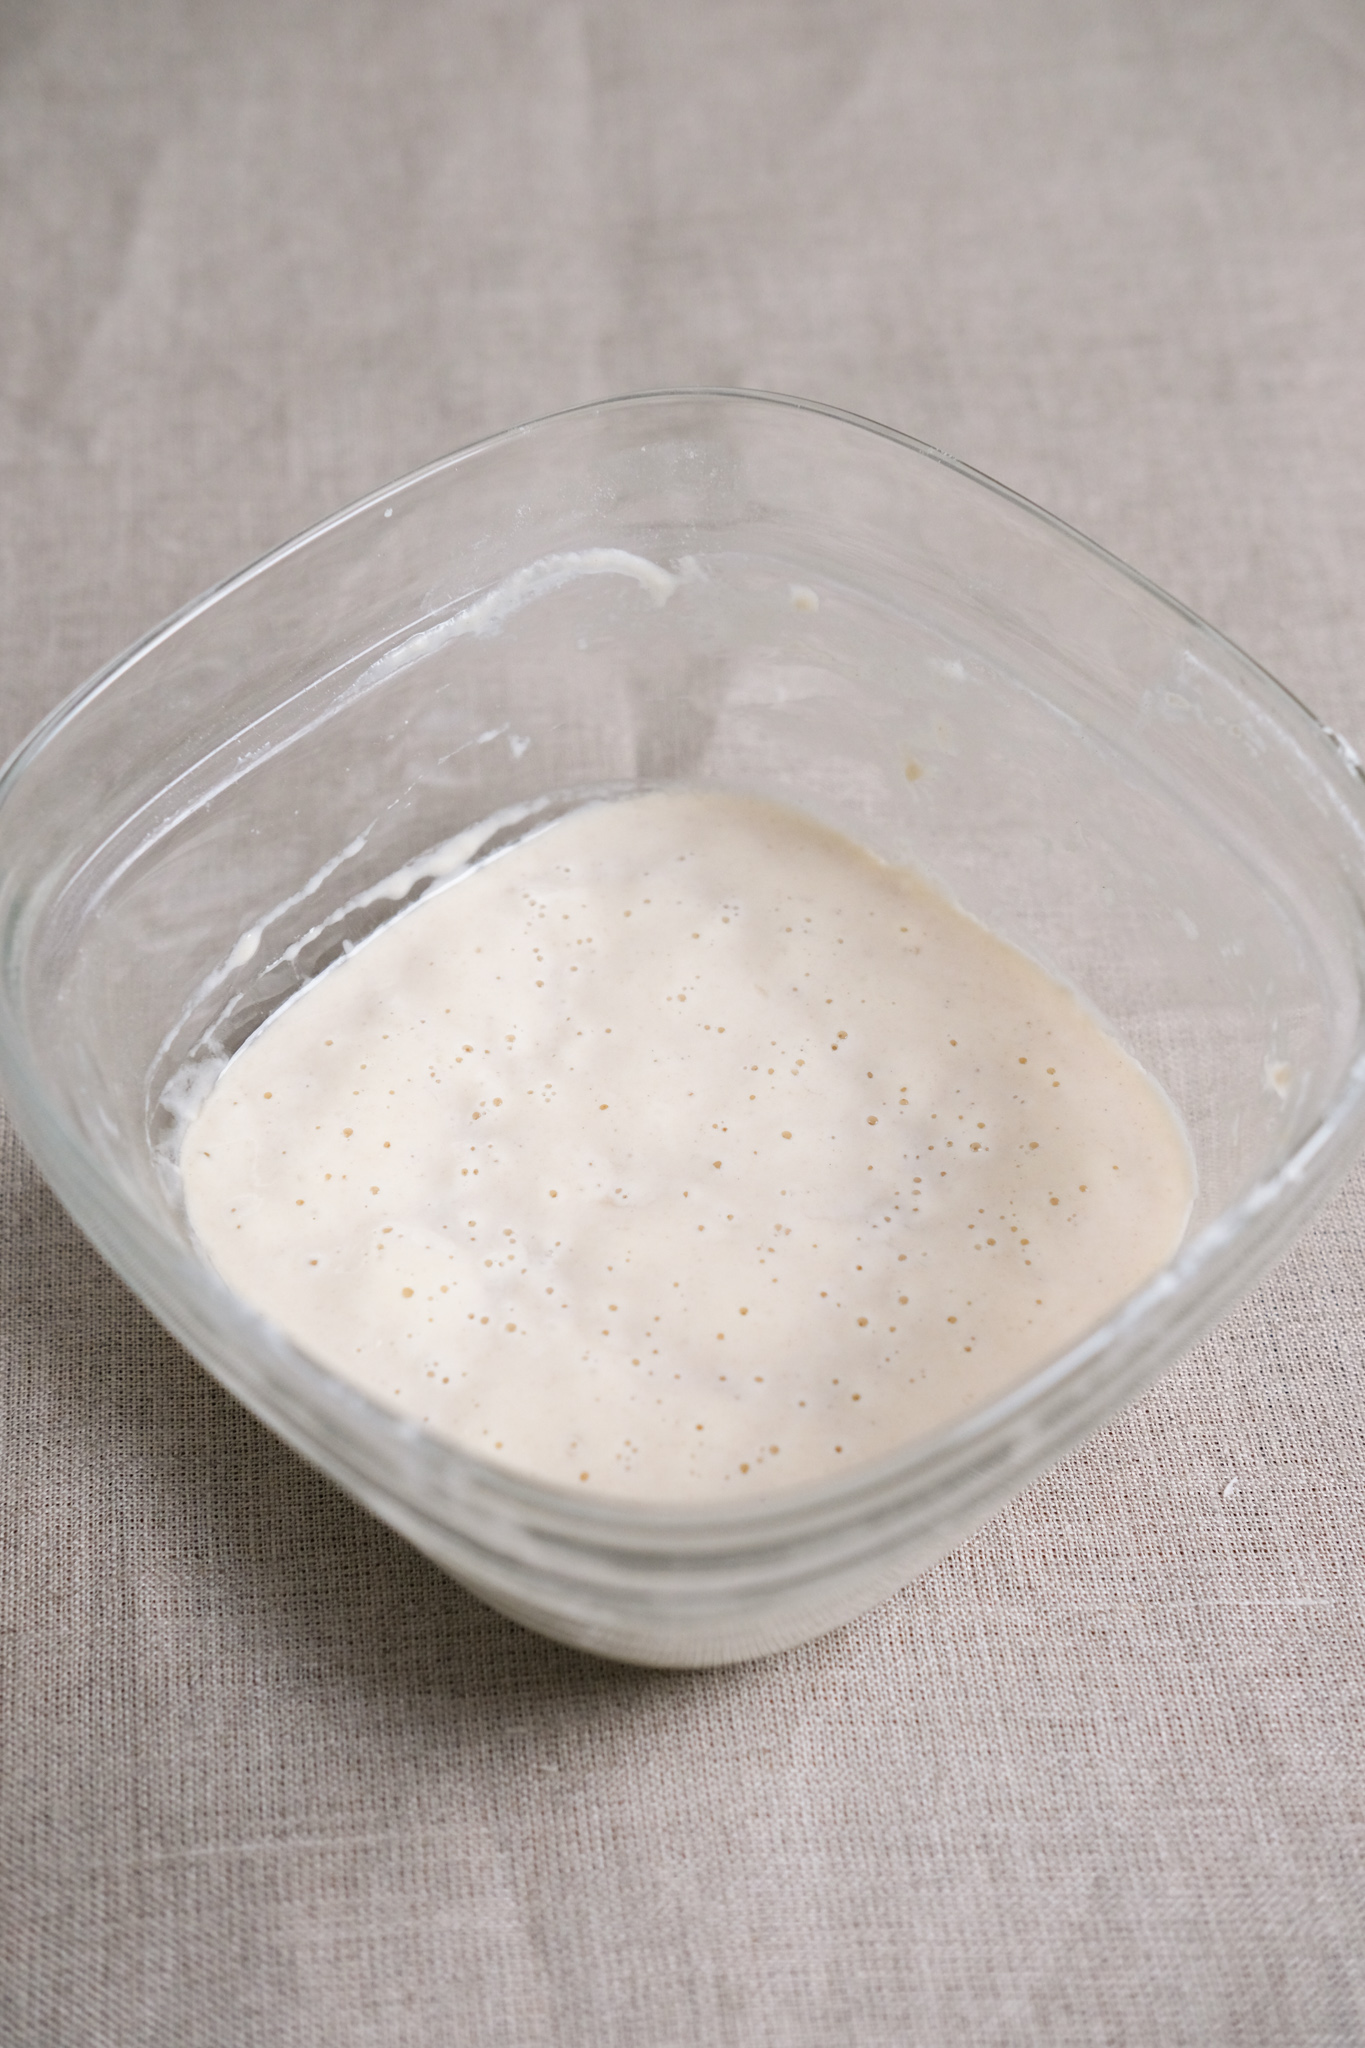
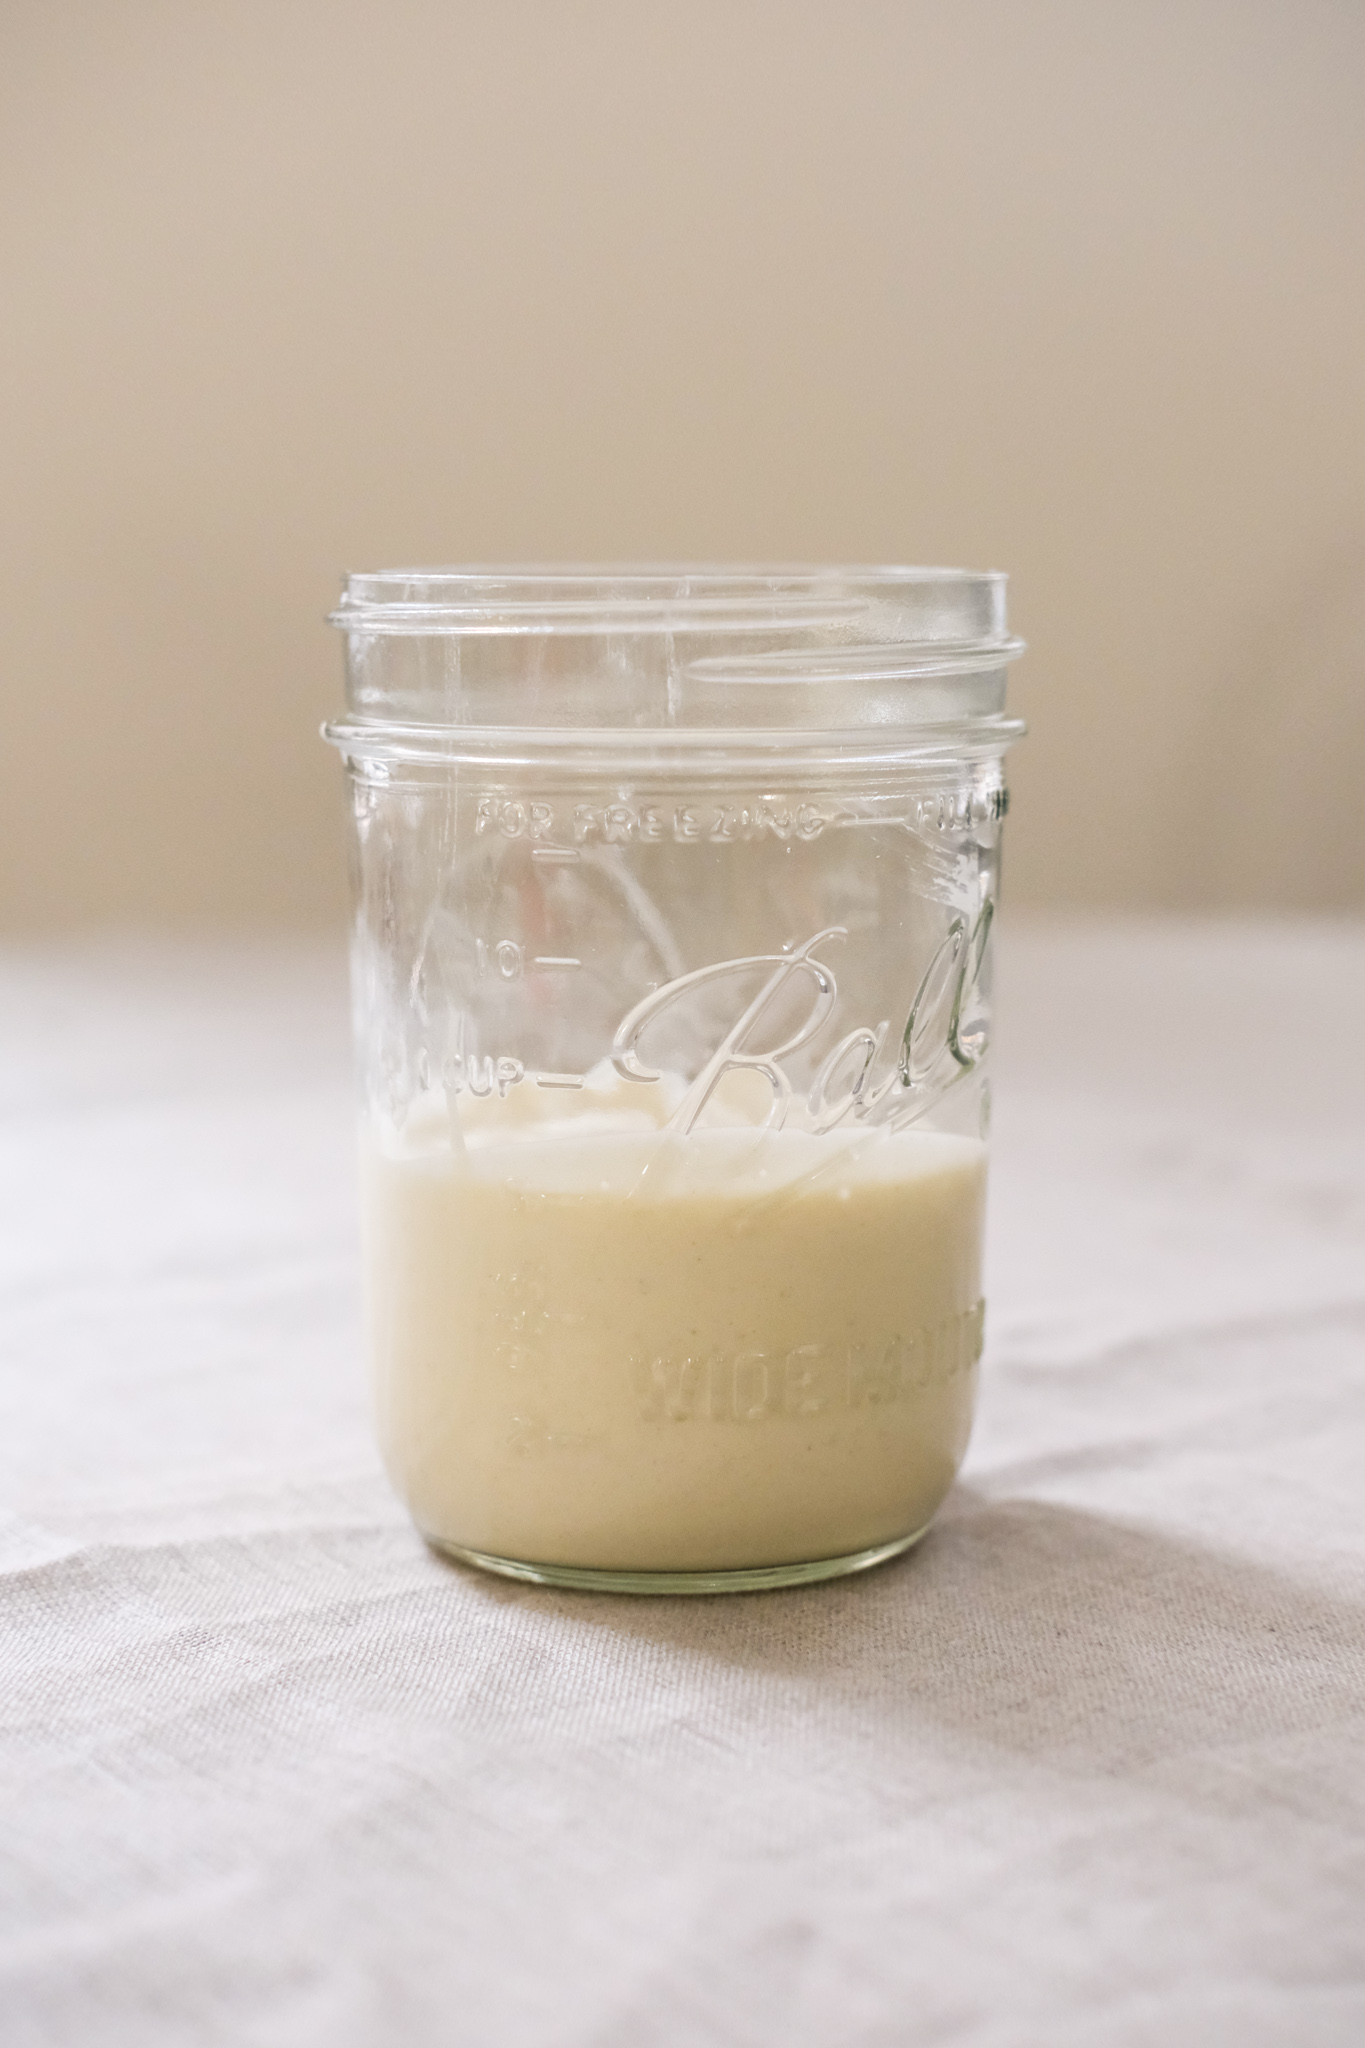
However, a part of me felt like this starter was ready, and I just needed to give it another feeding. When a sourdough starter is ready to use, it needs even more feeding than before. So I transferred it to a mason jar in the morning (to see if it doubles, and for the bubbles) and gave it a feeding after 10 hours instead of 24.
When I came home 8 hours later, the starter looked like this.
Day seven
IT WORKED. I OFFICIALLY HAVE A SOURDOUGH STARTER.
When I woke up this morning, I did the water test to see if the sourdough starter was ready. It sank, as did my heart, so I covered it back up and went to church.
When I got home around 3 p.m. the next day, I gave the water test another go. And *drumroll please* the starter floats! It’s officially ready to make bread!
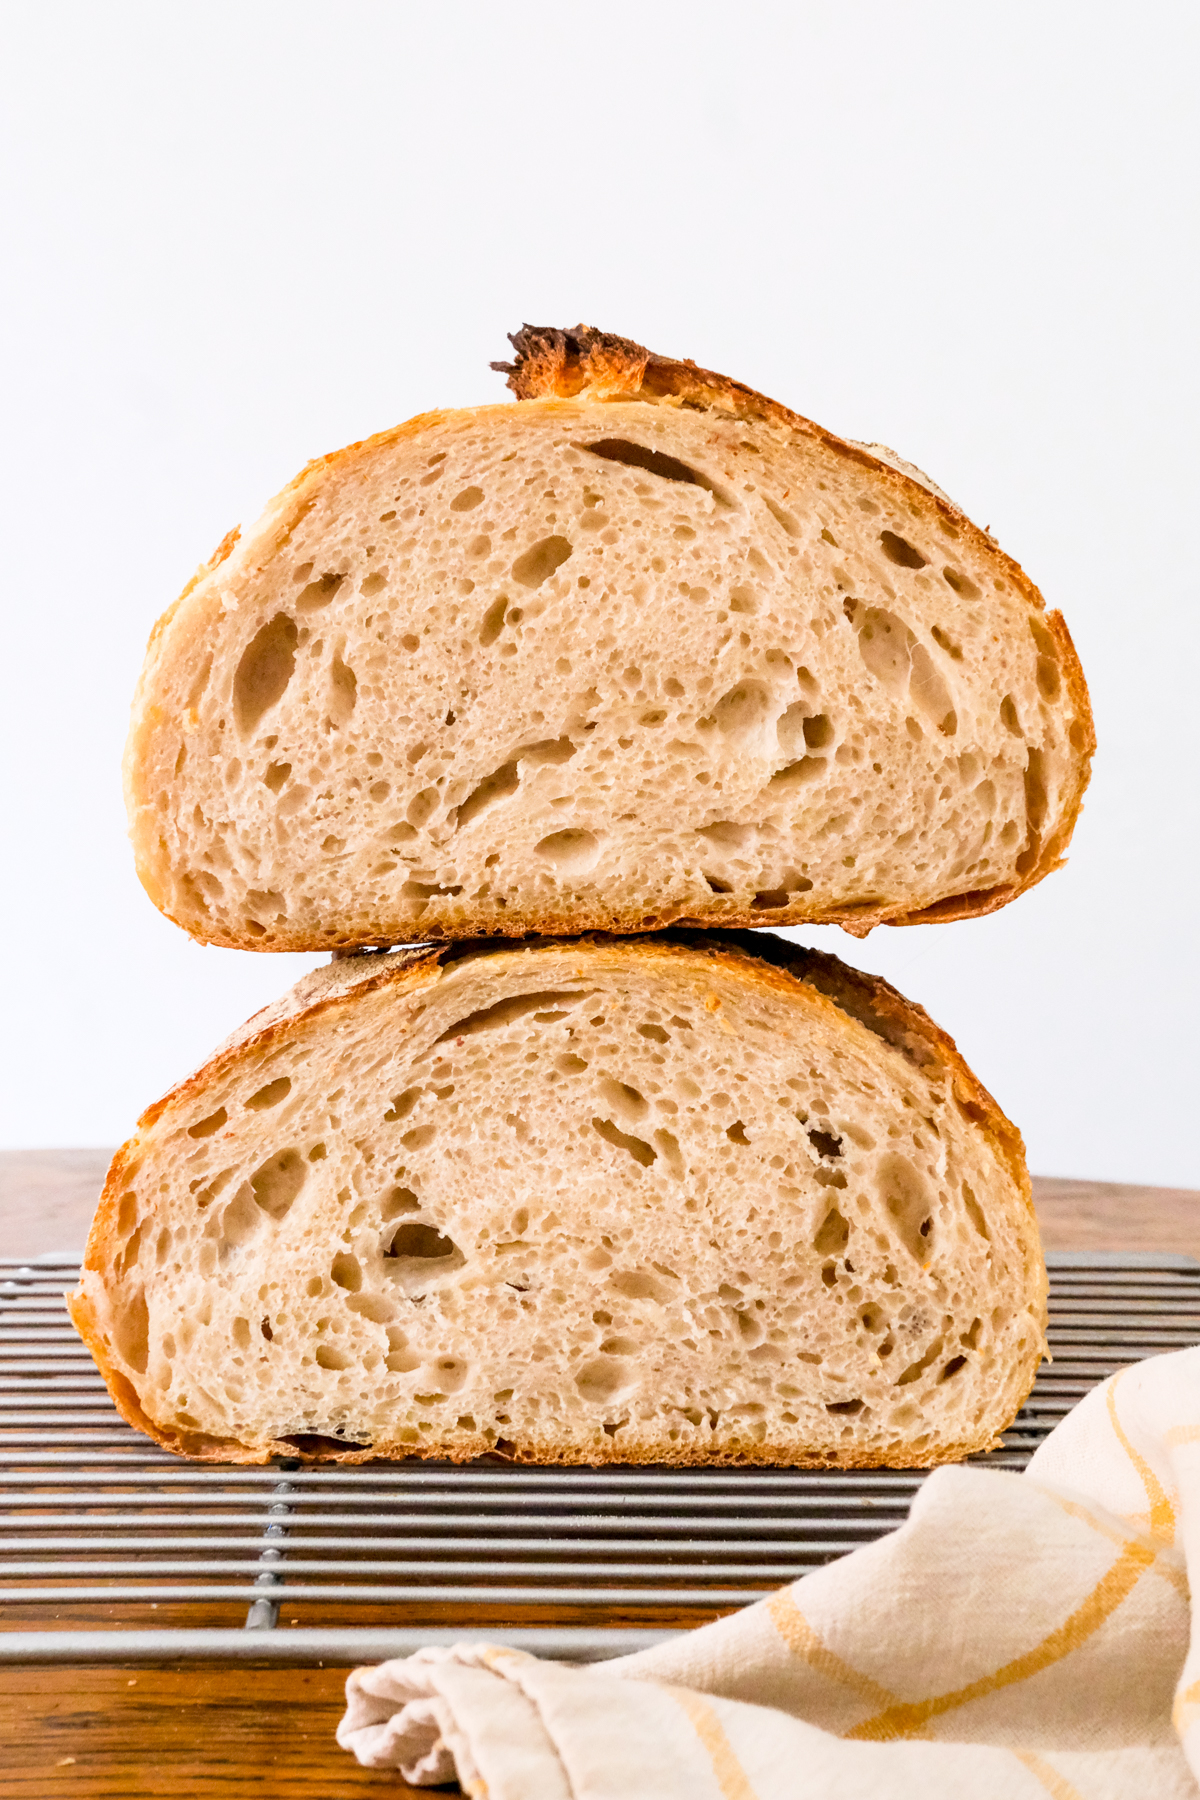
I set aside a bit of sourdough to try making my first loaf of bread, then did a normal discard and feeding for the day.
How to feed your sourdough starter
I obviously won’t be using my starter every day, so keeping it out at room temperature and feeding it daily wouldn’t make sense. So I’ll be storing my starter in the refrigerator. Here’s how I do it.
- Feed the starter: Discard all but 2 oz. of the starter (about 1/4 cup). Feed it 1/3 cup of water and 1/2 cup of flour. Right now I like to feed mine with 1/4 cup of unbleached all purpose and 1/4 cup whole wheat.
- Leave it for 3 to 4 hours: I fed it the usual feeding and let it sit out for a few hours—about 3 or 4. When the starter shows visible signs of bubbles, I place it in the fridge.
- To wake it up: I take out the starter out and do a feeding immediately. Let it sit for a few hours (I find 8 to 12 to be perfect) before using. Then, it will be ready to use.
- To put it back to sleep (before the fridge): Hop back to the step “feed the starter” and follow the instructions.
As you can see, this blog post was long, but I enjoyed documenting the complicated journey of growing sourdough starter. Now on to perfecting sourdough bread…and focaccia…and waffles. More to come.

Sourdough Starter
Equipment
- wooden spoon
- glass container
- kitchen scale (optional)
- measuring cups
Ingredients
Daily feedings to start (repeat for 7 days)
- 60 grams water lukewarm about 1/4 cup
- 60 grams unbleached all-purpose flour about 1/2 cup
Feedings continued (once starter is made)
- 1/3 cup water lukewarm
- 1/2 cup unbleached all-purpose flour
Instructions
Making Sourdough Starter
- Day one: Measure out the flour on a scale or with a measuring cup. Add in a wide glass jar or container.
- Mix in the water using a wooden spoon. Scrape down the edges and the spoon.
- Leave the starter for 1 hour, then seal the lid.
- Mix the same amount of water and flour for your daily feeding.
- Let the starter sit for 1 hour, then seal the lid.
- Day three: Discard all but 1/4 cup of the starter (about 2 oz.)
- Do a normal feeding with water and flour.
- Lay the lid of your container loosely on top and leave.
- Days four, five, and six: Continue the same thing as day three.
- Day seven: Do a float test to see if the starter is ready. Place a small spoonful of the sourdough starter in water. If it floats, it is ready to use!
Feeding Sourdough Starter
- Discard all but 2 oz. of the starter (about 1/4 cup).
- Feed the starter 1/3 cup of water and 1/2 cup of flour.
- Mix until well combined. Leave it for 6 to 8 hours.
- Use it, or place it back in the fridge to put it back to sleep.
- To wake it up, simply take out the starter and proceed with feeding it as normal.
Pin this for later!
Special thanks
Along with the studies and guides I mentioned in my blog post, I also wanted to give a shout out to a few other tutorials and chefs that guided my journey: Billy Parisi, The Kitchn, and Delish.

Leave a Reply