This update has been a long time coming. Over the past two years, I’ve been perfecting my sourdough bread recipe, and I finally feel like I’ve got it. And OMG, is it a lot easier than the last recipe I shared. Like…so much easier. If you find yourself with some sourdough (or are toying with the idea of growing your own starter), then you are going to want to keep this single loaf sourdough bread recipe in your back pocket. It makes one perfect sourdough loaf, and it’s my go-to recipe for sourdough bread every single week. No joke.
At this point, I can’t really imagine my life without sourdough. I loved the challenge of growing it in early 2020 (pre-pandemic people, call me a trendsetter)—even if the months it took to mature my starter were absolutely excruciating…with so many failed loafs of sourdough along the way.
Now, my baby June (the name I gave my stater, it’s a sourdough thing), has given birth to many sourdough babies that are all around the country. Friends and family collected a little extra sourdough and now have their own starters at home. Some right here in Brooklyn, one in Missouri, one in Florida, one in Connecticut, one in Virginia. It’s fun to spread the sourdough love.
Plus, I’ve grown fond of sourdough discard recipes. When I’m not baking this loaf, I’m making sourdough muffins, crepes, shortcakes, and of course, these delectable sourdough cinnamon rolls with orange glaze.
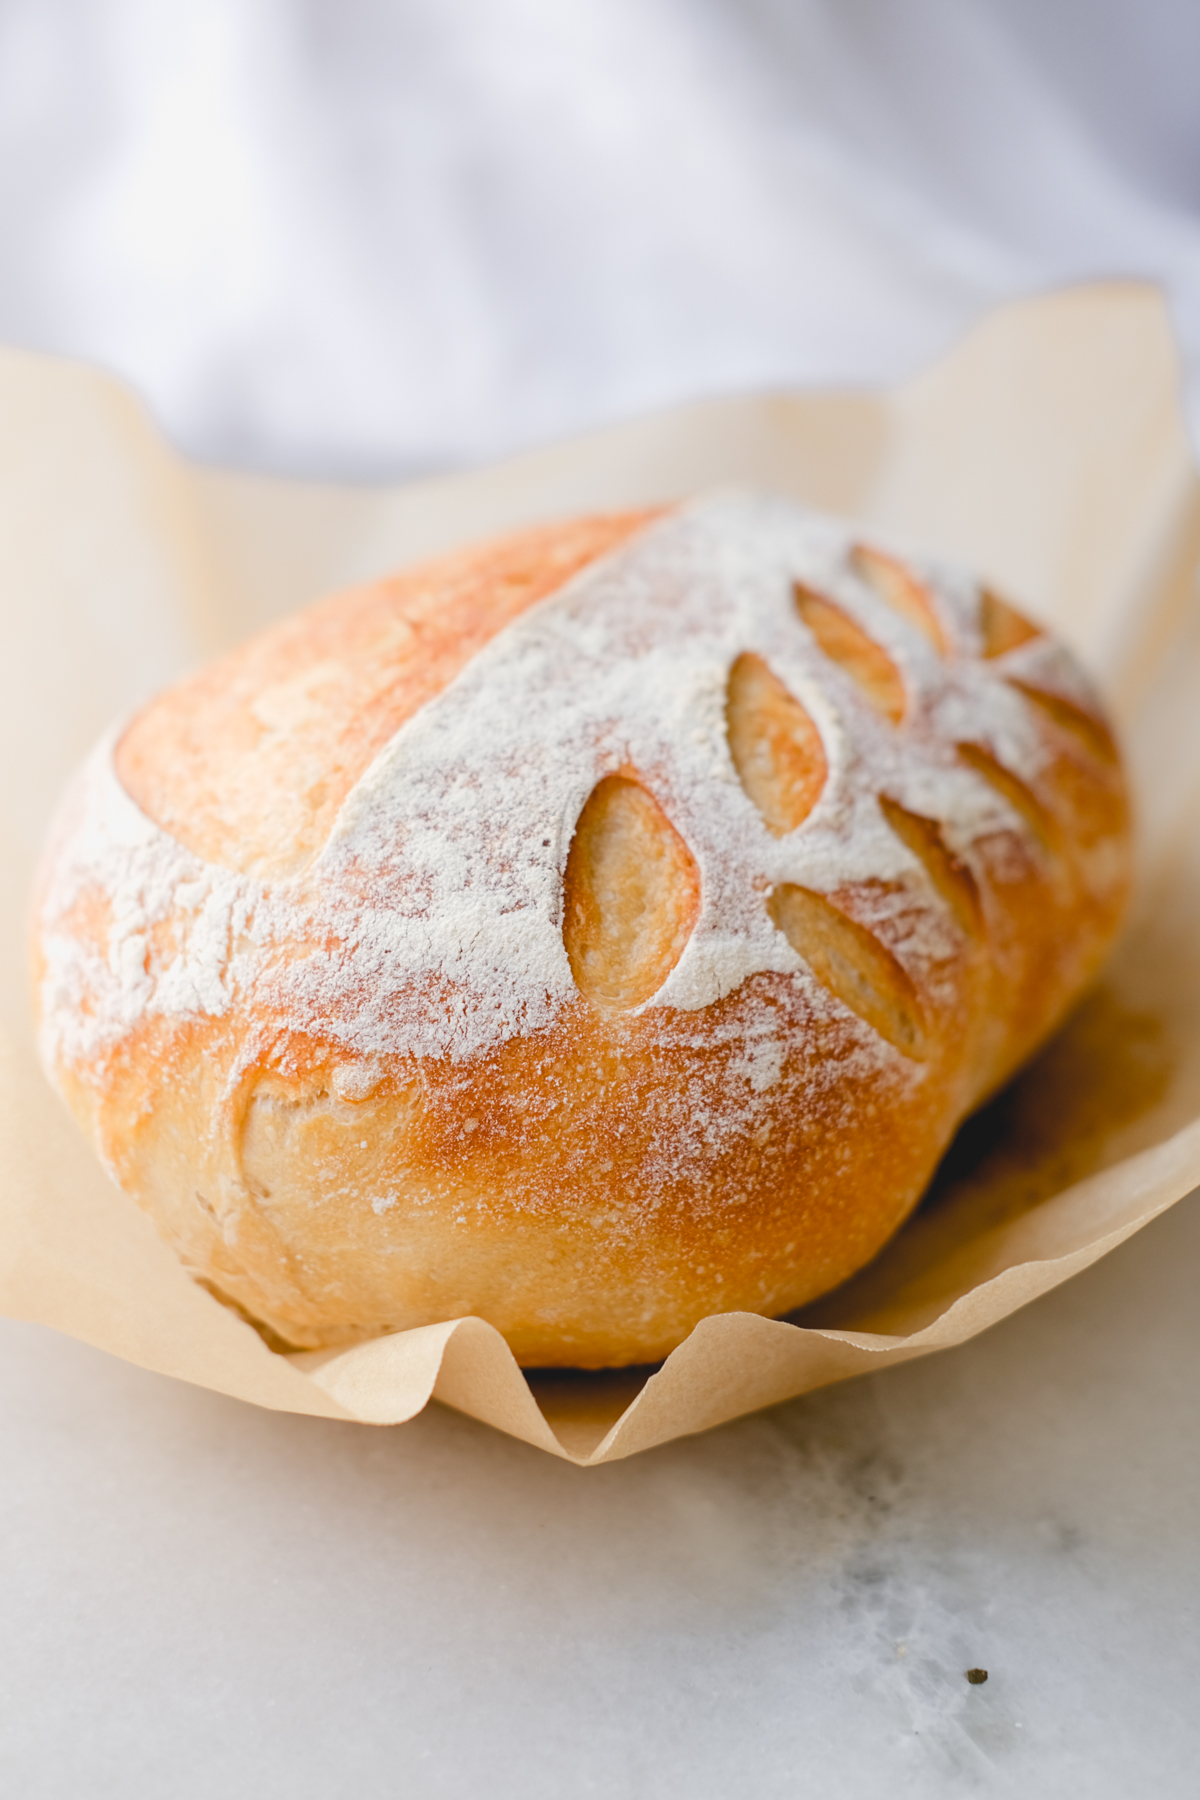
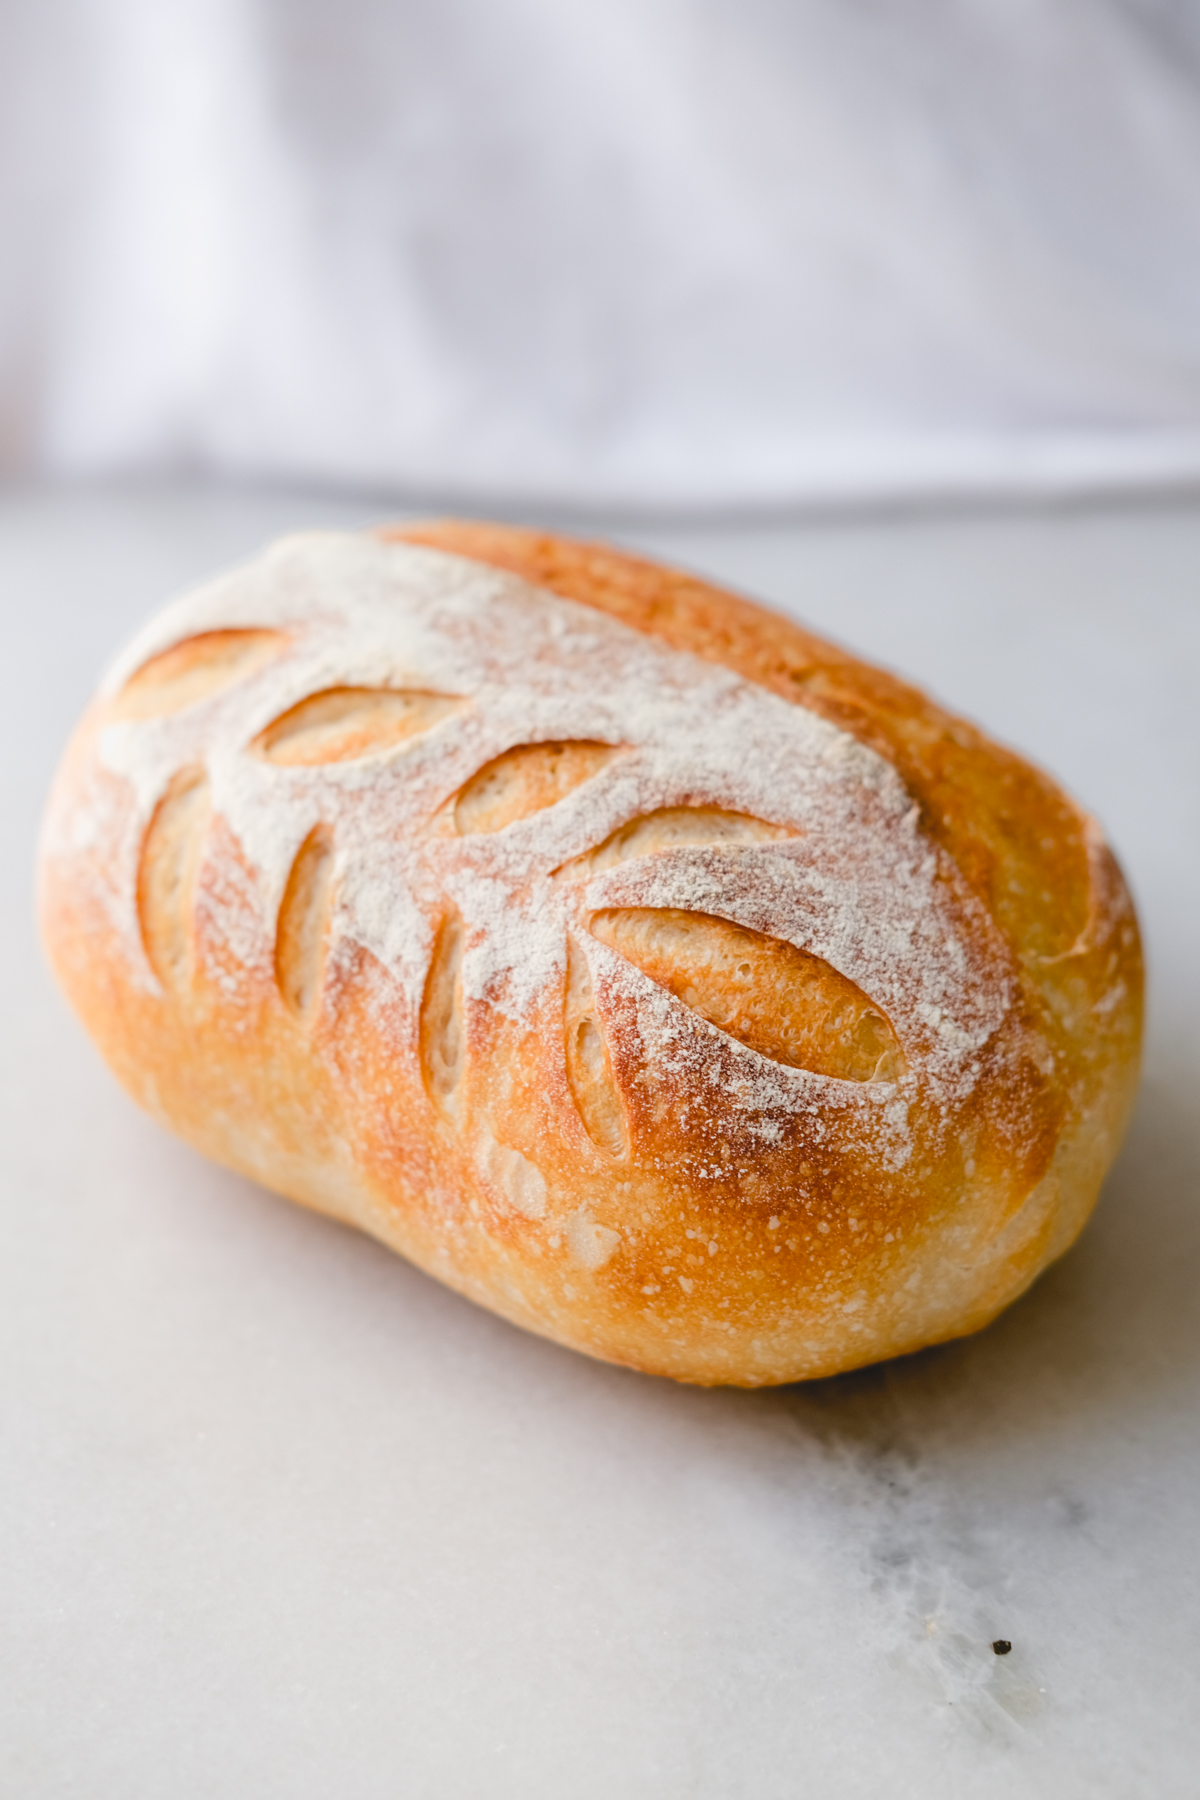
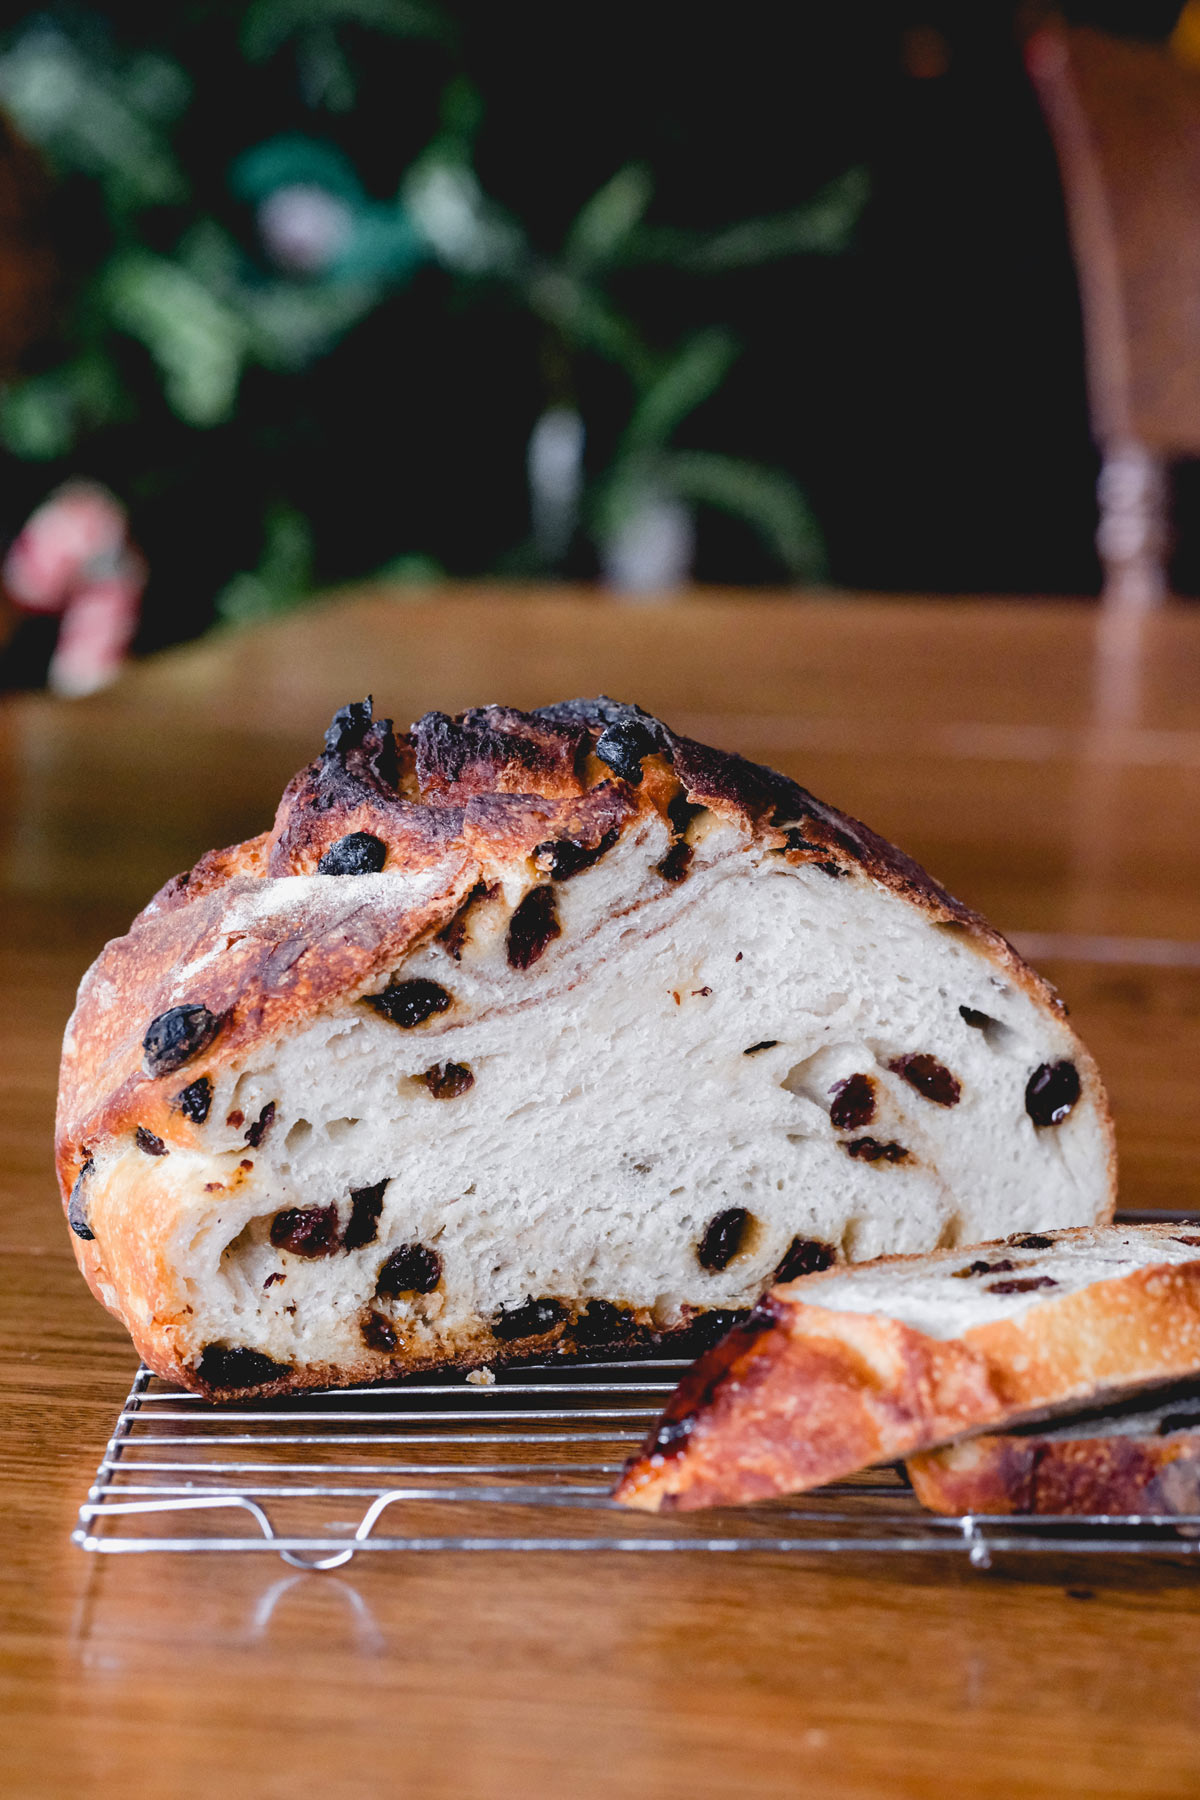
But the real winner, my friends, is this beautiful loaf of bread.
Ingredients for one sourdough bread loaf
Just four ingredients—easy peasy.
- 500 grams of bread flour
- 330 grams of lukewarm water
- 50 grams of active starter (fed)
- 9 grams of salt
You don’t need a ton of supplies, but if you’re just starting out, here’s a list of supplies I currently use. Alright, let’s bake some bread.
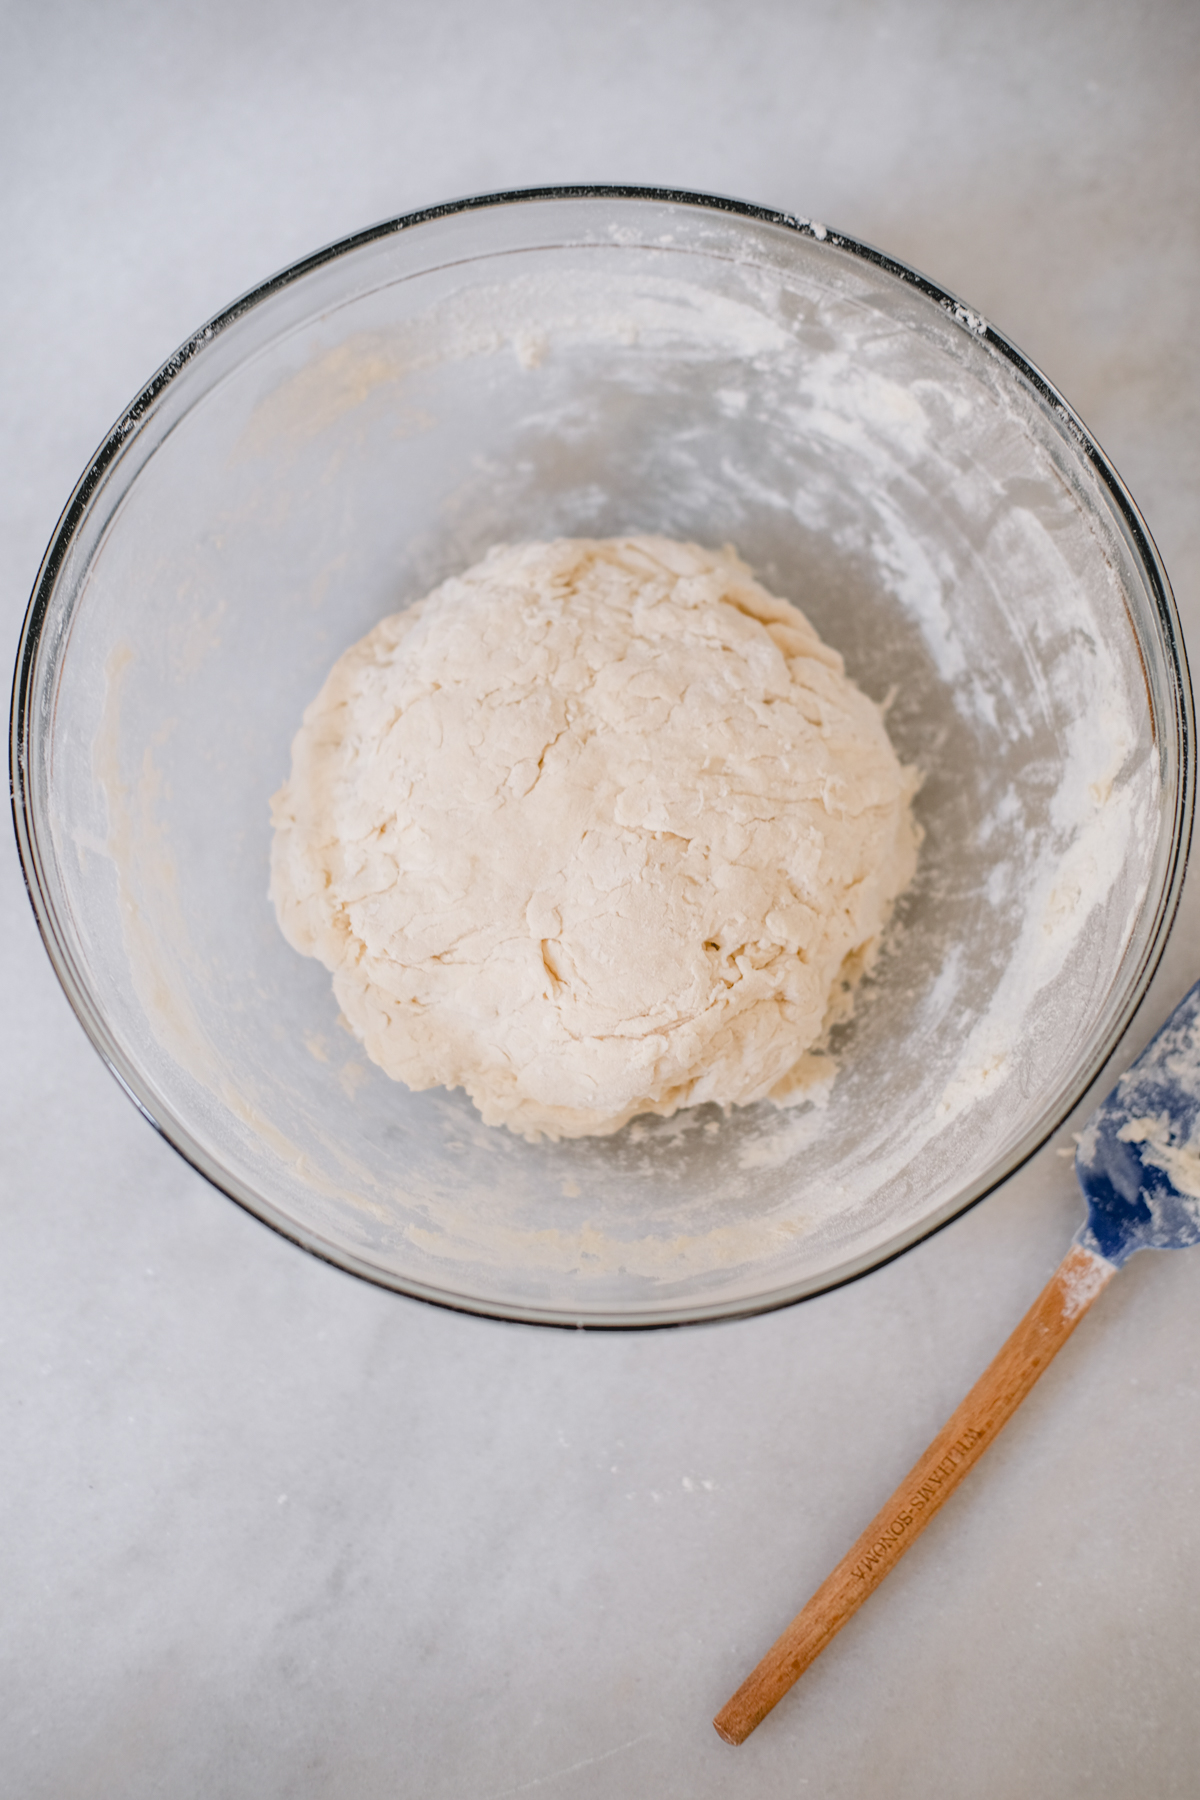
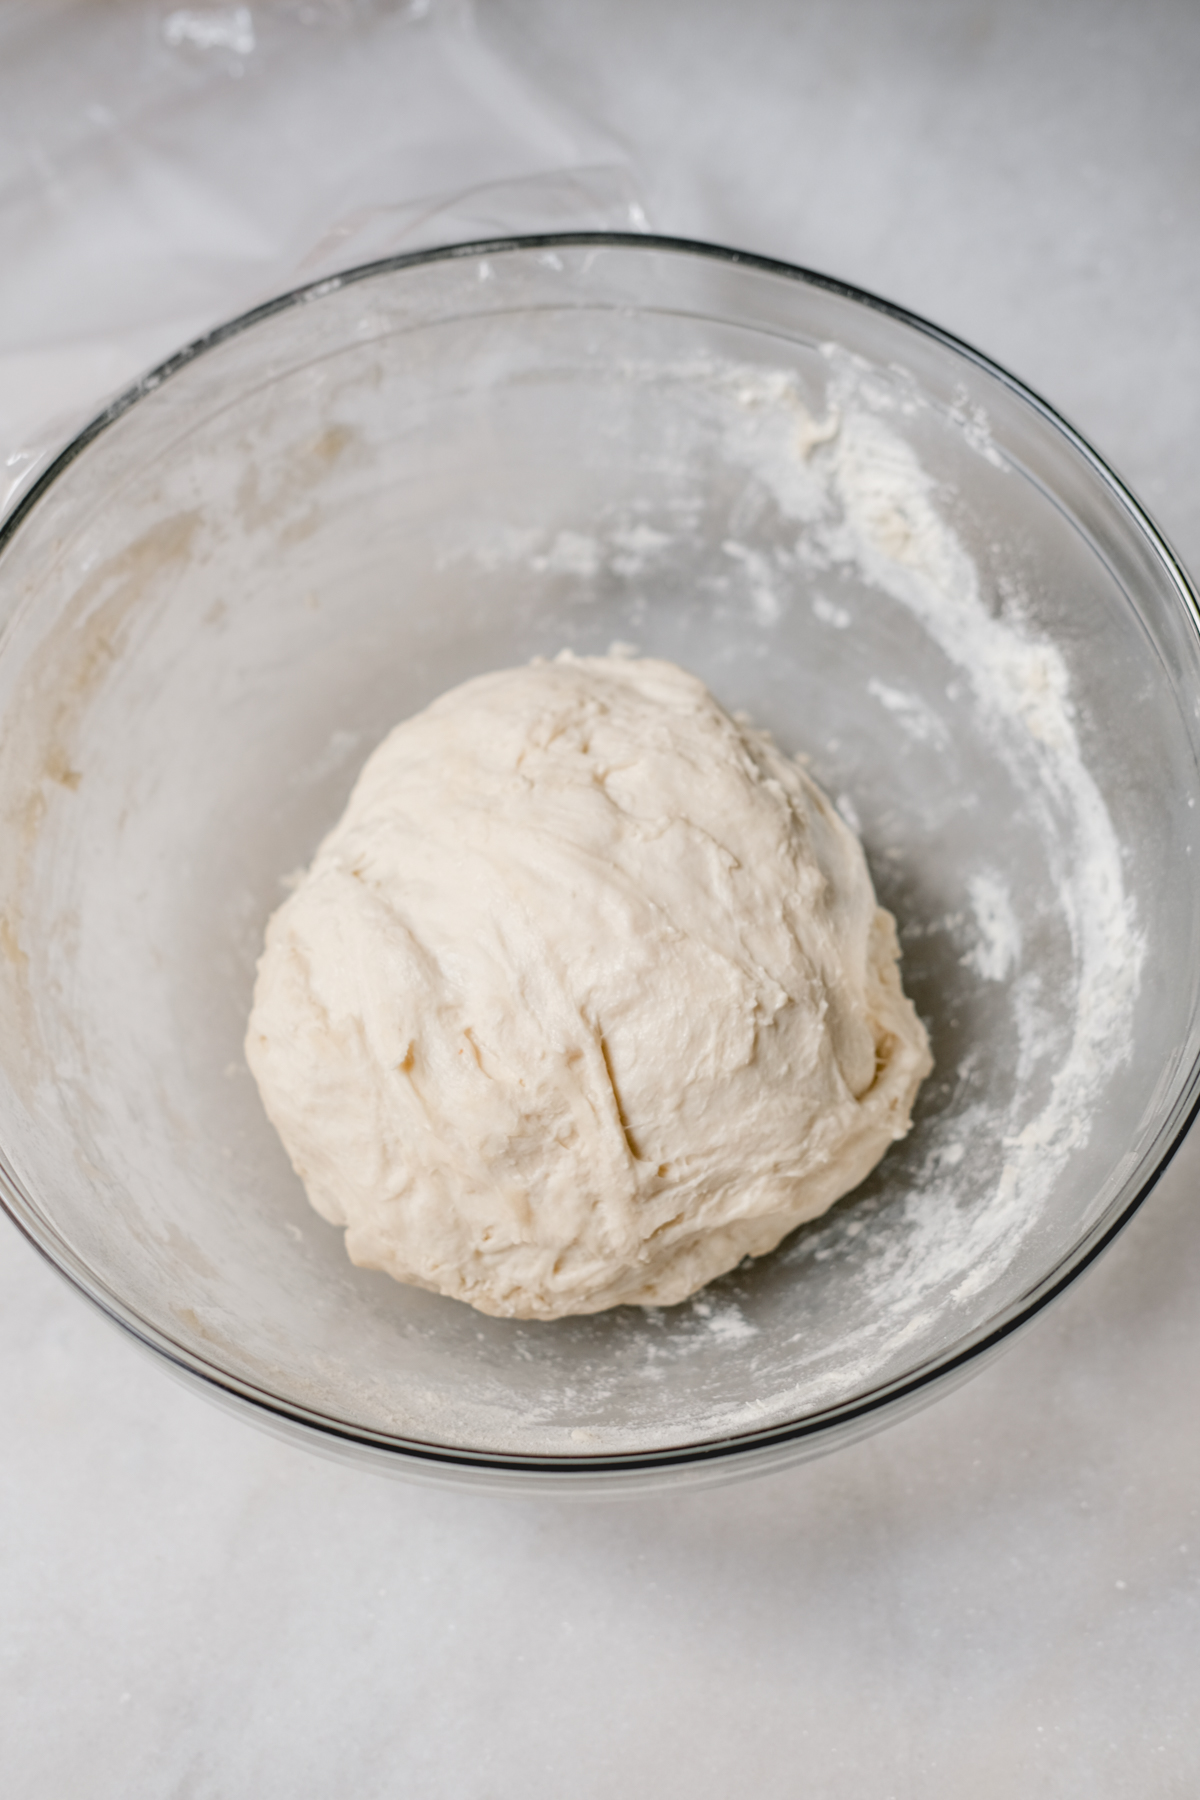
First, whisk together the water and starter. Once whisked, add in the flour and salt. Mix together with a spatula until just combined, making a shaggy dough like how it’s pictured above. Hot tip—do this an hour before you go to bed the night before baking. Trust me.
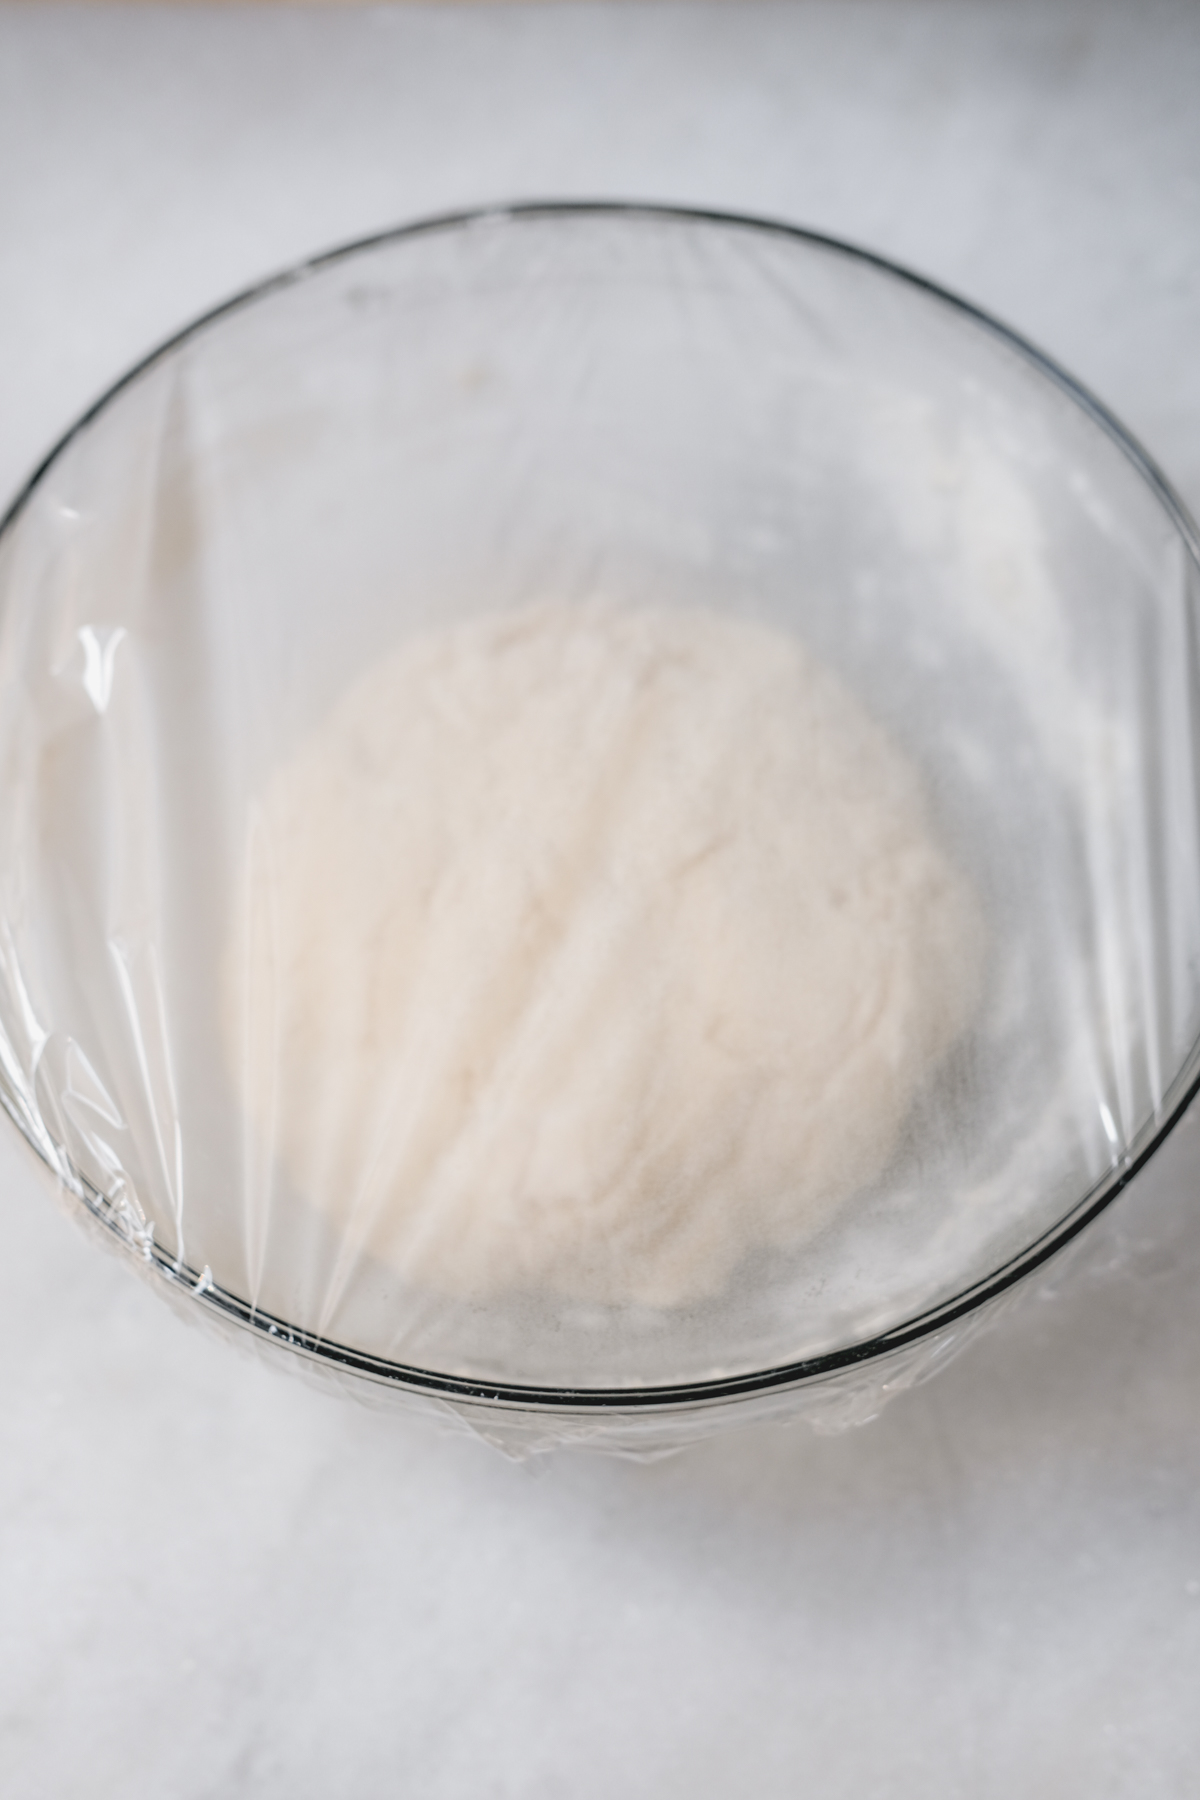
Cover up your sourdough with plastic wrap and let it sit for 45 minutes. This is a little tip I learned from a friend—it prevents the top of the dough from developing a small crust during the rise.
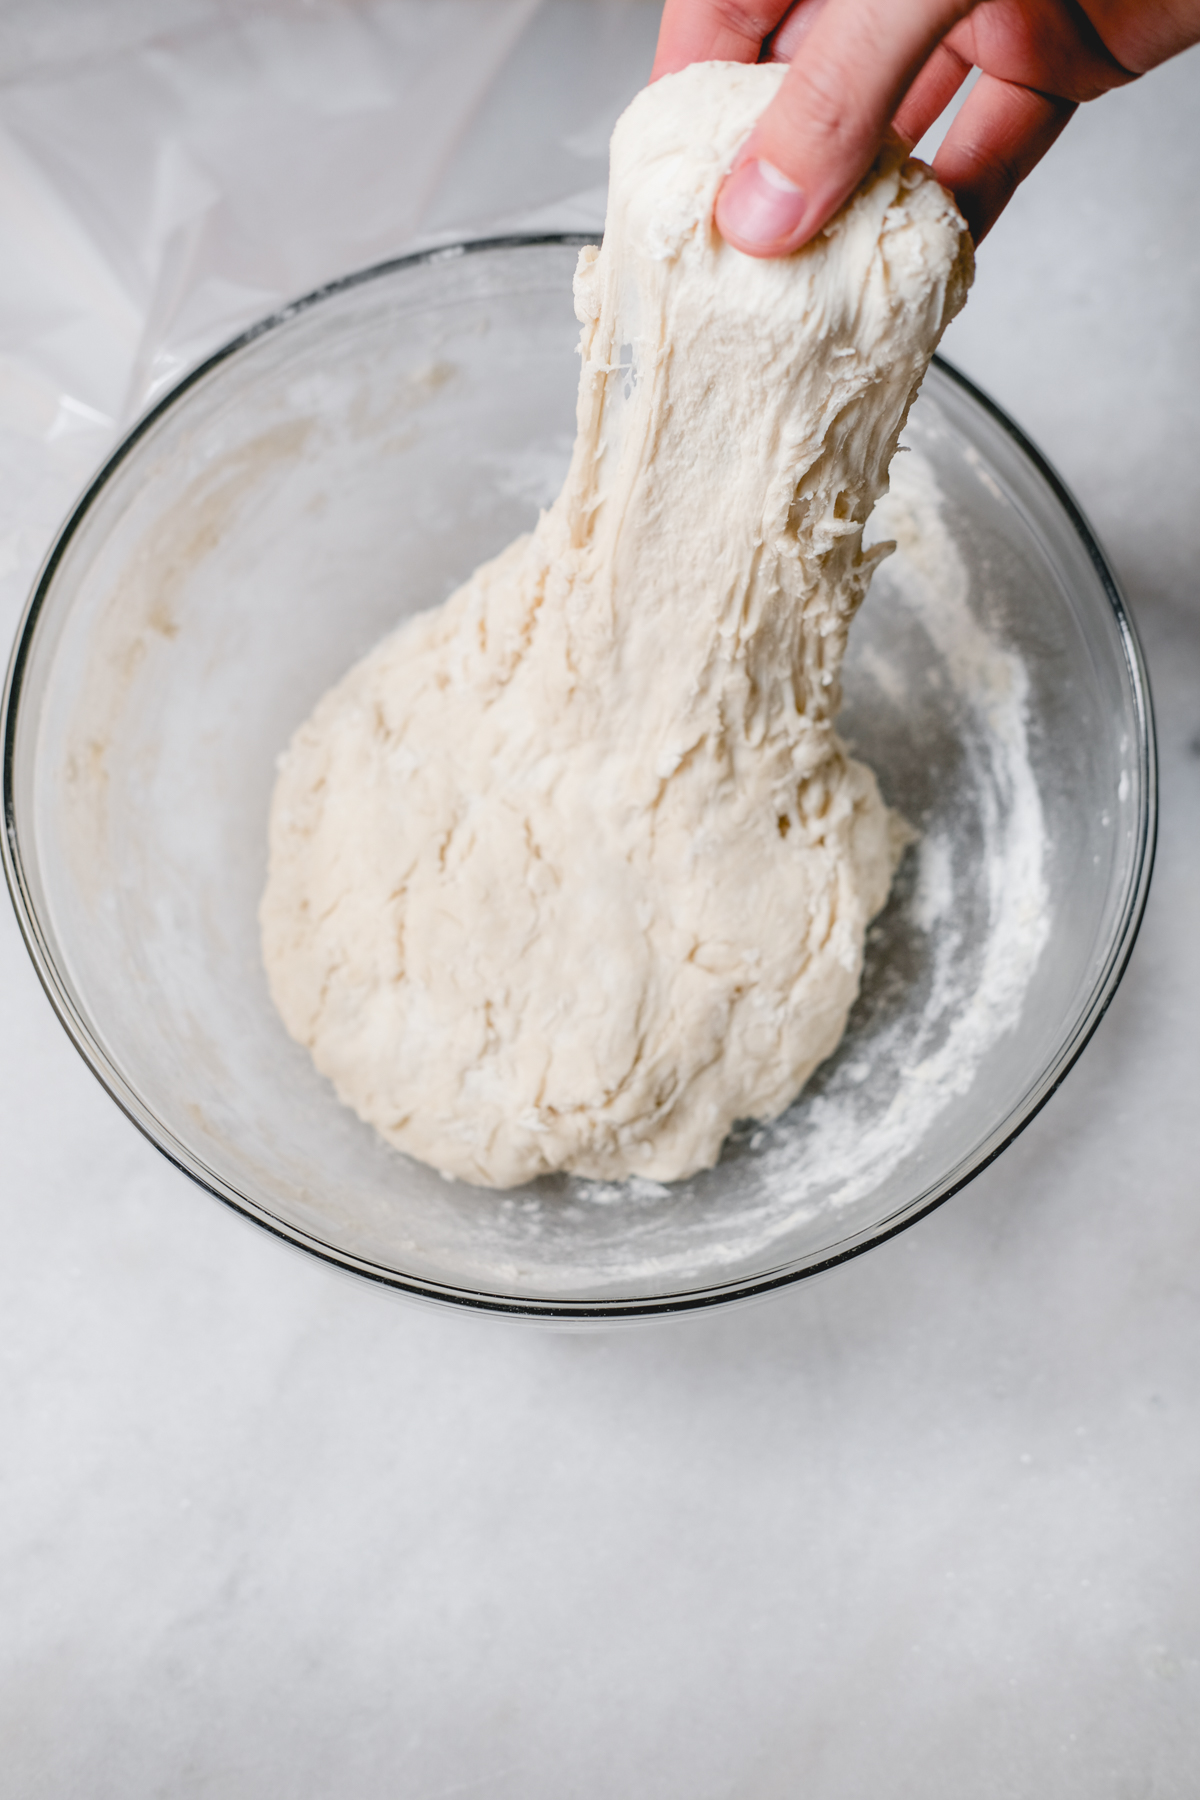

Next is the stretch and fold technique. As pictured above, you are going to grab a corner of the dough and fold it over on the top. Do this with all four “corners” of the dough (aka only do this four times at different parts of the dough), and it will form into a little ball as such:
Cover up the sourdough with plastic wrap again and let it rise overnight. This process should take 8 to 10 hours—just enough time for you to get in a good night of sleep.
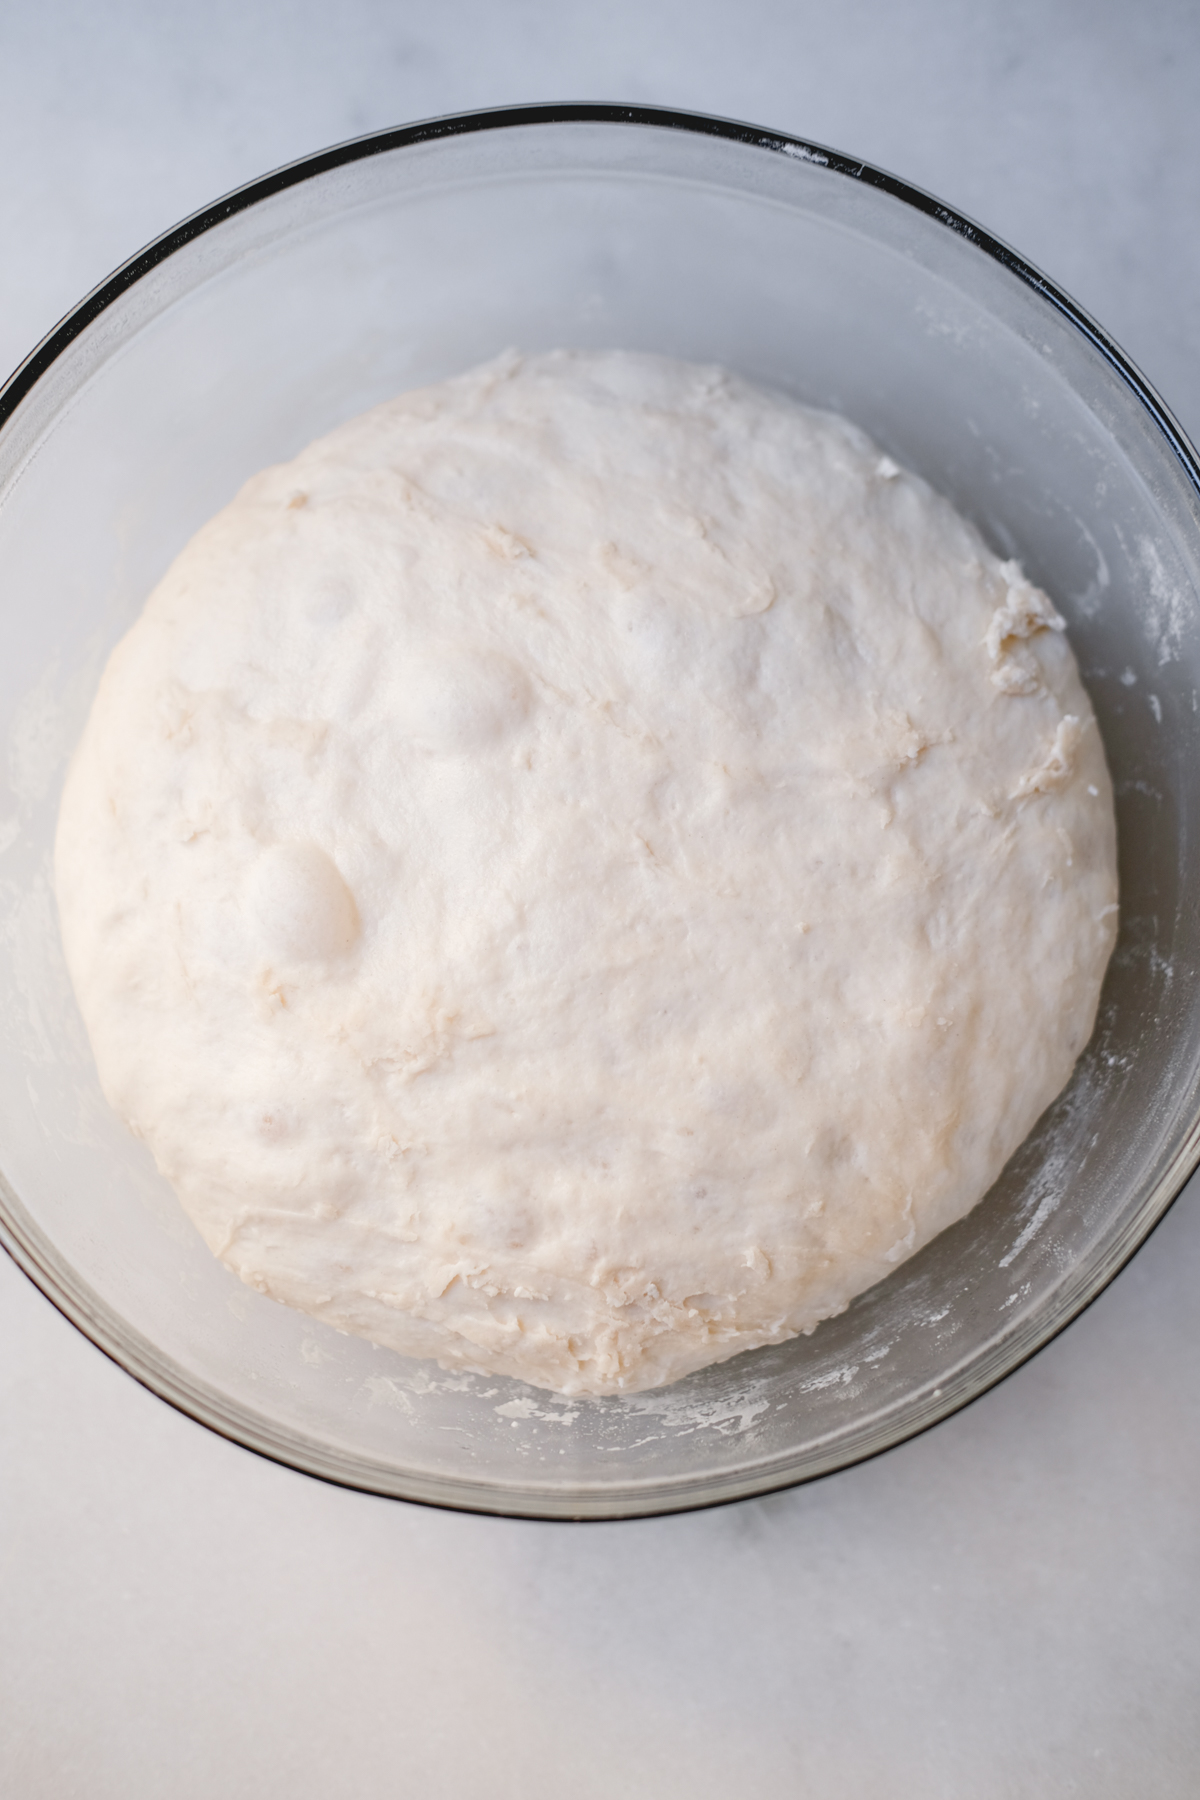
Your dough should look like this! Bubbles on top and fluffy. Remove the plastic wrap and grab yourself a bench scraper.
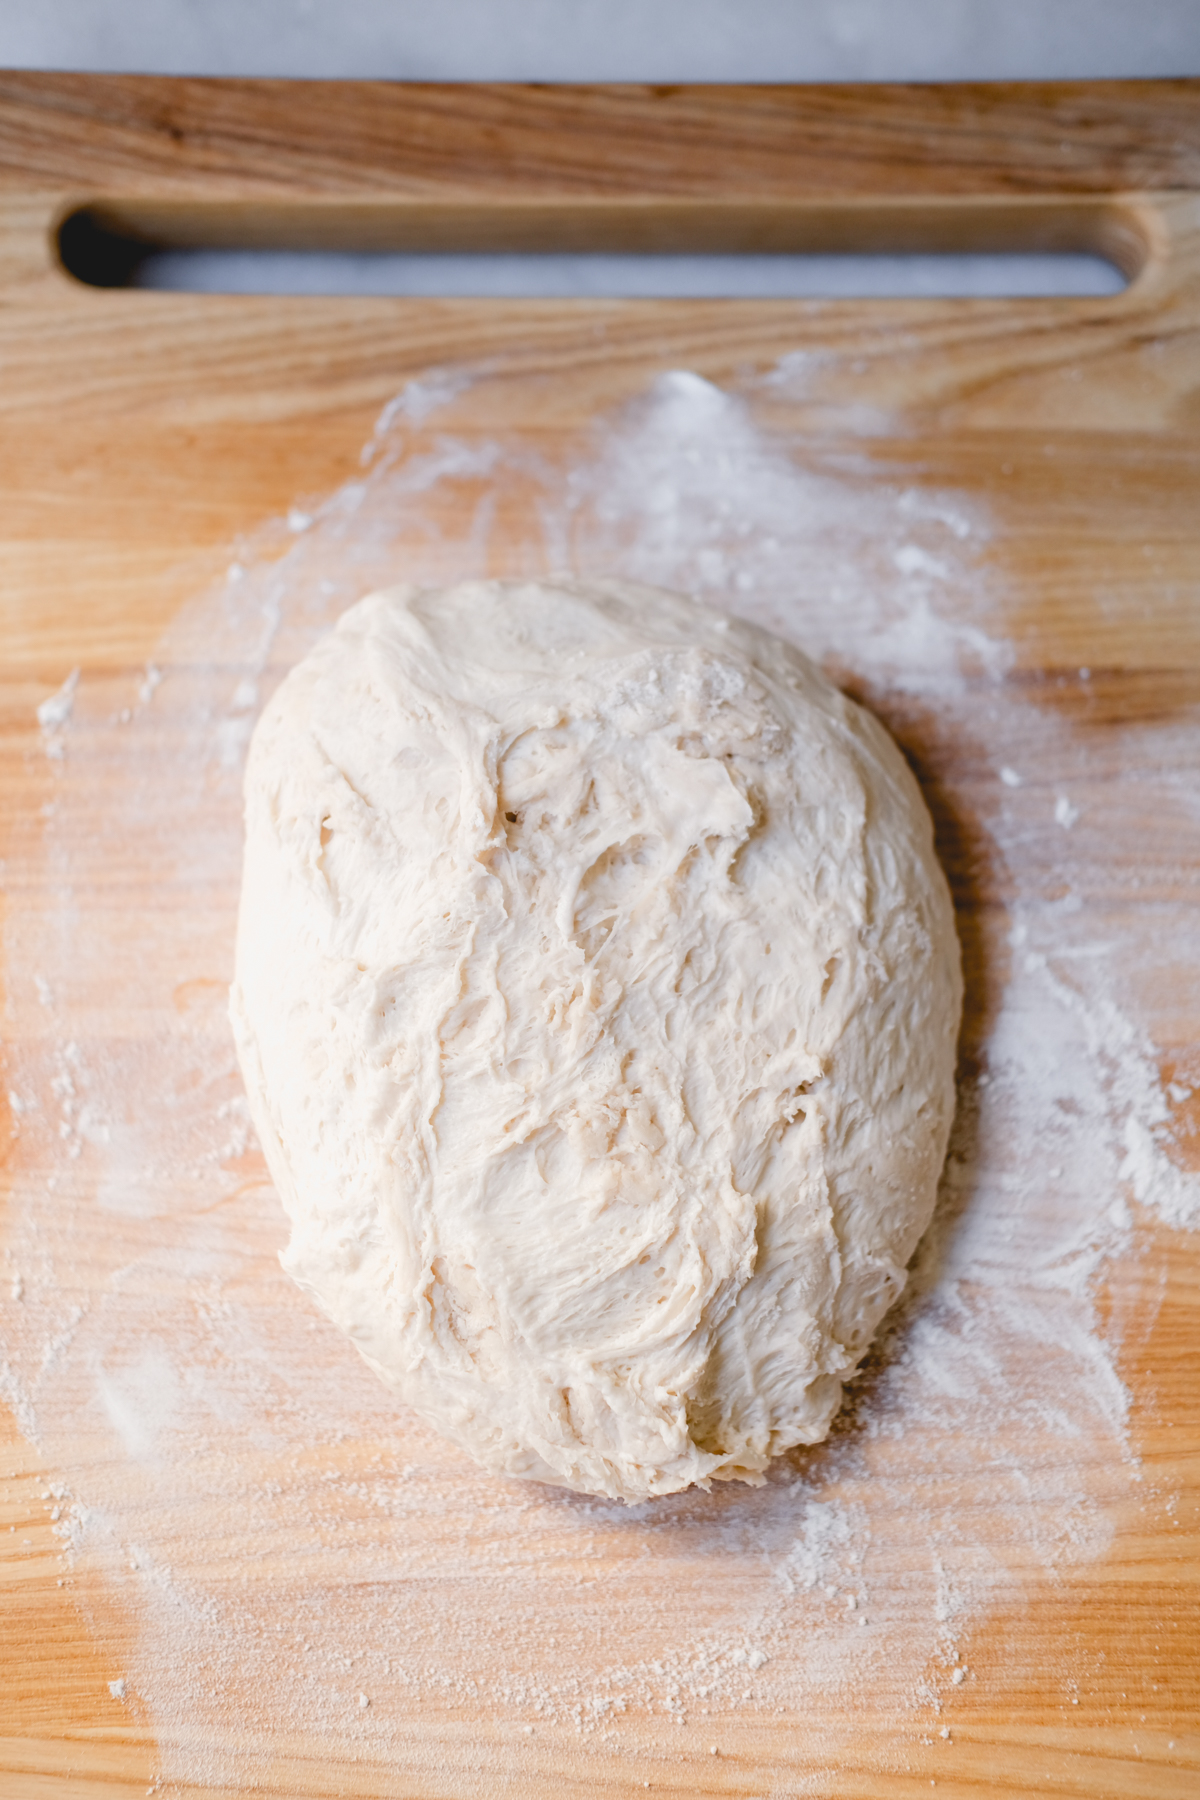
Remove the dough with the bench scraper or rubber spatula to a cutting board that you pre-floured. Let it rest for five minutes.
Shape the loaf! It was kind of hard for me to picture how I shape it, so here’s a video tutorial I love to follow that will make it easy for you. Cover it again with that plastic wrap and let it sit for 45 minutes. At this point, you’ll also want to preheat your oven to 450 degrees.
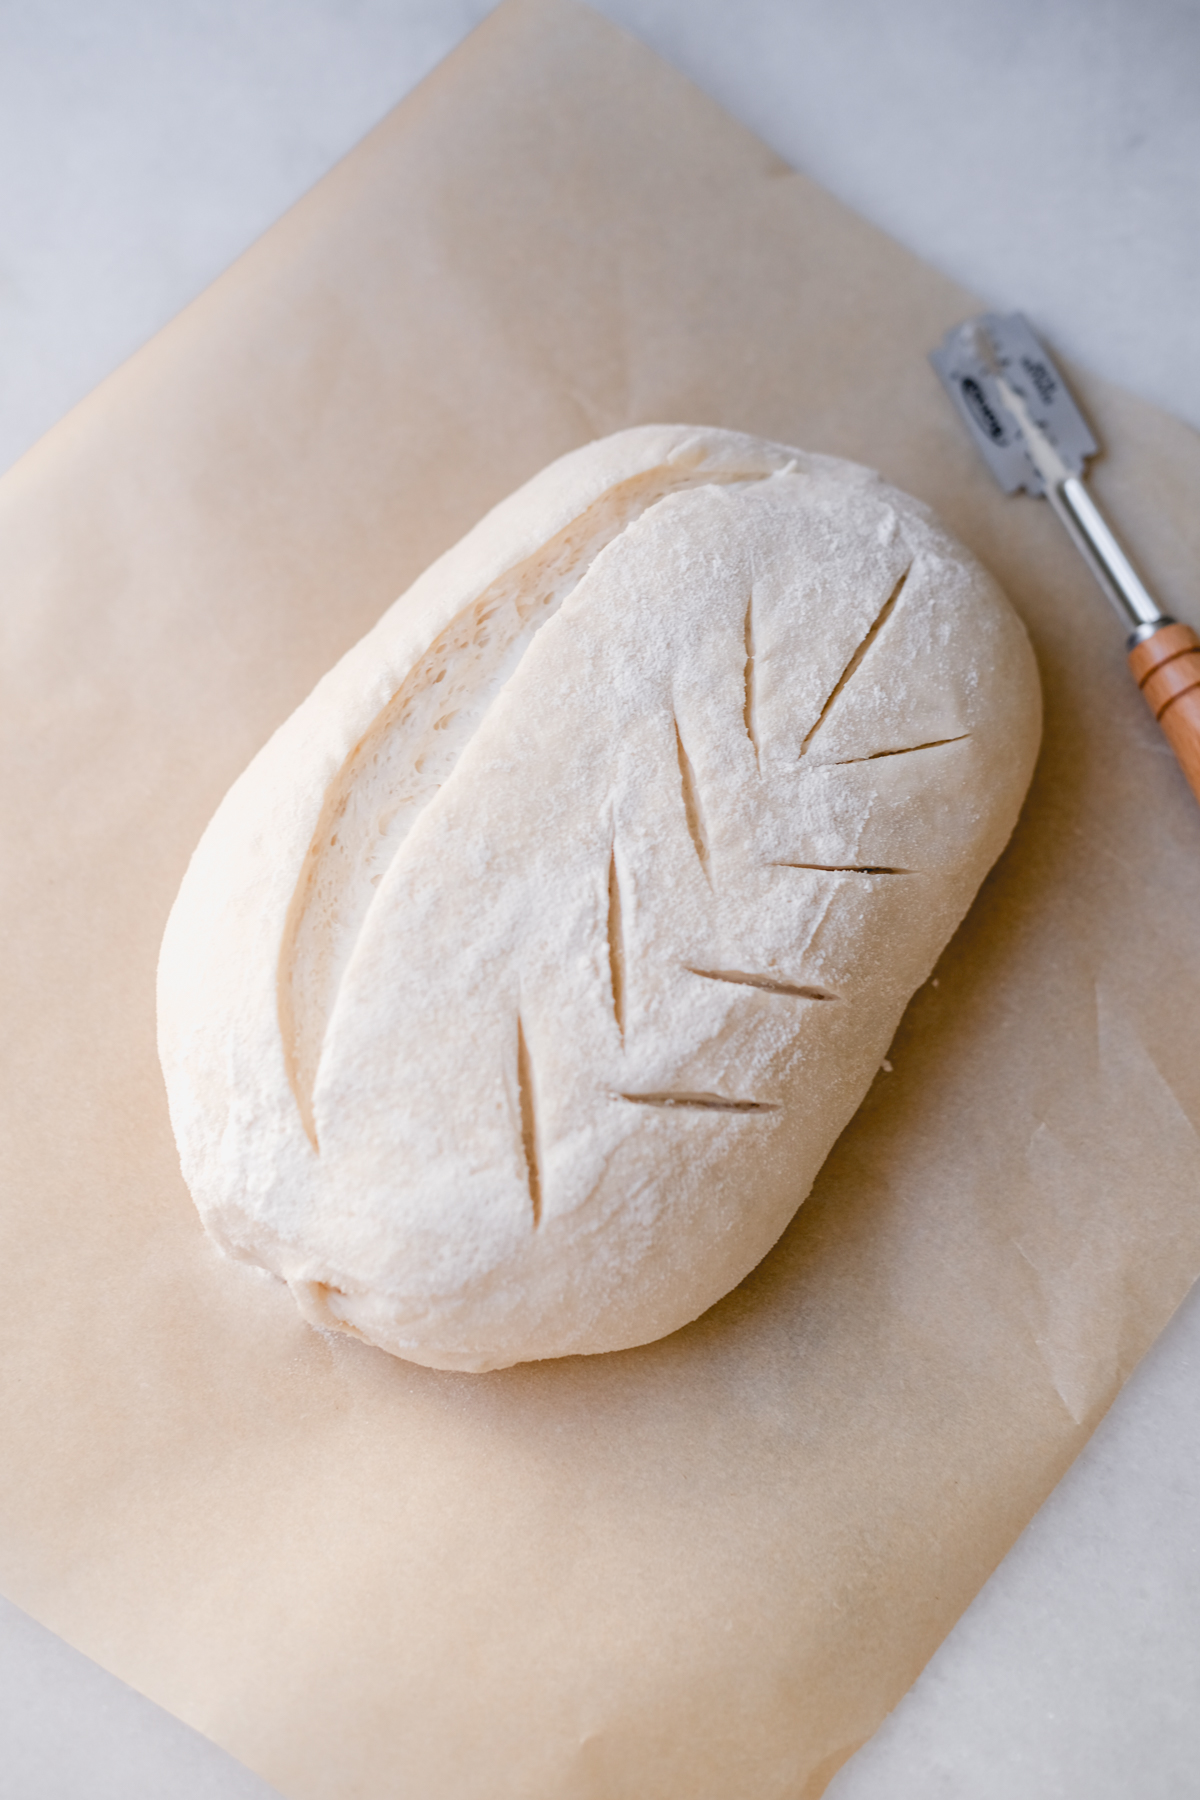
After that small second rise, flip the loaf over onto a piece of parchment paper. Using a bread scorer (like this one) draw a little design! This will create those breaking points when the bread rises in the oven. The design you see above is pretty much my go-to right now. It always comes out so beautifully.
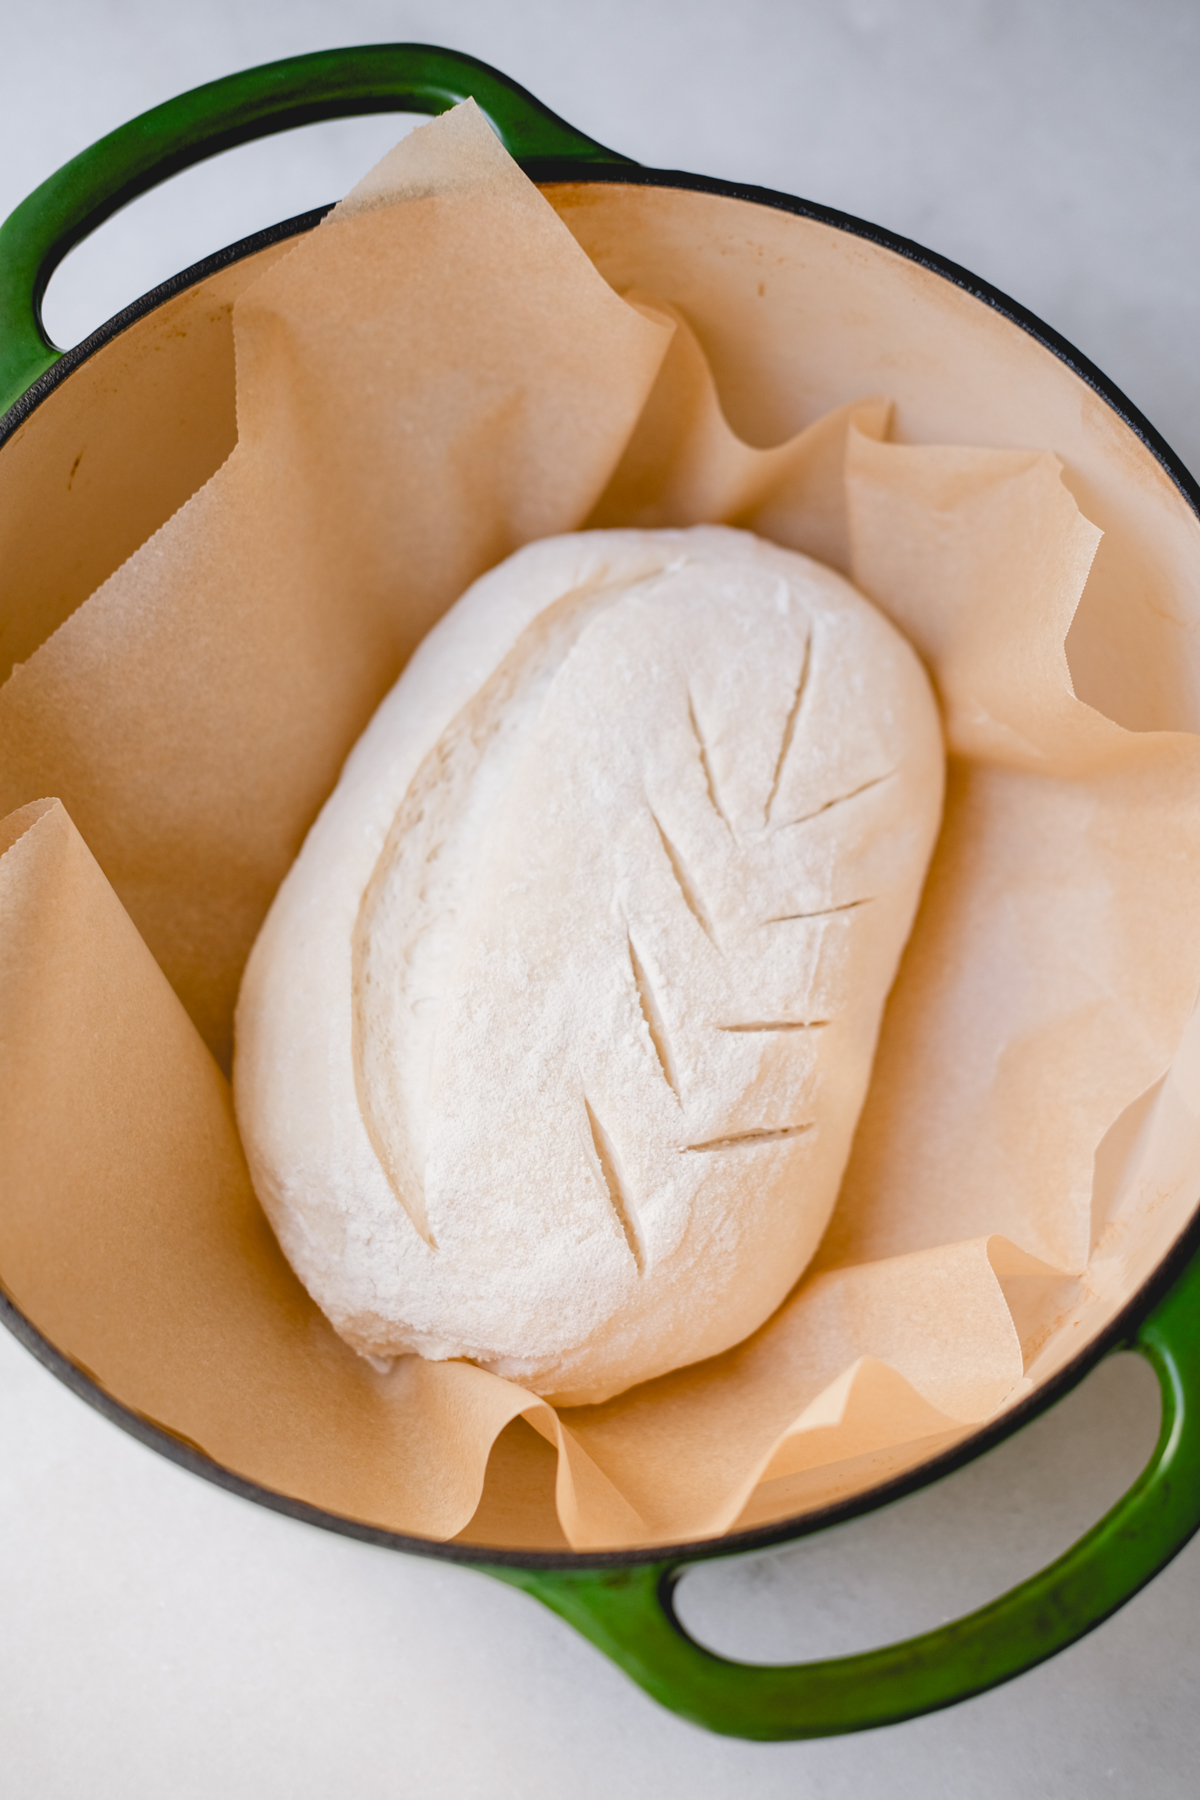
Place the parchment paper with the loaf into a dutch oven. Another thing I learned? You don’t have to preheat your dutch oven! Unlike my previous tutorial where I told you to do so, I found out that you don’t actually have to do that in order to create a successful sourdough loaf. Yay for not having to burn your arms placing the bread in!
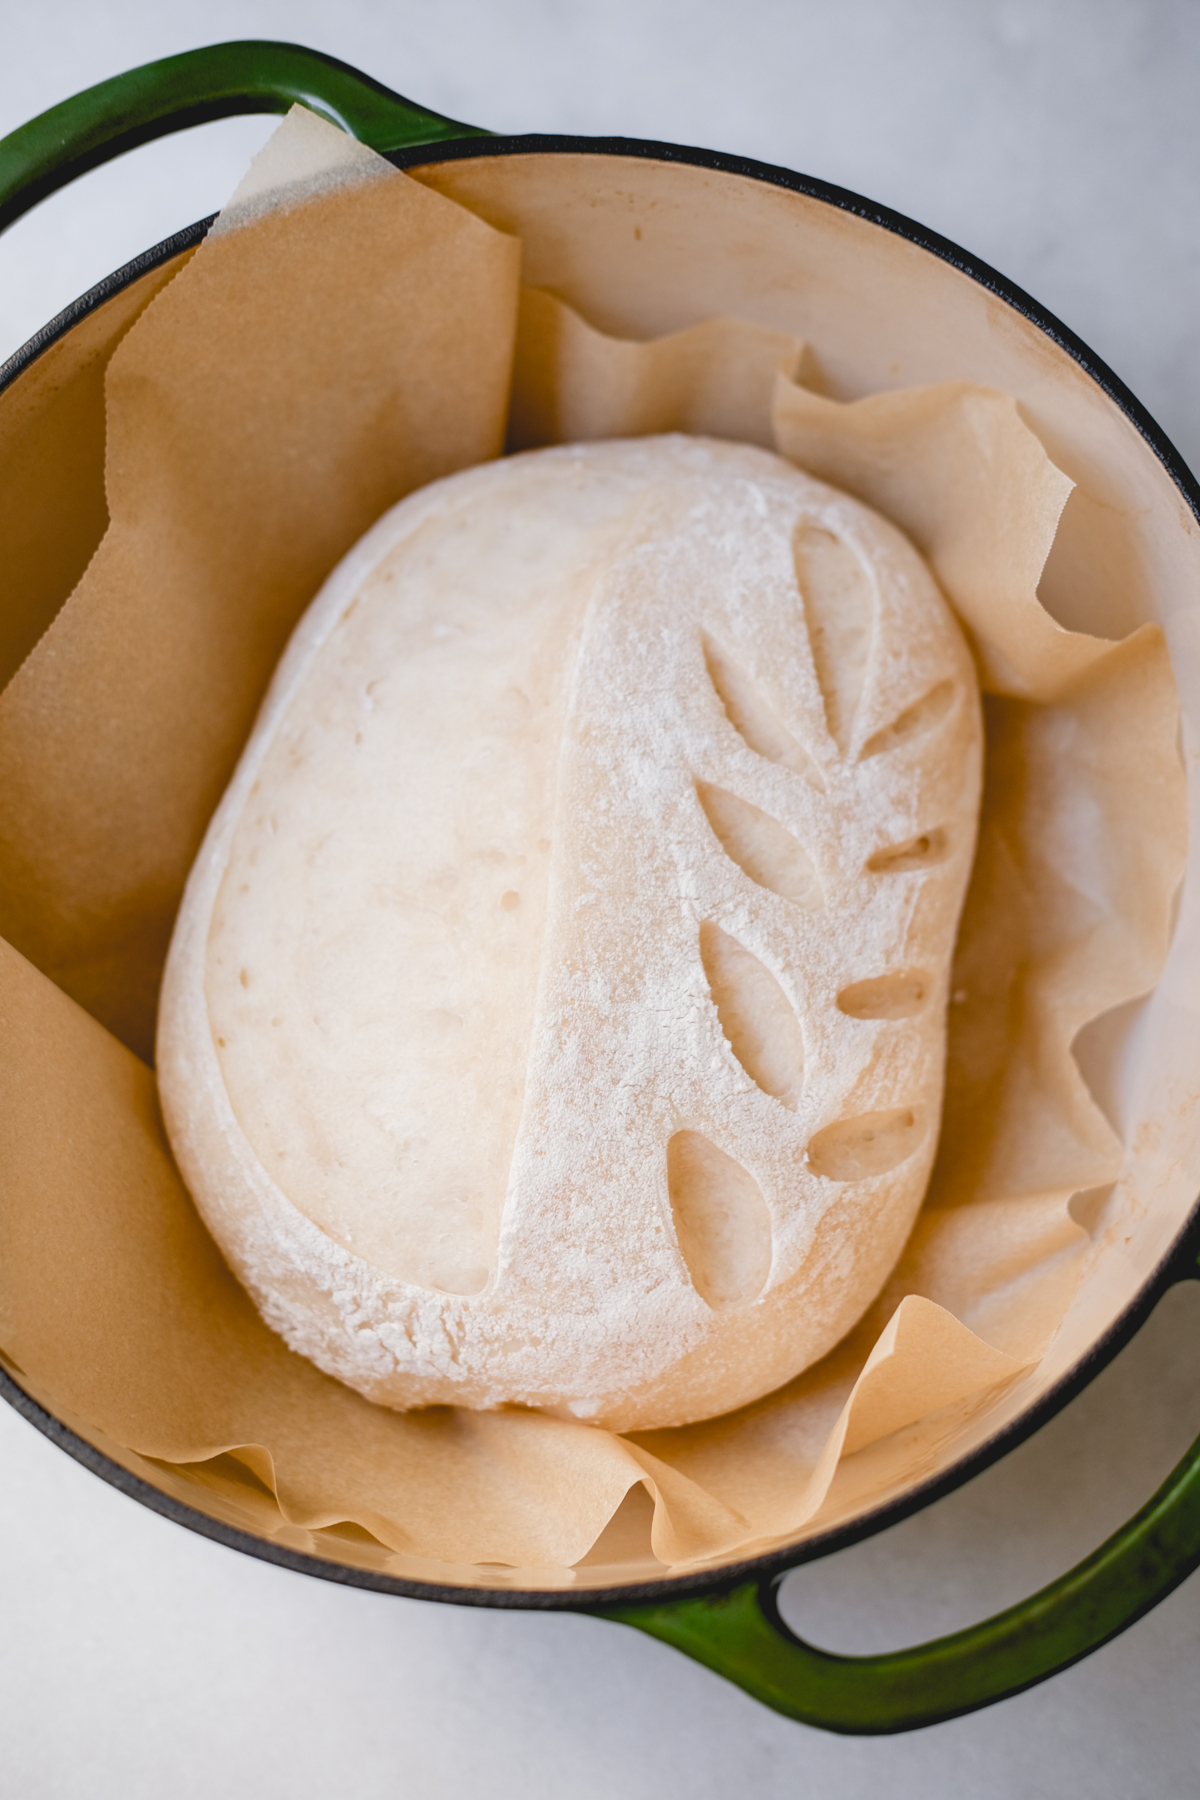
Cover the dutch oven with the lid and bake for 20 minutes. After, remove the lid and it should look like the above image.
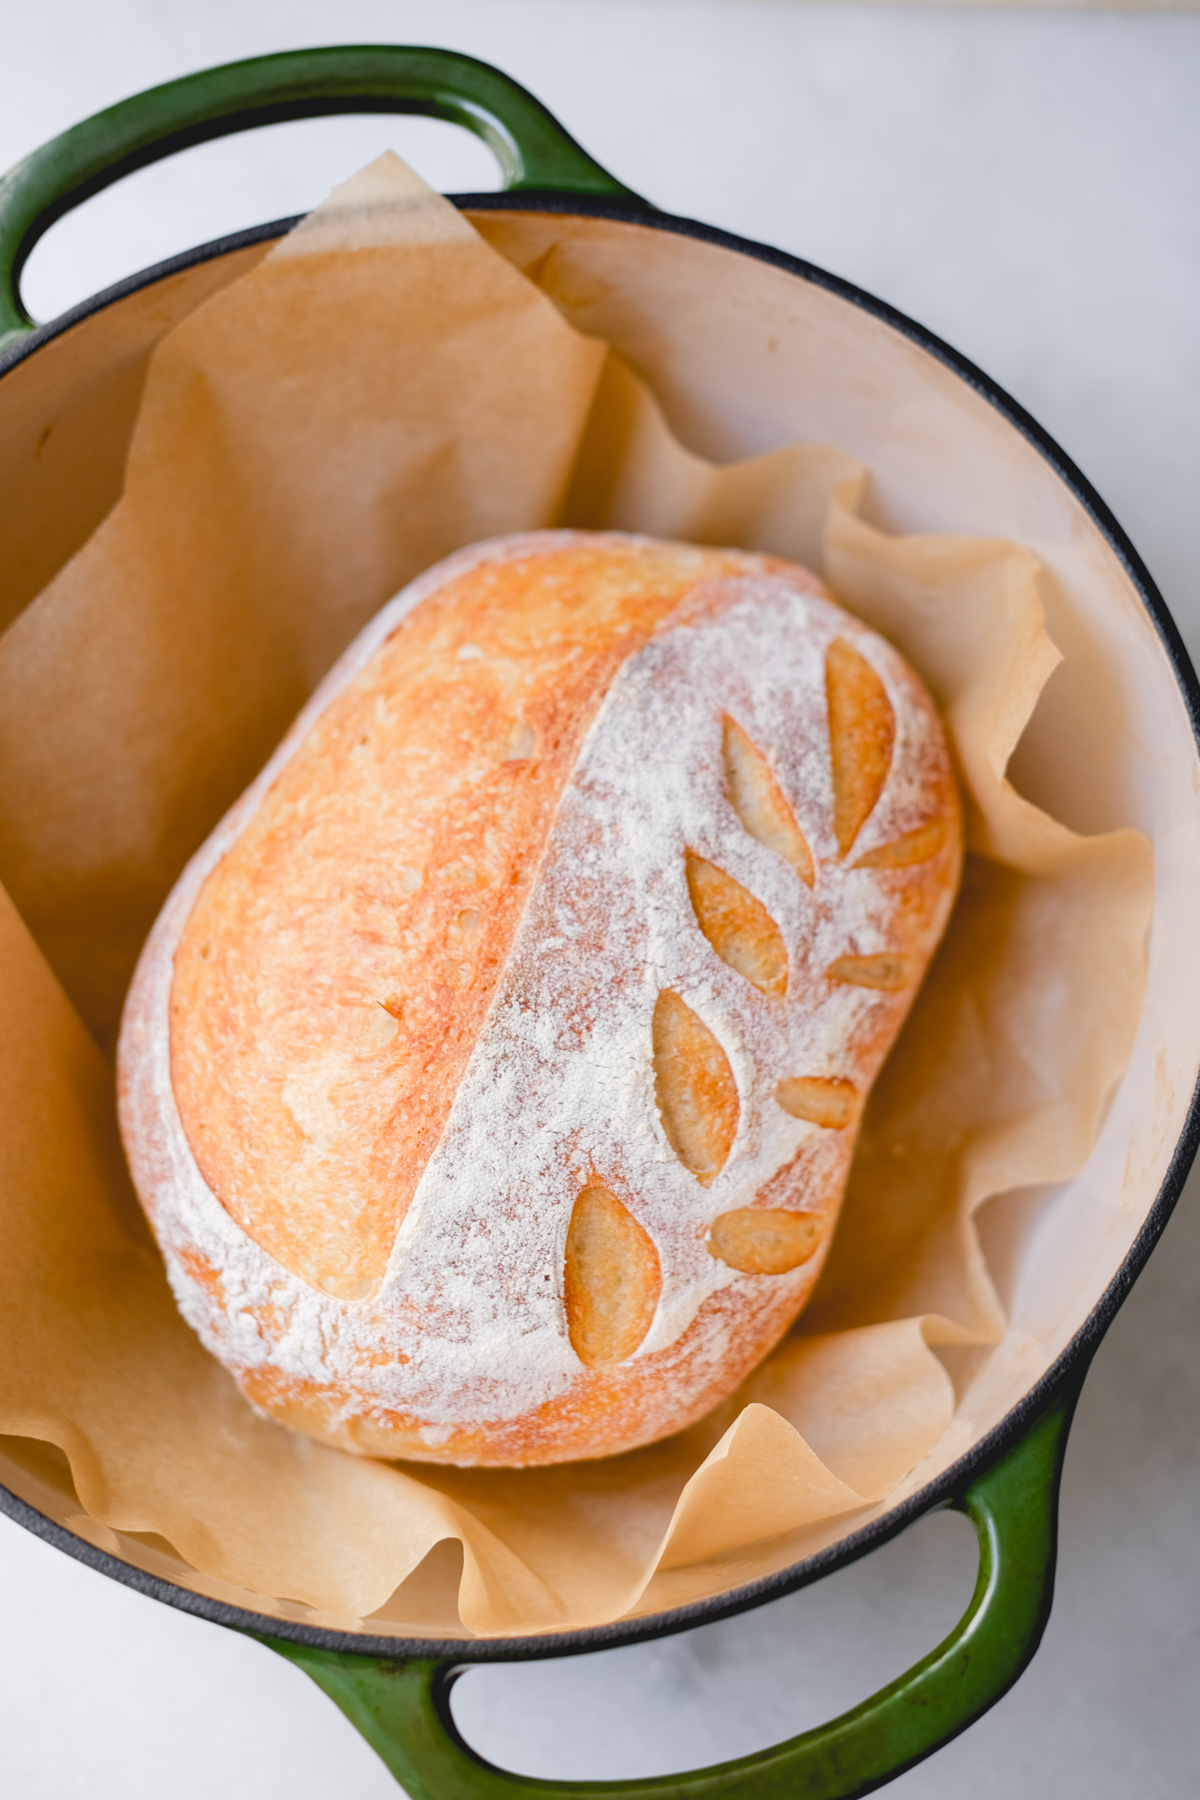
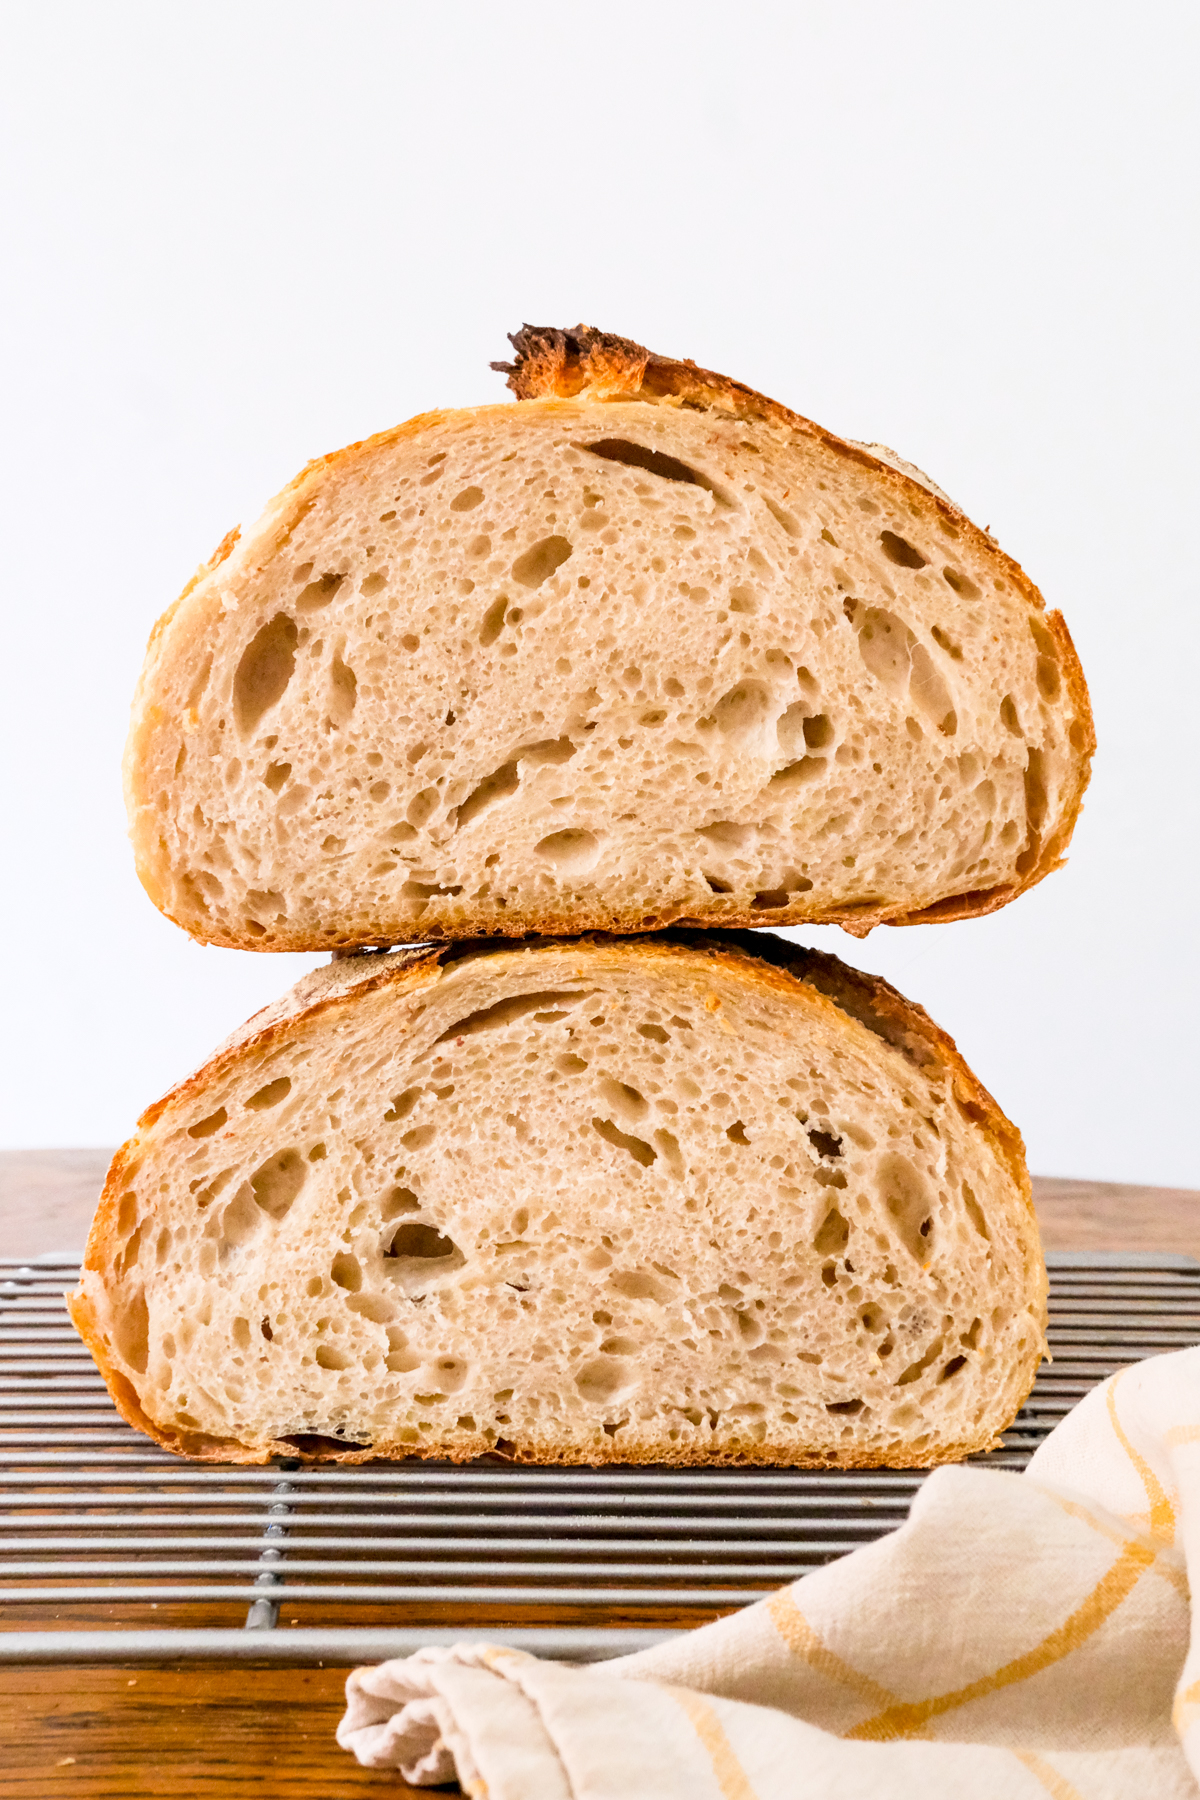
Bake for another 30 minutes. Your bread will become nice and golden brown and crunchy, like this! You’ll probably hear some popping noises from the crust.
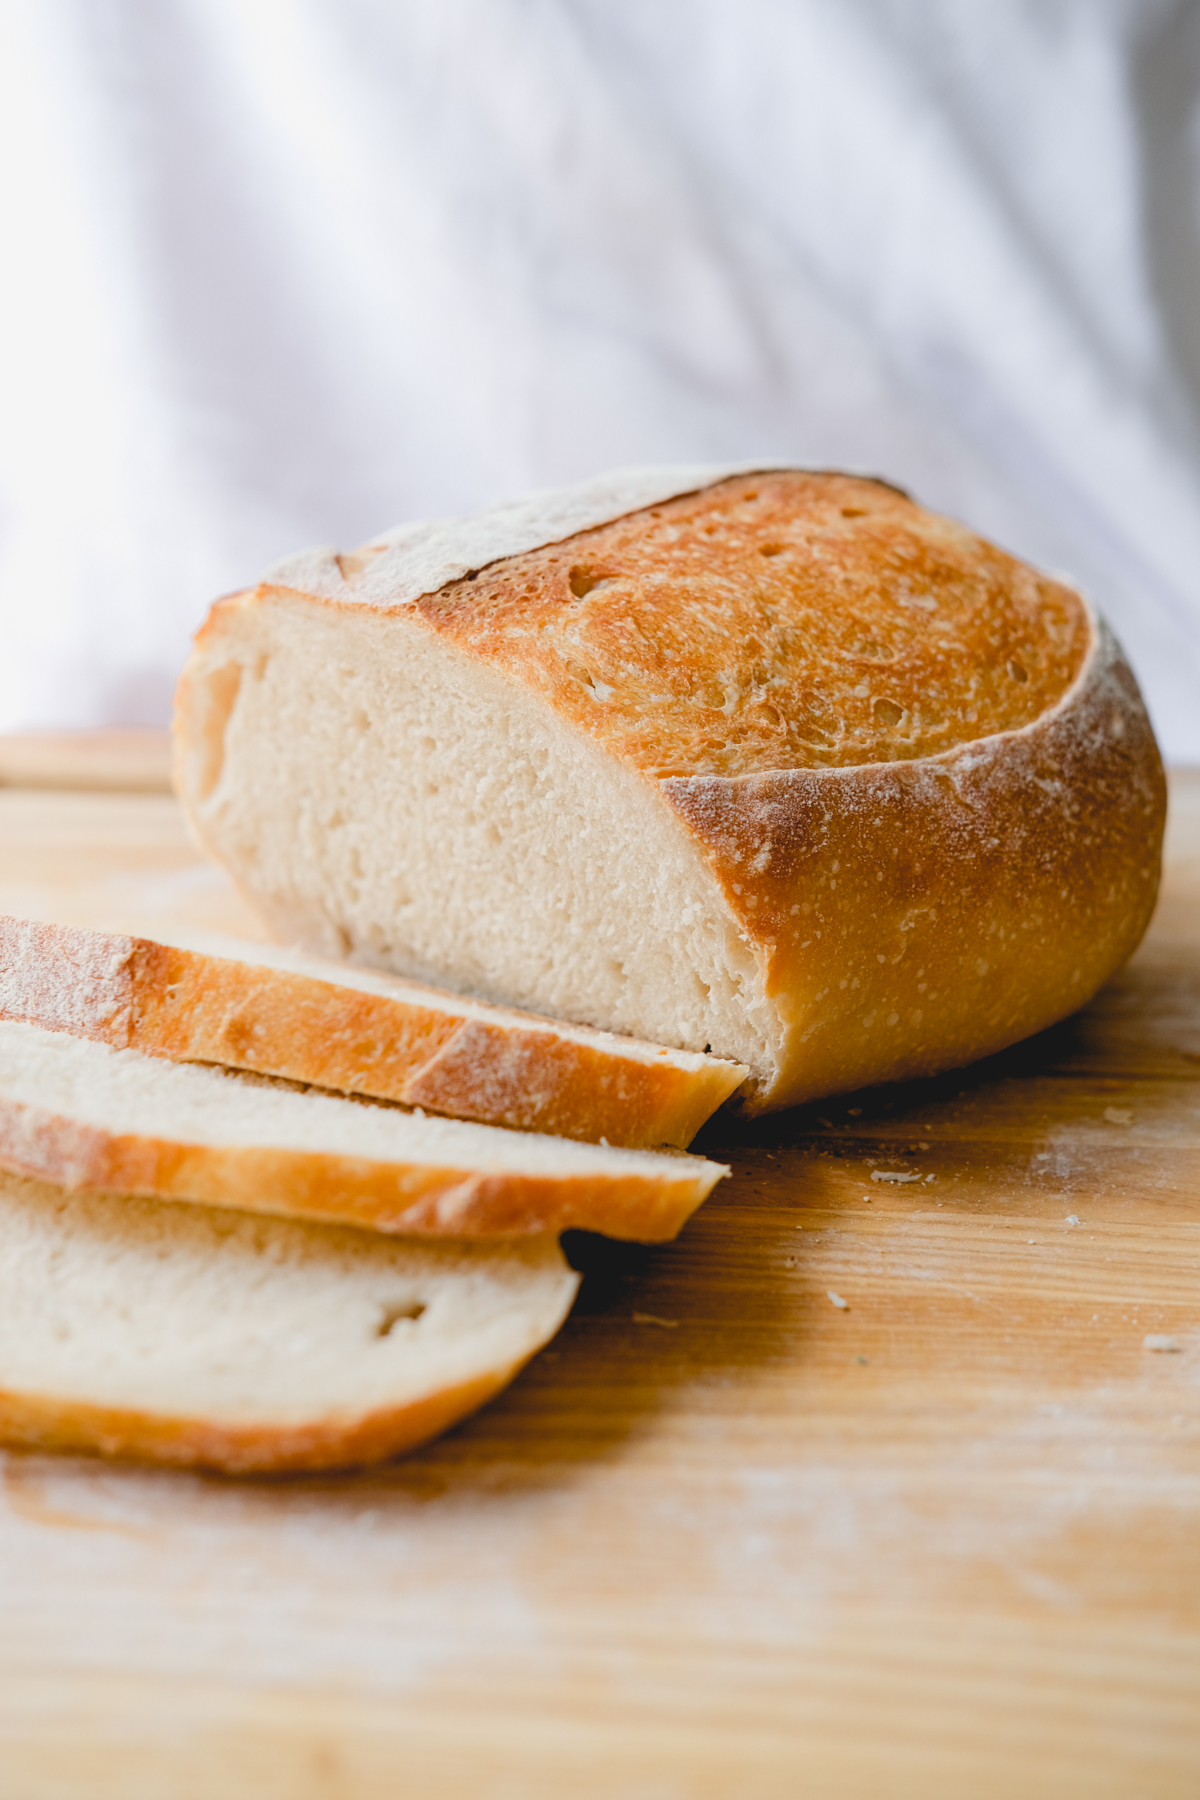
Let the bread sit for 1 hour before slicing. I know, I know! Patience, grasshopper. It will be easier to slice if you wait. But I won’t judge if you slice off a small part of the end and eat it with butter and jam right away.
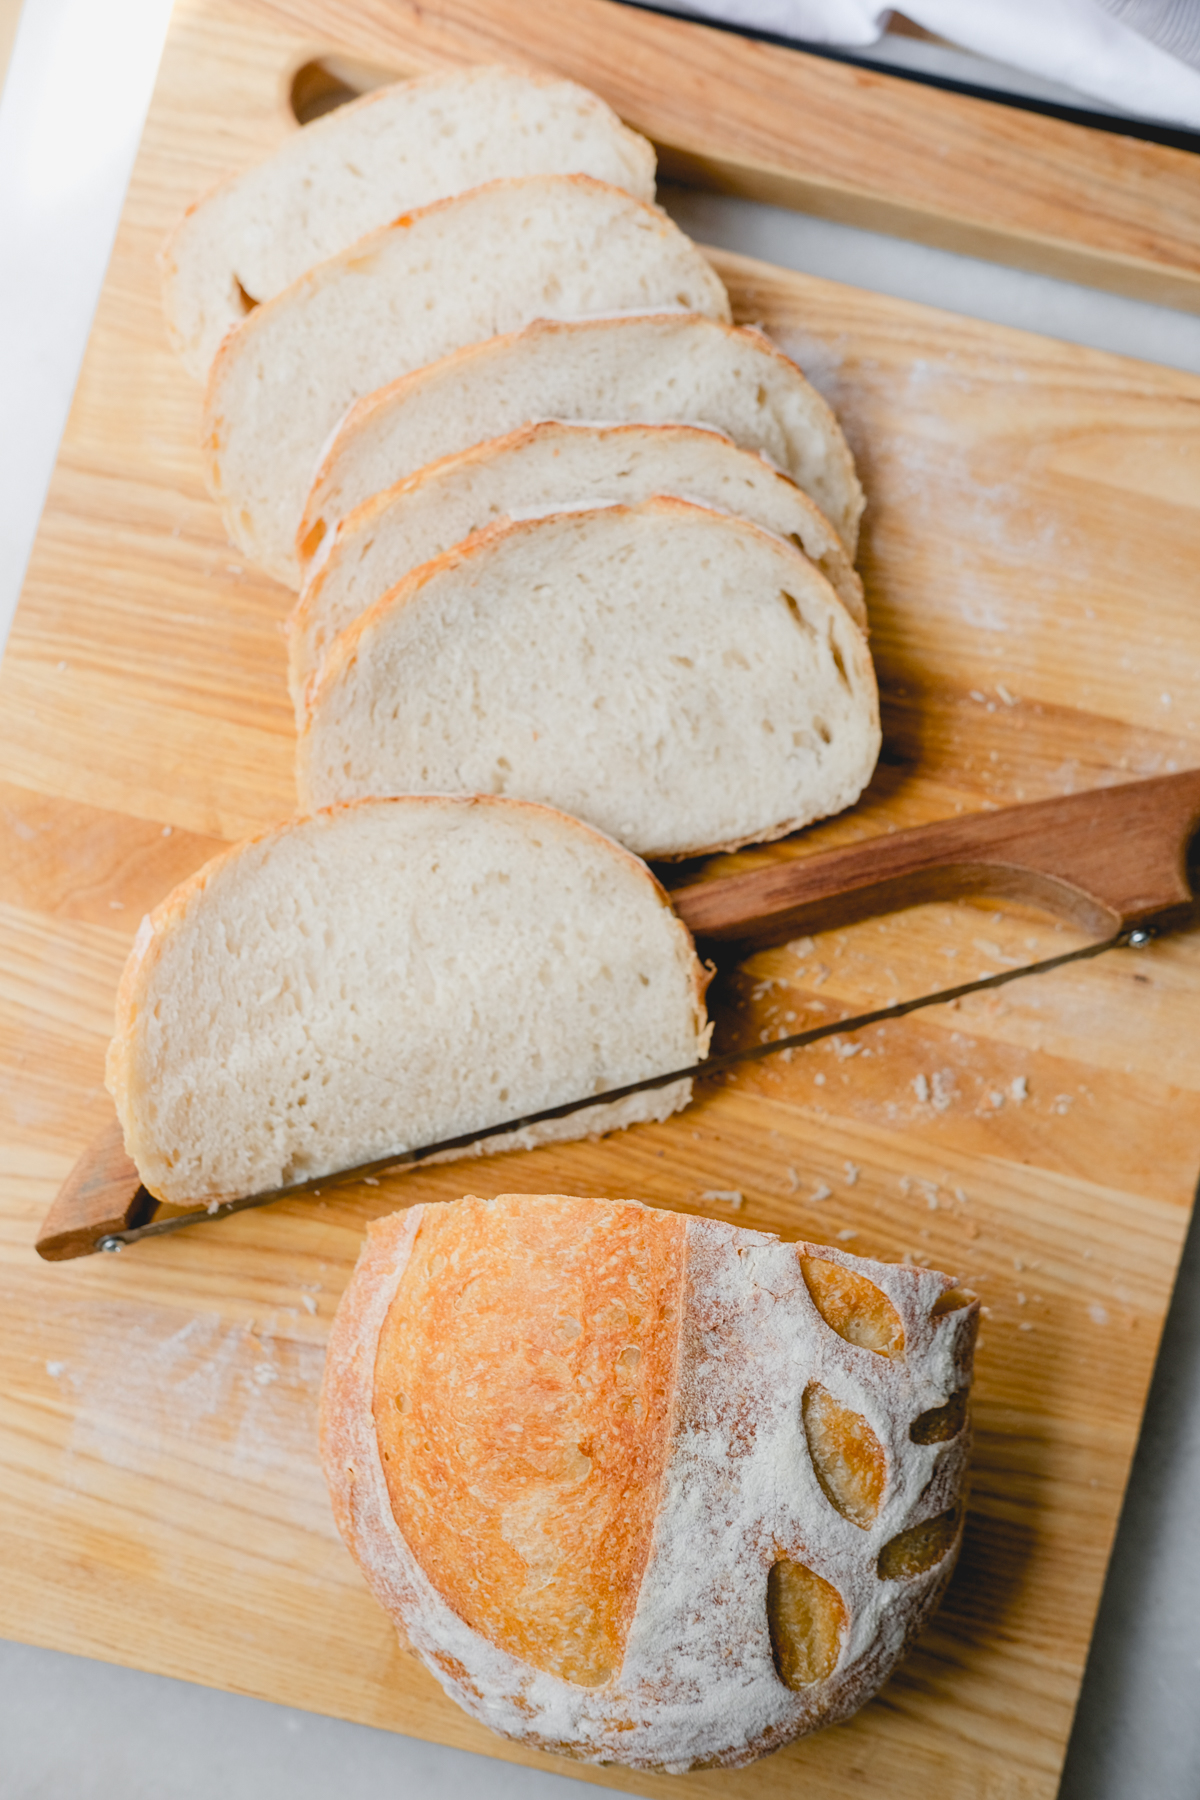
While I do love to enjoy fresh slices of bread, I’ll be honest with you—I don’t finish a whole loaf in just a few days time! Instead, I freeze slices and pop them in the toaster when I want them. So after the bread sits, I slice it all up using my bread saw for perfect-shaped slices, lay them out on a sheet pan, and freeze. Once frozen, I put the slices in a Ziploc bag for storing in the freezer.
And there we have it, my sourdough friends. I hope you like this single sourdough loaf recipe better. I know I do!

One Single Sourdough Loaf
Equipment
- Dutch oven
- Plastic wrap
Ingredients
- 50 grams sourdough starter active, fed
- 330 grams lukewarm water
- 500 grams bread flour
- 9 grams salt
Instructions
- Whisk together the water and starter in a large bowl.
- Once whisked, add in the flour and salt. Mix together with a spatula until just combined, making a shaggy dough
- Cover up your bowl with plastic wrap and let it sit for 45 minutes.
- Grab a corner of the dough and stretch it up until it gives, then fold it over on the top. Do this with all four “corners” of the dough (aka only do this four times at different parts of the dough), and it will form into a little ball.
- Cover up with plastic wrap again and let it rest overnight for 8-10 hours
- The next morning, remove the dough with the bench scraper or rubber spatula to a cutting board that you pre-floured. Let it rest for five minutes.
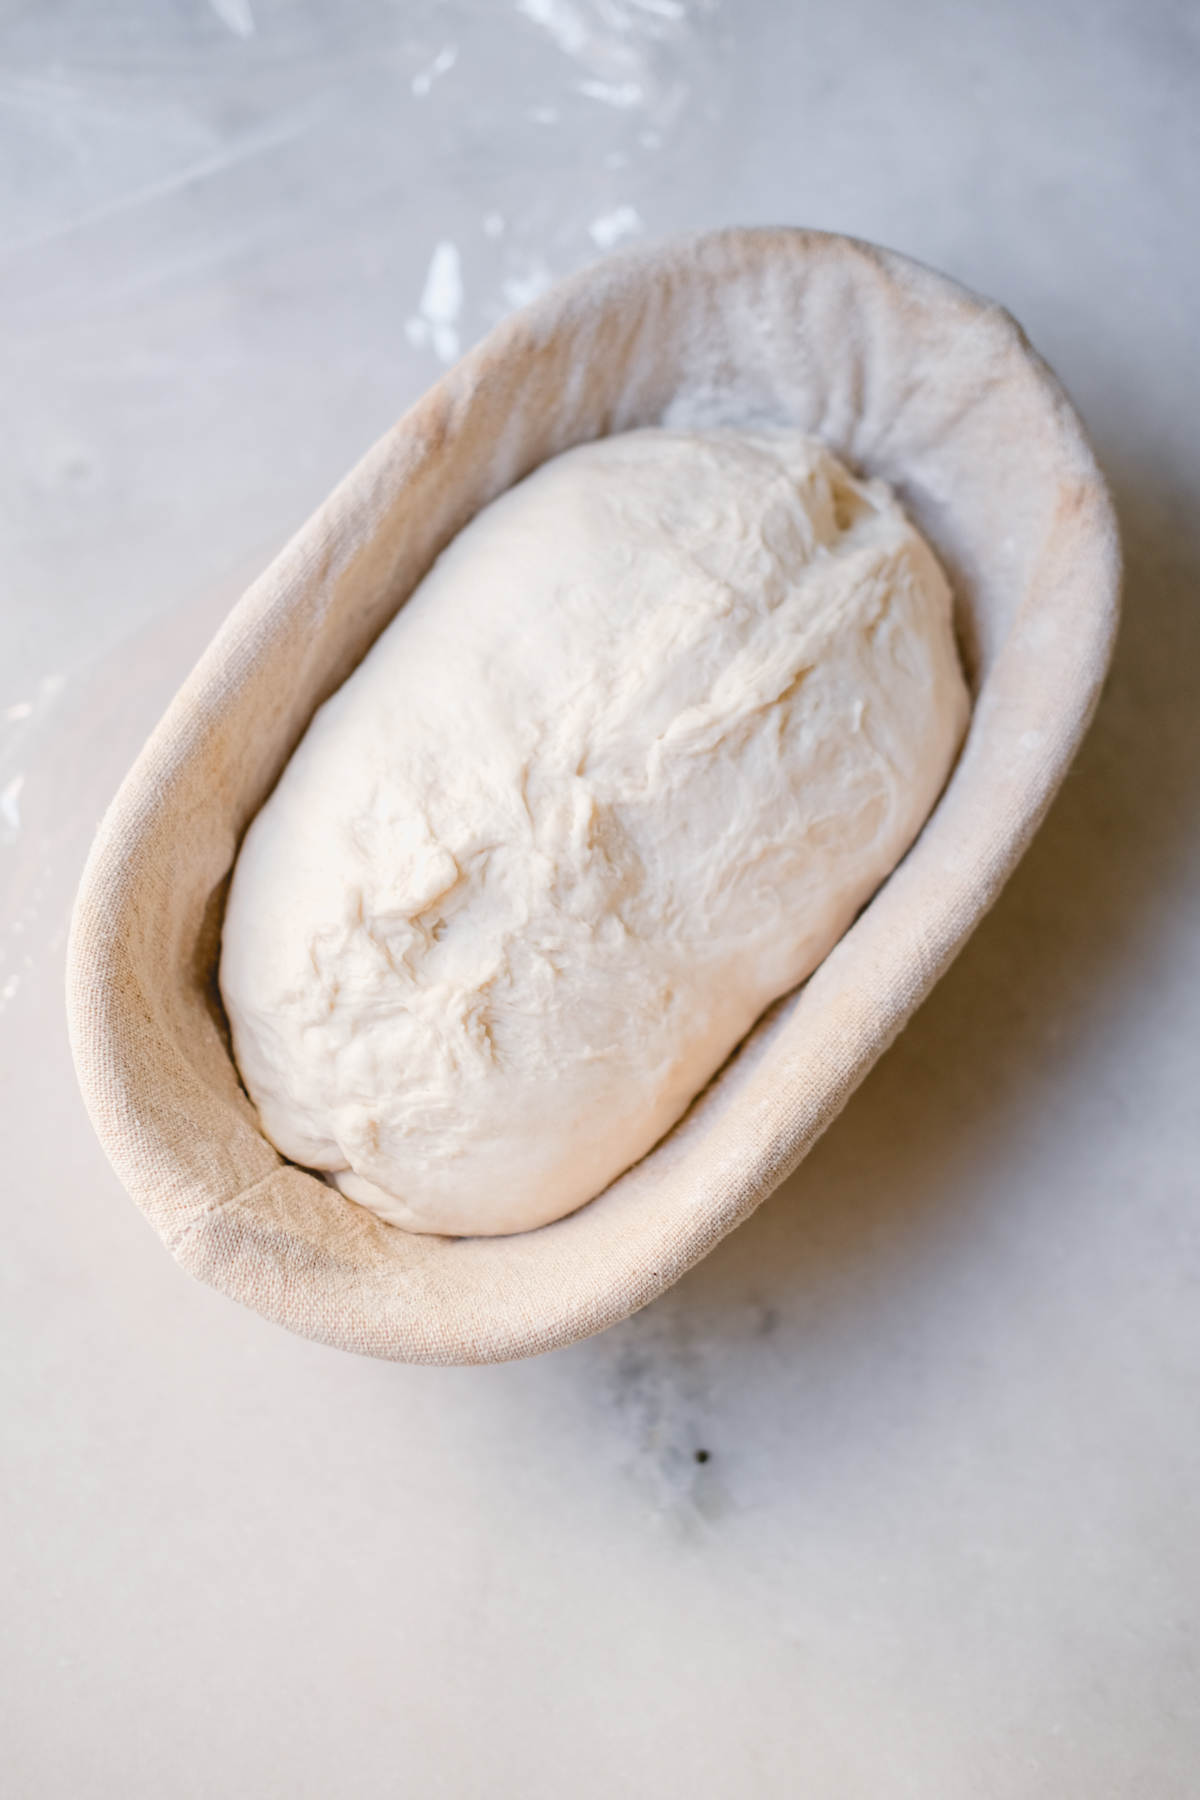
- Shape the loaf! Here’s a video tutorial I love to follow that will make it easy for you. Place it in a bread banneton to rise a second time.
- Cover it again with that plastic wrap and let it sit for 45 minutes. At this point, you’ll also want to preheat your oven to 450 degrees.
- Flip the loaf over onto a piece of parchment paper. Using a bread scorer (or a sharp knife), score a design on top of your loaf.
- Move the sourdough loaf with the parchment paper into a dutch oven. Close the lid.
- Bake in the oven for 20 minutes.
- Remove the lid and bake for another 30 minutes.
- Carefully trasnfer the bread to a cutting board or cooling rack. Let it sit for 1 hour before slicing!
Notes
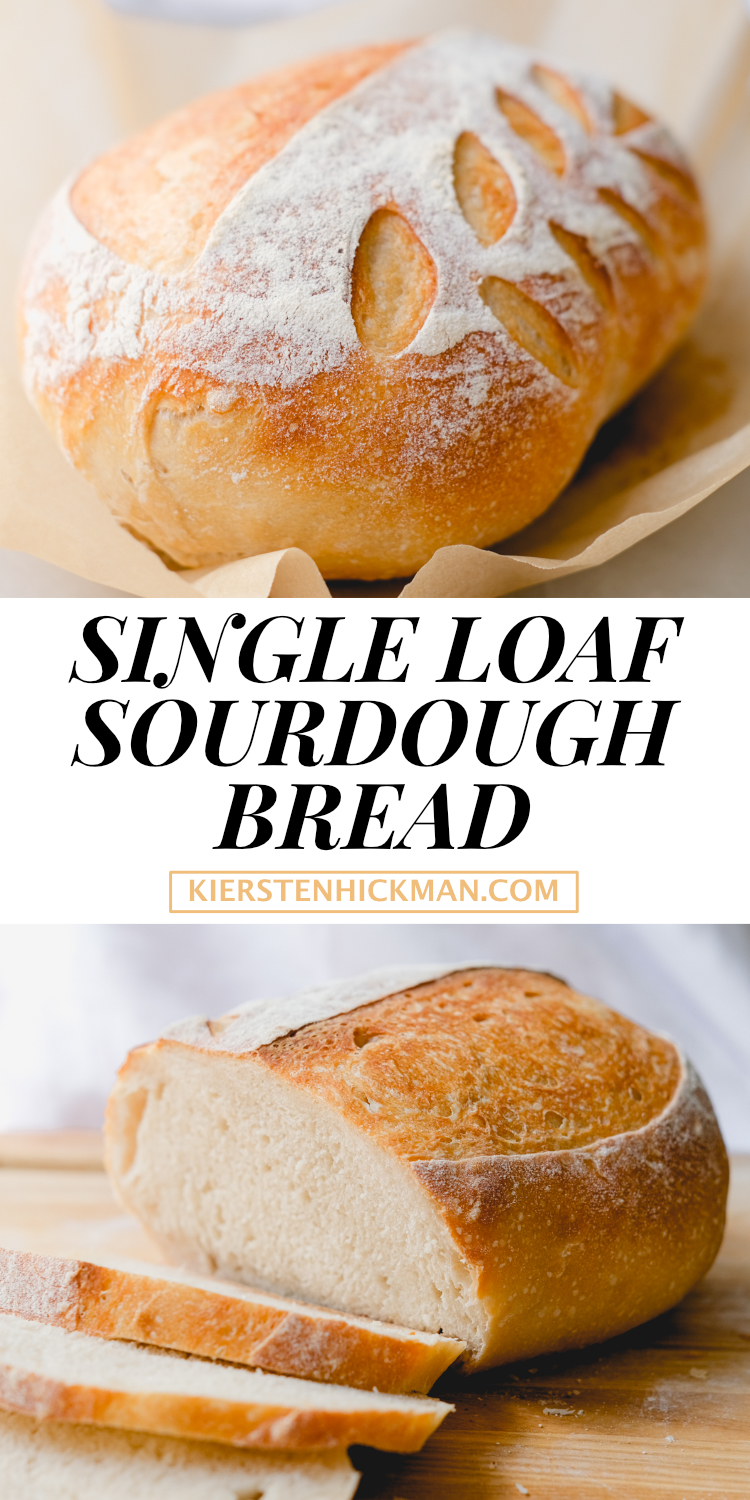
Pin this for later!

Does it matter what stage your starter is in? Fed vs unfed, rising vs peak vs past peak? Does that make sense?
Hi! I would say fed at its peak. I’ll make a note in the recipe card.
I was hoping the google conversion chart of grams to cups was correct, so I jumped in! I used hungry starter and let it rise on the top of our propane refrigerator-it took 12 hours to rise, but was great. It’s not as sour as we like, but delicious and a great texture. Next time a well fed starter will be used. How does the bread texture change if kneaded?
Hi Susan, great to hear! I actually haven’t tried it kneaded yet, this recipe has worked well for me so I didn’t want to play around with it too much. But if you end up giving it a try let me know how it turns out!
THANKS! I dabble in the sourdough and lost track of my other goto recipes stumbled on this one and it worked flawlessly! loved the ingredient ratios also! or should I say especialy? anyhow, great recipe!
Yay, I’m so glad you like it!
Hi Kiersten. What size Dutch oven do you use?
Hi! I use an 8-quart Dutch oven for my bread.
Hi there! Thank you for your insight. I’ve actually worked on a revised recipe for this that I plan on updating soon. This was originally working for me a while back, but I’ve found a much better system that works. Stay tuned!
I came here after the same results… not rising enough, and also not sour. Also wanted just one loaf. But I see this comment and I wonder if your updated the recipe. I’m just starting out.
Hey Raymond, forgive me this has been on my to do list! I promise to update it soon, I have a much better recipe.
Can you please post the recipe for making a starter?
Hi, yes! Here it is: https://www.kierstenhickman.com/sourdough-starter/
hi Kiersten…
can it stay in a warm room for that 8 hour or is in to be refrigerated?
i’ve done several of these however, they never seem to work out so well
there’s always a little something
has it been updated…
i seem to not be able to get it to rise much
Hi Joanne! I usually leave it out on the table for 8-10 hours. If the bread isn’t rising much it may still be too cool of a room. Placing it in a warm spot may help. I would also test your sourdough, sometimes if it’s still a little sleepy it may not make a good rise. You can test it by dropping a teaspoon of it in water and seeing if it will float.
I have found that if you use 90% bread flour, and 10% wheat, the bread comes out much more airy. I also do 25min covered, and 25 uncovered. For the started I keep mine in the fridge, so I remove 25g in the morning, and feed it (this is a good time to feed your mother too). I leave it out until it looks ready to go (6-12 hrs, depending on the temperature in your home. If you keep it at 80 degrees you can accelerate it to be ready in about 6hrs.) By this time it’s around 8-9pm. Start your dough, do the 45 min rest, then fold, and voila! It’s perfectly ready to go in the morning! Love this recipe!
Love these tips—thanks Jody!
Hi I was wondering if this recipe would work with einkorn flour?
Thanks
Hi! I haven’t tried it with einkorn flour before so I am not sure, sorry.