I know most red sauces come in glass jars. It’s one of those foods where plastic can easily be avoided, so yes, making sauce for the winter technically isn’t a necessity. But in my family, canning tomato sauce from scratch has always been an annual routine.

Growing up, my father kept a garden right outside of our home, so when August hit it was just a matter of time until “Tomato Sauce Saturday” would commence. My mother would grab buckets of tomatoes from the garden to clean, boil, peel, and process into the most delicious red sauce you could possibly comprehend.
She comes from an Italian background, so I’ll avoid the whole “trying to be humble” thing and tell you that this red sauce is damn good. Mom learned from my grandmother, who is 100 percent Italian and 100 percent amazing.
I always watched my mom and grandma canning tomato sauce at the end of the summer, but never actually partook in the festivities. It was another thing I watched my parents do while I flitted around my house writing stories in my diary or making up dance routines. It wasn’t until college that I realized how spoiled I was when it came to red sauce. It took me years to actually buy a jar of red sauce in the store because it could never compare.
As I have gotten older and started to truly appreciate the recipes and traditions passed down from my family, I have grown a special love for the tomato sauce my grandmother makes. Which is why I felt it was necessary to learn her process on how to can tomato sauce for the entire winter!
Now before we get into the details for the recipe, there are a few things you need to learn about the process of canning tomato sauce.

Making the sauce
Check for impurities: The last thing you want is a moldy tomato blended up in your delicious sauce! Make sure to chop off the parts of the tomato that aren’t looking too hot. If this means cutting the tomato in half, make sure to leave that out of the group of tomatoes to boil. It could get messy real fast. But if it’s just a small sliver of the tomato, feel free to still boil.
Add tomato to boiling water: This makes the tomatoes easy to peel. When you add the tomato to boiling water, it takes about three minutes for the tomato to split. Once they split, remove the tomatoes and add them to ice-cold water. Once they are cool enough to hold, peel away. Make sure to also remove the cores, they can be tough in a sauce.

Use a food processor: Both for the extra vegetables and the tomatoes! Use the vegetables first (onions, garlic, basil) and process until it’s pulverized. Do the same for the tomatoes: Process until they are smooth, almost like juice.
Cook add-ins with oil first: Add olive oil to a large, warm pot. Cook the pulverized vegetables (onions, garlic, basil) on there for a minute or two before adding in the processed tomatoes.
Boil the sauce, then turn it to a simmer: After adding in the extra spices (to taste), bring the sauce to a boil. Once it boils, have it go down to a simmer. Never cover the pot. If you cover it, the moisture is trapped in there, making your sauce watery. You want to keep the lid open and let the smell float through your home. I promise it won’t be a disappointing experience.
Use an immersion blender: After a couple of hours, use an immersion blender to make the sauce smooth. Now, this step is optional! If you like a chunkier sauce, leave it be. But I’m a fan of a smooth sauce, so I use the blender to make it smooth.
Keep the sauce warm: Throughout the process, you want to keep the sauce warm. It helps with canning tomato sauce later. Basically, if you’re going to blend your sauce, you should be ready to start canning soon.

Canning the sauce
Boil the jars & lids first: This is probably the biggest lesson I learned throughout the whole process. If you want your sauce to sit preserved in a jar for months, you need to make sure the jar and lid are completely clean. Boiling them is the best way to ensure that the jars are fully clean of any extra germs. We use these canning jars for our sauce.
Clean utensils with boiling water: Same concept as the jars! Make sure the utensils you are using (ladles, spoons, jar magnets) are all clean of extraneous food/germs before using them to jar the sauce.
Use lemon juice to preserve: Another fun trick I learned, this one from my mom! Sprinkle in a half teaspoon of lemon juice for a pint-sized jar (1 teaspoon for a quart) in the jar before adding the sauce to it. Do the same to the top of the sauce after adding in the jar as well. The lemon juice will work as a preservative during those long winter months!
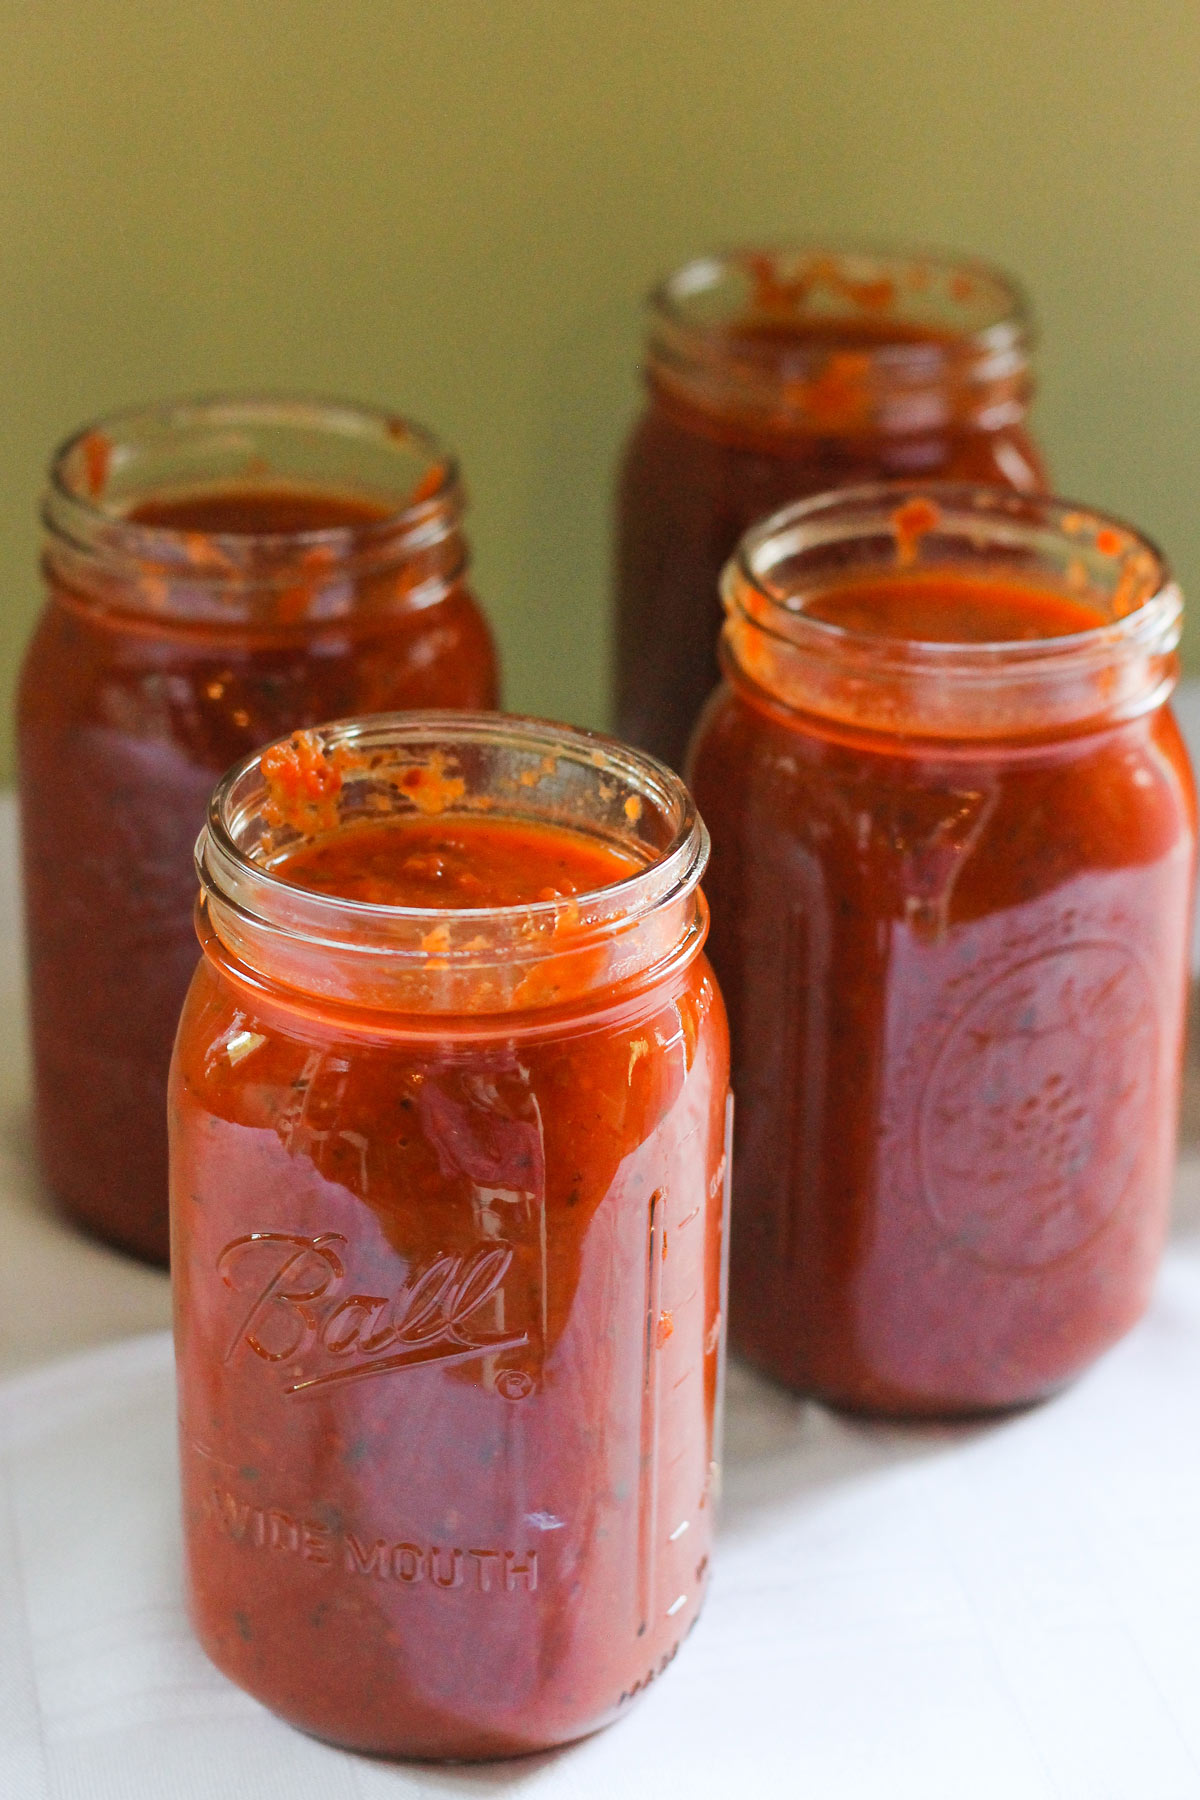
Do not fill jars all the way: The last thing you want is a jar explosion in your pantry! Make sure to leave some space so the jar can properly seal. Our rule of thumb is to stop adding sauce when you hit the lines where the lid screws on.
Use a proper canning pot: You can’t just put cans in boiling water, you actually need a canning pot and wire rack for this endeavor. My mom and grandma actually got theirs over at Walmart, but you can also get the canning pot, canning rack, and canning tools over on Amazon.
Place the jars in hot water: Add cold water to the canning pot (with the wire rack already in place) and start to bring it to a boil. When the water starts to get super warm, add the jars in.
Boil the jars for 45 minutes: Do not start the timer until the water is officially at a boil! You can cover the canning pot so it will boil faster. Once it’s boiling, remove the lid and leave it uncovered during the 45 minutes. Yes, use a timer!
Remove the jars and wait for the seal: After the 45 minutes are over, remove the jars immediately. We covered the counter with an old beach towel so the hot jars had somewhere to go. After a few minutes, you should hear a small popping noise as the jars start to seal. If you didn’t hear a pop, you can check for a seal by looking to see if the small bump in the center finally pressed down on its’ own.
Twist the lid tight: Once the jars cool, this the lid tight! It may be a bit loose after the canning process. Don’t worry, the jars are still properly sealed! This just ensures that they are nice and tight for proper storing.

Voila! You now have red sauce for an entire year. Or less, depending on how often you decide to eat up your sauce. I have learned that 25 pounds of tomatoes make about 40 cups of sauce (20 small jars, or 8-10 large jars). So if you need more (or less) than that, grab tomatoes accordingly.
Here’s the Italian tomato sauce recipe! Make a huge batch and store for later, or you can simply cut this recipe into 1/4 and have some sauce for a few meals during the week.
Looking for more easy recipes? Snag my free cookbook today!
Italian Tomato Sauce
Ingredients
- 25 pounds tomatoes
- 4 onions
- 10-15 garlic cloves
- 3-4 handfuls fresh basil
- 1 28 oz. can tomato puree
- Salt, to taste
- Olive Oil
- Parsley (dried, optional)
- Oregano (dried, optional)
Instructions
- To cook the tomatoes: Check for any “impurities” (terrible bruises, moldy spots) of the tomatoes, and chop off those parts to discard. Boil the tomatoes for three minutes, or until they start to split and peel. Take the tomatoes out and place them in ice cold water to cool off. Once cool, peel off the skin. Use a knife to cut out the core.
- In a food processor add the onions, garlic cloves, fresh basil, salt, and any other spices you would like (I add parsley and oregano to mine). Process until it’s a thick paste.
- Heat up olive oil in a large pot (you probably will need to split this up into two pots). Add the onion/garlic/basil mixture to the pot and cook until fragrant.
- Add the tomatoes to the food processor. You’ll probably do this a few times to get all the tomatoes through. Once they are completely blended through (almost like a thick smoothie) add to the pot.
- Bring the sauce to a boil. Once boiling, turn the stove on “low” or simmer
- Add the tomato puree, which makes the sauce thick. If you want it even thicker, add another can or so of tomato puree until it is thick to your likeness.
- Let it sit for a while! Make sure to stir every now and then. You can let it simmer anywhere between 30 minutes to 2 hours.
- If you want a smoother sauce, use an immersion blender after a few hours of simmering. The blending shouldn’t take long, maybe 2 or 3 minutes.
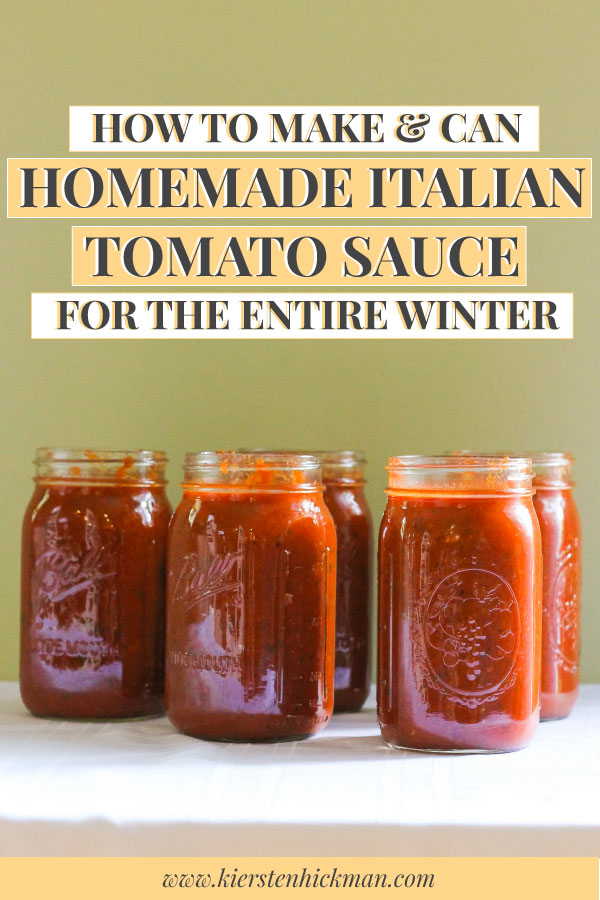
Pin this for later!

Looking to can some sauce this summer and have a question about the hard sizes. Small jars would be pints? And large would be quarts? Or do you mean 1/2 pint & pint? Thank you!!
Good question, I will clarify in the recipe! Small jars mean pints, and large jars mean quarts. Have fun canning and making sauce—it’s a blast!
Hi!
Quick question, how much oregano an basil would you recommend for your recipe?
Hey! I would say a handful is a cup loosely packed, so 3-4 cups loosely packed of basil. I wouldn’t go too heavy on the parsley and oregano—maybe a tablespoon each for the whole pot? Hope this helps!
Hi, you say to use 1 tsp in bottom of jar before sauce & 1 tsp after you fill jar with sauce, most canning books say to use 1 tablespoon of lemon juice to each pint to make it safe.1 Tulsa is 3 tsp.
Hi Betty! Yes, 1 teaspoon is the right amount to use. A tablespoon would be too much and would compromise with the taste. If you’re filling a quart jar, a full teaspoon on the bottom and the top is fine. But for pints leave it to 1/2 teaspoon for the bottom and top. Hope this is helpful!
Can you taste the lemon juice in the sauce when you open the jar to use it?
You don’t! 1 teaspoon is the perfect amount to preserve it in a pint-sized jar (splitting it by 1/2 teaspoon on the bottom and top), but it does not overpower the taste.
Hi there! I have been looking for a recipe to do tomato sauce with fresh tomatoes and I came upon yours. I’m excited to try it, but I don’t have quite 25lbs of fresh tomatoes. Can I cut the recipe in half? Will it still work/taste good if I use 12-13 fresh tomatoes and half of the other ingredients? I will also be using 32oz mason jars. Thank you!
Hi Jennifer, absolutely! You can cut the recipe in half. As you said, just make sure you half the ingredients so you get the portions correctly. Excited for you to try this, let me know if you have any other questions! My inbox is always open.
Sounds delicious, can I freeze the sauce instead of canning?
Absolutely! I would say store the sauce in air-tight containers, and in portions that you would want to use it. To defrost, place a container of sauce in the fridge at least 24 hours before you use it, then cook with it as you normally would. A good rule of thumb is about 6-12 months in the freezer!
Also, since this is a liquid, make sure there’s some room in your container. It might expand while freezing.
Hi! This is my first time making sauce with Roma tomatoes. After blending with the immersion blender, I notice some harder red slivers that didn’t seem to get chopped up. Do you know what these are or how I can avoid getting them? Thank you!
Hi Susie! That is interesting. Question—did you remove the skins and pulse the tomatoes through the food processor? That should break up those bigger, denser chunks of the tomato. I would say give it a few more pulses next time. I would say if there are chunks that are unsettling to you, remove them.
How much water do you put in the canner to process once the jars are filled? Do you cover the jars with water?
Hi! Yes, make sure the jars are fully submerged in water.
I was told not to add oil to canned tomatoes.
It doesn’t have to be much—just a little bit to cook the garlic, onion, and basil. It will be fine when canning! We’ve been doing it this way for years.
Do you know the measuring cup equivalent to 25lbs?
I’m not sure measuring cup equivalent, but in terms of tomatoes, one large tomato is usually about 1 pound—or 3 Roma tomatoes for a pound.
Can you add other spices to this?
Hi, yes! Feel free to add whatever tastes you want to your sauce. If you’re canning it, just make sure to use the lemon juice for preserving.
Thank you for the wonderful recipe. Can you tell me about how much dried oregano and parsley you usually add? Also, if I were to use dried basil, how much do you think 3-4 handfuls of fresh would be?
Hi! I would say for dried basil maybe about 2 tablespoons to substitute. Dried oregano and parsley is totally up to your taste preference! Oregano is a personal favorite, and a teaspoon (or two) would add nicely to the sauce.
Hi, sounds like a great recipe … looking forward to making some sauce . It sounds like a water bath canning ? Non pressurized?
Thank you
Hi, yes! We do water bath canning.
Can you freeze sauce instead of canning?
Hi, yes of course! Store it in an air-tight container in portions that you would want to use it. To defrost, place the container in the fridge for at least 24 hours, then cook with it as normal. 6-12 months in the freezer, and remember that it’s a liquid and it will probably expand a little when it freezes!
Hi Kiersten
How long do you simmer the sauce for before you put it in the jars.
Hi Jill, my family and I usually let it simmer for a couple of hours on low!
Hi Kiersten- thank you for this great recipe and explanation! My sauce is simmering and tastes amazing. I am a first-time canner and wanted to ask- do you put the lids on the jars before putting them in the boiling water? Thanks again!
Hi! You are very welcome, I’m glad you like it. Yes, when everything is sanitized (make sure to boil the jars and lids and such before filling the jars), with clean hands/towels put the lids on your jars and then boil them in the water to properly can them for 45 minutes. When you take them out, you’ll hear the tops of the lids pop as they seal.
How do you recommend the sauce be stored? And how long can it be stored if you don’t add the lemon juice?
Hi Adriana, If you’re canning it you should be fine, the lemon juice is just an extra precaution. I would use the jars within 6 months if this is the case, but if you don’t plan on canning it, I would use it within the week. You can also freeze it and save it for a few months as well!
Hi! Which onions do you typically use? White, red, Vidalia?
I’m new to canning, so I’m really excited to try this recipe. It sounds so delicious. I probably won’t have enough tomatoes to do the full recipe, so I’ll have to half the recipe like someone commented before. Can’t wait though!
Hey Sarah! I just use yellow onions. So excited for you to try this, let me know what you think!
Thanks For Sharing this amazing recipe. My family loved it. I will be sharing this recipe with my friends. Hope the will like it.
So happy to hear this, thank you for sharing!
Can I add balsamic vinegar to the recipe prior to canning?
I have never done it before but if you want to add balsamic vinegar to your meal by all means! I’m not sure about adding it during the canning process.
Hello,
I’m excited to make this recipe, thank you for sharing! I’m curious why you suggest to water bath with the lid off? I’m always open to new ideas, I’ve just always left the lid on so wanted to understand your suggestion.
Thanks!
Hey Amanda! We do this so we can hear the lids pop during canning, helpful for us to know if they all sealed.
Mine is simmering now and it smells wonderful. I am curious about the boil time after it is canned though. When I can Salsa I boil them for 20 minutes. Just wondering if there’s a reason for the additional boil time I’m not realizing. Thanks!
Hey Brent! This is the time that we’ve done for years, I’m honestly not sure about why they use this amount of time—I’ve just followed my grandma’s lead!
Hi there I’m going to make your recipe. Question, I was actually thinking of keeping the skins on the tomatoes and just chopping up. Any comments or concerns with doing it this way?
Hey Tammy, I’m not sure how the consistency would turn out with the skins — we’ve always peeled them for our sauce. I would personally recommend peeling to keep the consistency of the sauce smooth.
Was wondering if processing time (45 minutes) is the same for both pint and quart size jars? I’ve seen recipes where the time differs for different size jars. Thanks!
Hey! We usually do the different sizes for the same amount of time. Sometimes we’ll can little jars and big jars in the pot at the same time.
Hi. Is this a tomato sauce for use on pasta or as a condiment. Just curious…..
Hi! Tomato sauce for pasta for sure. Or for dipping. Or even for pizza, I mean, it’s pretty versatile. My family uses it for a lot of things.
Quick question for you.
How much parsley and oregano do you use for this recipe?? Thanks!!
Hey! I would say about a tablespoon each for the whole pot.
This looks great, but I am wondering why the addition of the can of tomato purée. Can I not just use more tomatoes and cook it down more?
If you would like! I add a can because I like to have a thicker sauce. But if you would like it thinner or want to cook the sauce down a bit more, it’s totally up to you!
i don’t have a bath canner,i have an instapot pressure cooker. will this give the same results?
I have never tested it myself, so I would look for a trustworthy guide that can walk you through the process of using your Instant Pot to can things!
Can i freeze the tomatoes until I have enough from the garden to make the sauce ?
I don’t see why not! Here’s a guide I find that should help: https://www.thekitchn.com/how-to-freeze-and-thaw-tomatoes-234388
What type of tomatoes do you use? I’m excited to try this recipe!
Honestly, we use a variety! Our favorite to use for the sauce is plum tomatoes, but we’ll take whatever we can get.
I really like this recipe. I am curious about the can of purée that is part of the ingredients. What is the purpose of this? Is there something else I can do so it can be eliminated?
Hey Kim! Honestly, we just do it to make the sauce nice and thick. It’s more of a preference thing. If you’re okay with a light, fresh consistency, then you could totally skip the can.
Thank you so much!!! The sauce is thickening on the stove as I type. It tastes delicious.
I have done a pasta sauce that is similar to this recipe…but, instead of a water bath canner I used a pressure canner that I used to bring the pressure up to 10 pounds and then shut it down. Jars seal fine and I have had no issues. Has anyone else done this process for pasta sauces?